Sonntag, 1. September 2013

Korokke Rezept

Kroketten wurden erstmals im 19. Jahrhundert in Japan eingeführt. Korokke ist die Abwandlung dieses Gerichts, um es an den japanischen Geschmack anzupassen. Ich kann eine Freundin zitieren, die dieses Gericht nutzte, um ihren Eltern mal ein...e anderer Seite des asiatischen Küche zu zeigen - mit Erfolg.
Korokke bieten sich auch als Bentofüllung an, weil man sie gut vorbereiten und schnell beenden kann.

Korokke für 4 Personen


750g Kartoffeln
200g Zwiebeln
300g Rinderhack
ein wenig Butter zum Anbraten
Salz und Pfeffer nach Geschmack
Für die Panade
Mehl
1 verquirltes Ei
Semmelbrösel (am besten Panko)
Öl zum Frittieren

1. Die Kartoffeln schälen und weich kochen. Es gibt eine 'Fix-Variante', um Kartoffeln zu kochen. Dazu schält man sie, halbiert sie, wickelt jede Hälfte in Frischhaltefolie und stellt das Ganze dann bei 600Watt für 5 Minuten in die Mikrowelle. Danach sind die Kartoffeln gekocht, wenn man die Mikrowelle nutzen möchte.
2. Die gekochten Kartoffeln in einer Schüssel zu Püree zerdrücken.
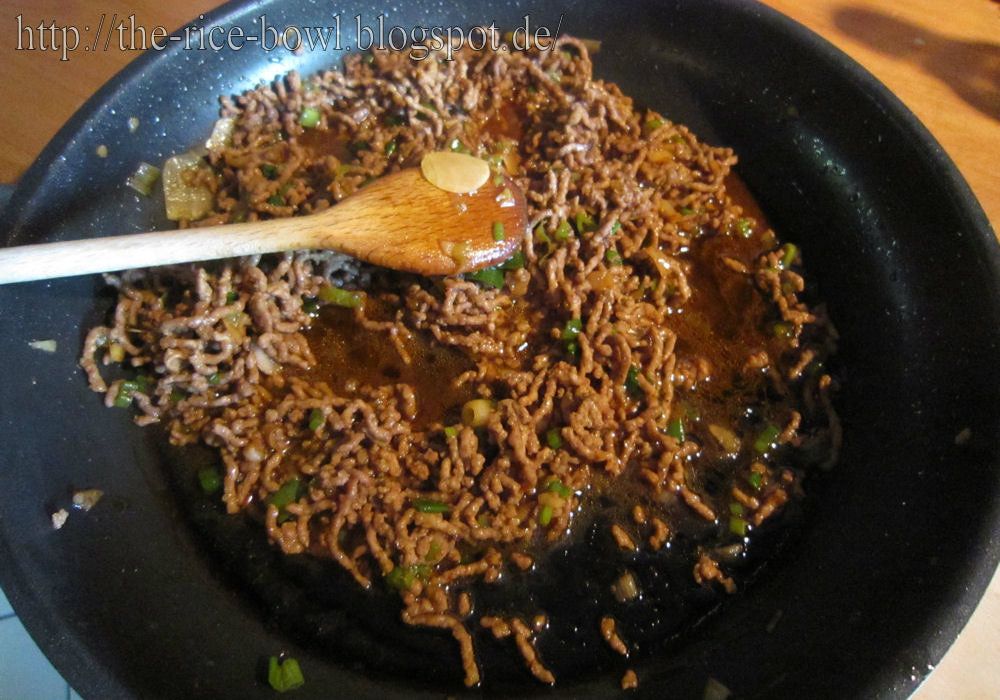
3. In einer Pfanne die Butter zerlassen. Die Zwiebeln glasig braten und dann das Rinderhack dazu geben. Krümelig braten.
4. Die Fleisch-Zwiebel Mischung zum Kartoffelpüree geben und gut vermischen. Mit Salz und Pfeffer abschmecken. Danach ein wenig zur Seite stellen und auf lauwarm abkühlen lassen, denn ihr müsst es anfassen können.
5. Für die Panade Mehl, verquirltes Ei und Semmelbrösel auf je einem Teller ausbreiten. Mit den Händen, die Kartoffel-Fleisch Mischung zu ca. handtellergroßen, flachen Kroketten formen (siehe Bild). Zuerst im Mehl wenden, dann im Ei und schließlich in den Semmelbröseln.
6. In einem Topf das Frittieröl auf 180°C erhitzen. Um zu überprüfen, ob es heiß genug ist, kann man ein Stück Semmelbrösel in das Öl fallen lassen - wenn es sofort brutzelnd an die Oberfläche steigt, ist es heiß genug.
7. Die Korokke nach und nach in das Öl geben und goldbraun frittieren. Nicht alle auf einmal reingeben, denn mit jedem Stück sinkt die Temperatur des Öls ein bisschen.
8. Wenn sie goldbraun sind, die Korokke aus dem Öl nehmen und auf Küchenpapier abtropfen lassen. Damit sind sie im Prinzip fertig. Ihr könnt sie mit in Streifen geschnittenem Chinakohl und japanischer Sauce servieren. Oder aber mit Curry oder auf einem Hot-Dog Brötchen als Korokke-Pan oder eben als Bentozutat.

Montag, 29. April 2013

Mocha Truffles Recipe

I can't really decide where this recipe comes from and so I created a special tab for desserts and candy.
To make these little truffles you need some time and patience, but I can promise you, it's worth it and they're the perfect gift.


Mocha Truffles (for 36 pieces)


200g nougat
200g almond paste (Marzipan)
1/2 vanilla bean or 1tsp vanilla essence (if you like it)
ca. 75g powdered sugar
2tbsp solvable coffee or espresso powder
1tbsp coffee liqueur or cold espresso
200g white couverture

1. Cut the nougat into 36 same size pieces. Therefor cut it lengthswise into 4 pieces and then each piece into 9 smaller ones. Quickly shape them into balls - but be careful, the warmer the nougat gets the stickier it gets. Put the 36 balls into the fridge.
2. Cut the almond paste into pieces. In a bowl, combine almond paste, vanilla pulp, sugar, coffee powder and coffee liqueur and knead everything until it's smooth. When it's too sticky, add more sugar.
3. Shape the almond paste into a roll, then cut into 36 thin slices. Flatten every slices, then put a nougat ball in the middle and coat with the Marzipan. Roll it into a ball shape. Prepare some baking paper on a wooden board or a baking tray.
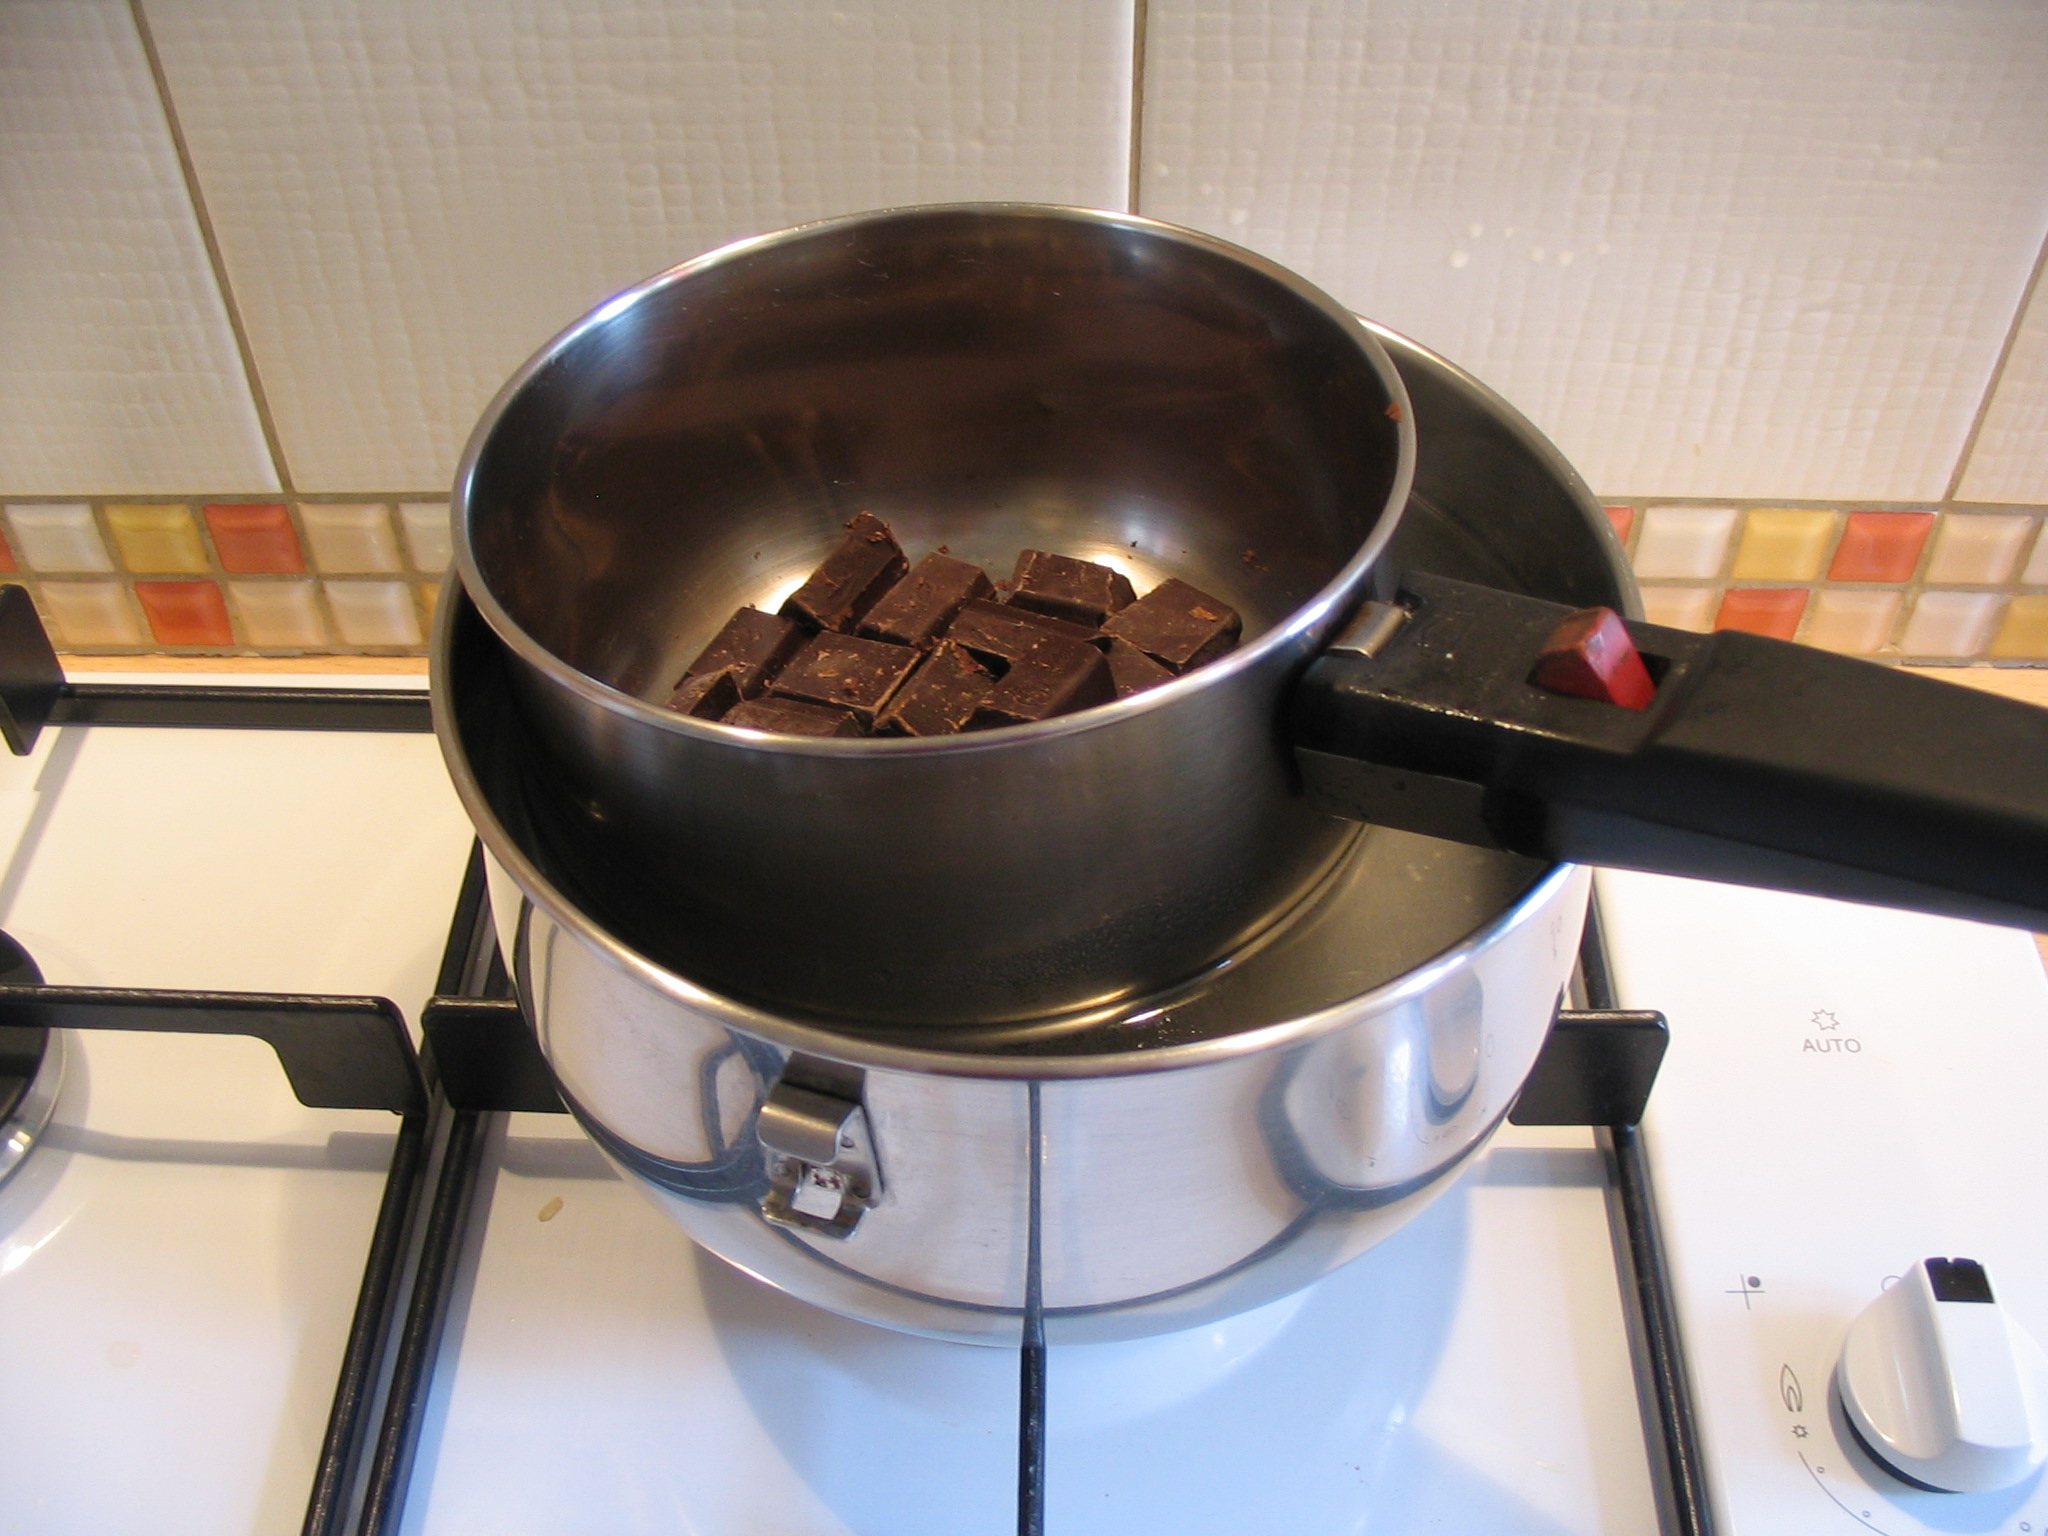
4. Chop the couverture and put 2/3 of it into a metal bowl. Put the bowl into another bowl and heat it in a bain-marie. Don't cook it or let water get into the chocolate! Like this:


5. When the chocolate is melted take the bowl out and add the remaining chocolate. Stir until that is melted, too.
6. Now dip the Marzipan pralines into the chocolate. You can use a fork or a stick or a praline spiral like I did. Carfully place the truffles on the baking paper and let dry. Done!

Watch out! When you're drying the truffles in the fridge, you have to keep them in the fridge, too! Temperature differences will make the chocolate get "foggy".

Samstag, 16. März 2013

Chicken With Herbs Recipe [Pollo alle erbe Recipe]

Today I'm going to show you a delicious and low fat recipe (when you remove the skin or take chicken breast), that's a great alternative to classic fried chicken. Usually you take sage and rosemary but you can also take any other herbages as long as its taste underlines the chicken and does not overlap it.

Chicken With Herbages for 4 ( 380 kcal /serving)


4 chicken legs
2 garlic cloves
6 tbsp olive oil
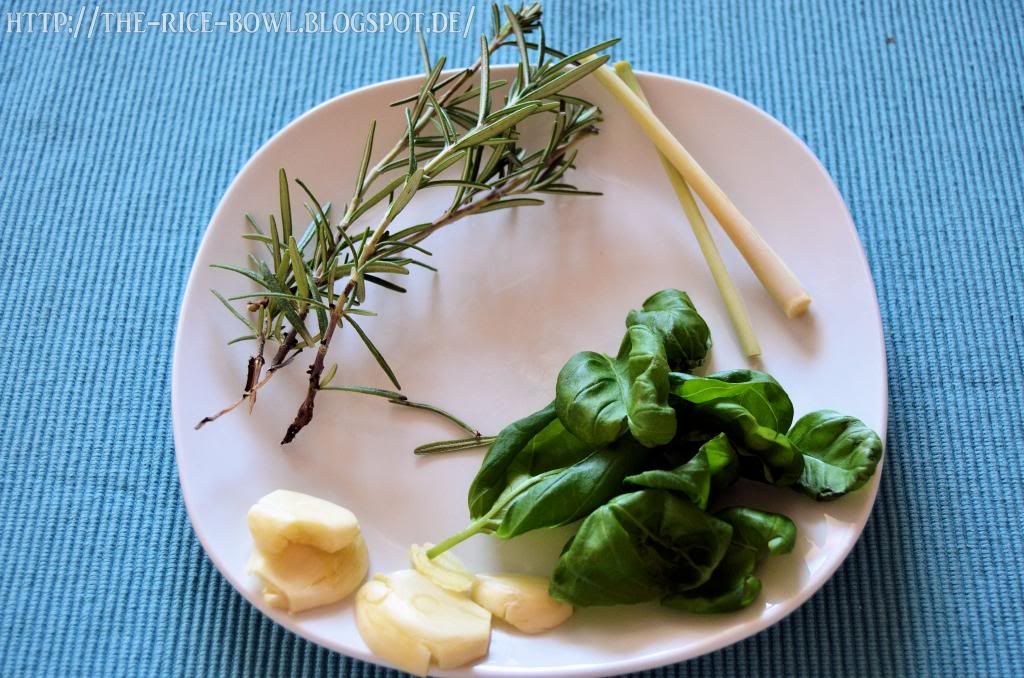
FRESH herbs (I'm taking rosemary, basil and lemon grass , but you can also take other herbs like sage, thyme or oregano. Just don't take too much or it'll feel like biting into a tea bag.)
salt and pepper to taste
a pan with lit
Optional:
lemons
watercress

1. Peel the garlic cloves. Cut in half lengthswise and then crush it with a cooking spoon.
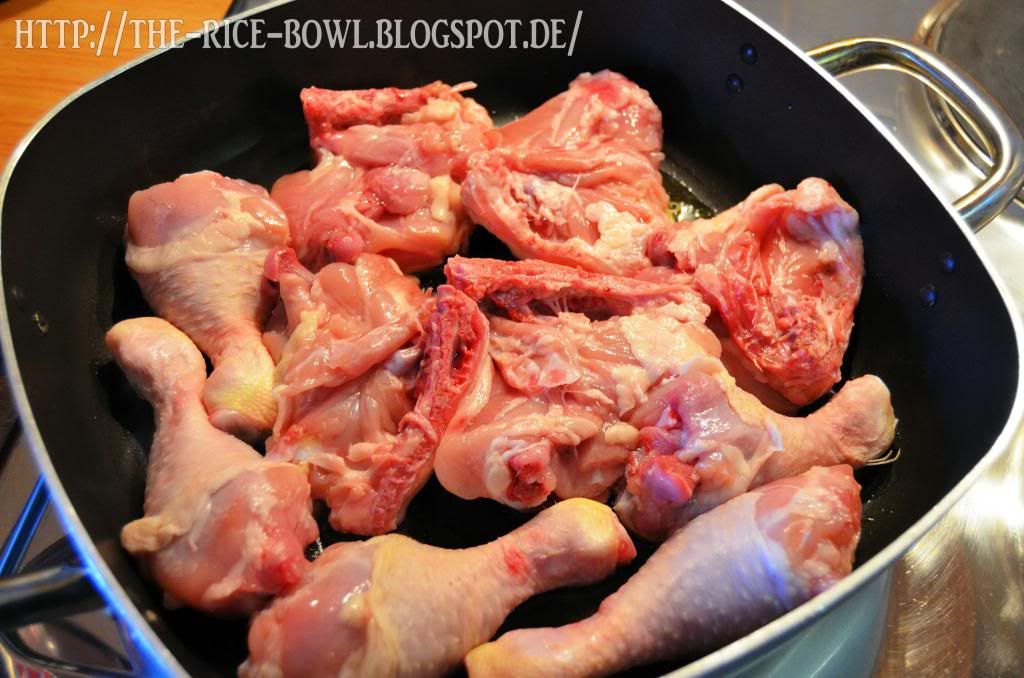
2. With a knife cut the chicken legs into half. Therefor, place the knife between the drumstick and the chicken back. Cut the skin and meat and then break it with your hands.
3. Lay the meat on a plate and sprinkle with salt and pepper.
4. Take 3 stalks of rosemary, 8-10 basil leaves and on stem of lemon grass, cut into half. Or change depending on what herbs you're using.


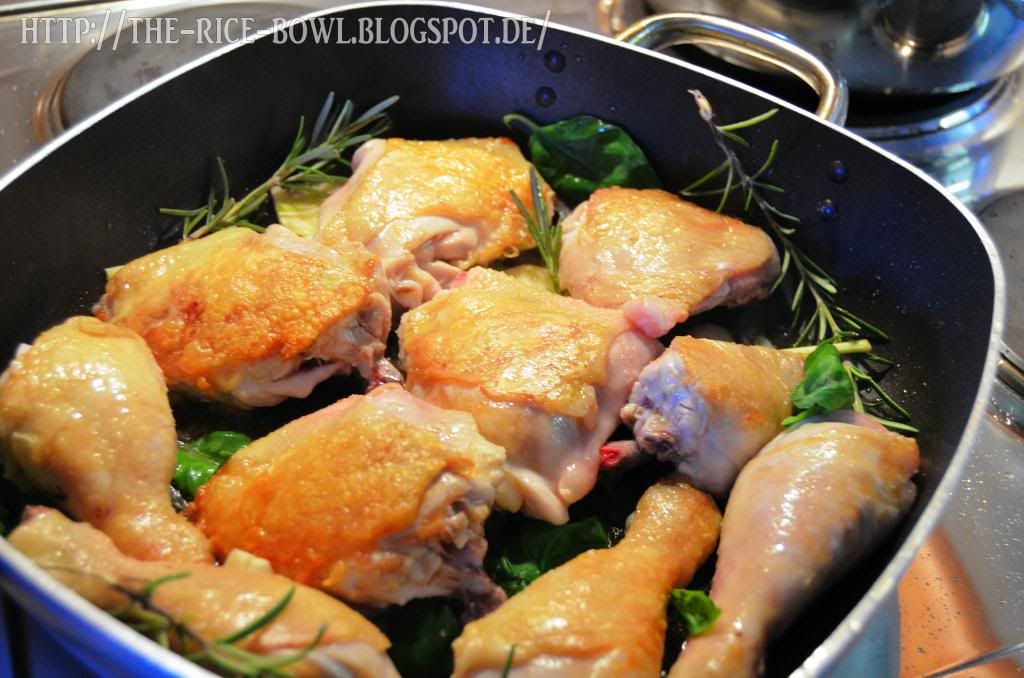
5. Let's fry the meat. In your pan, bring olive oil to medium heat. Put the chicken in with skinside down. Fry until golden brown.
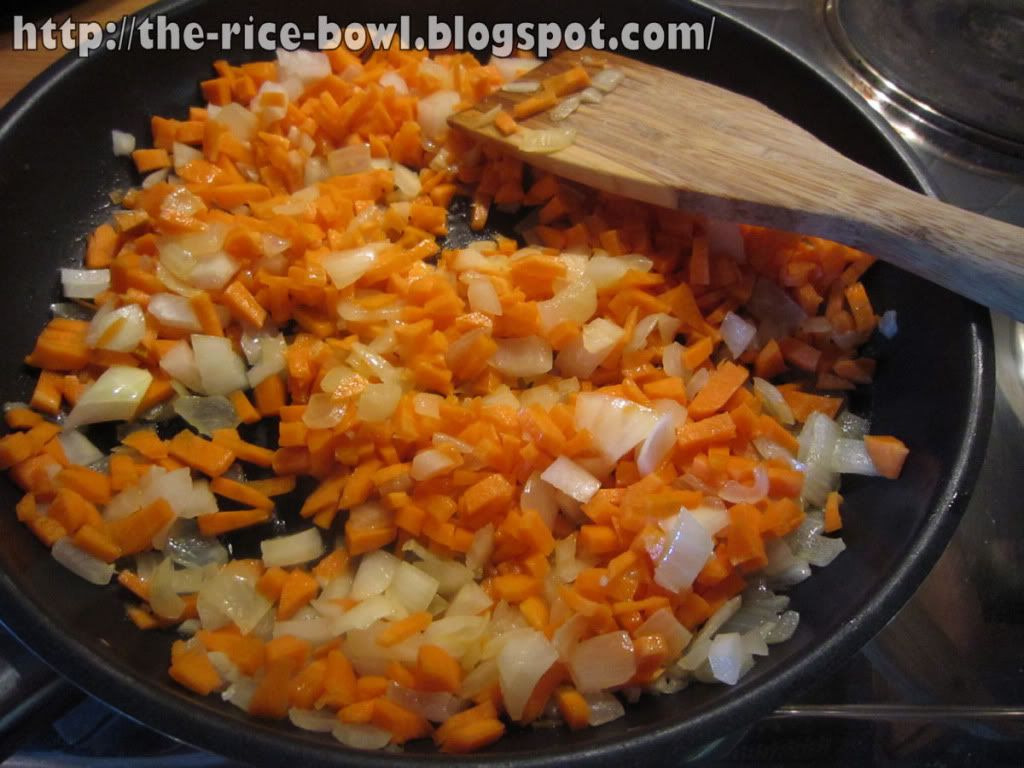
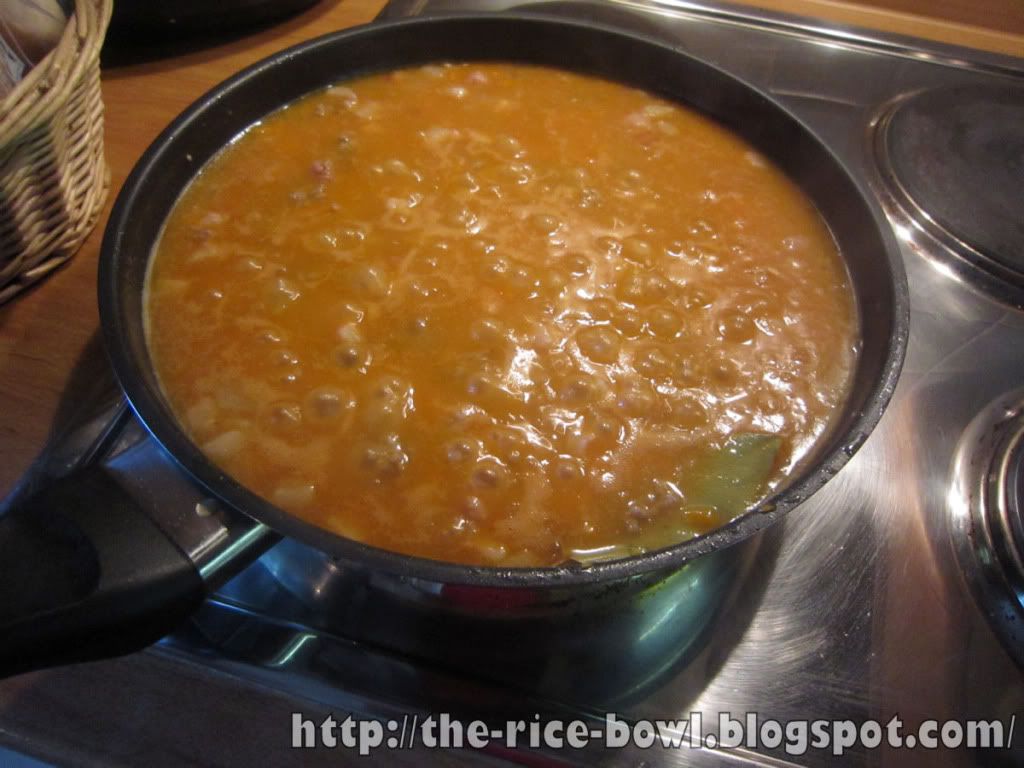

6. Turn over and keep frying over low heat.
7. After 2-3 minutes, add your herbs and garlic to the pan and fry until they're releasing their aroma.


8. Close the lid and fry over low heat for 20 minutes. Sometimes baste with the fat in the pan.
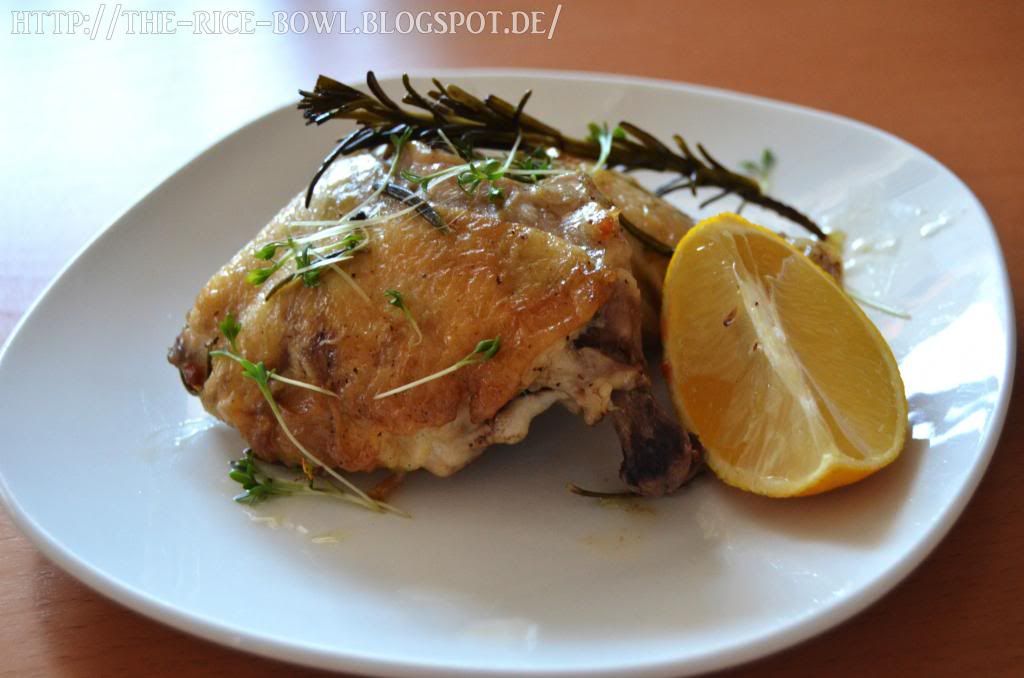
9. Done! Just arrange with sliced lemons and watercress and you're done!

Buon Appetito!

Donnerstag, 21. Februar 2013

Bulgogi Recipe [Bulgogi Rezept]

Bulgogi is a Korean dish. When you're making only one serving, you should be really careful with the heat.


Bulgogi for 4 (320kcal / serving)


320g beef (from the round) in 2-3mm thin slices
1/2 Spanish onion or 1 usual kitchen onion
150g scallions
100g Asian mushrooms
1 small carrot
2 leaves of cabbage
2 garlic cloves
3 tbsp chopped chives

For the marinade:
4 tbsp soy sauce
4 tsp rice wine
2 tsp Miso
2 tsp sugar

For the sauce:
6 tbsp soy sauce
2 tbsp rice wine
2 tbsp Gochujang (a very spicy, Korean paste, made out of beans)
4 tsp sugar
2 tsp Miso


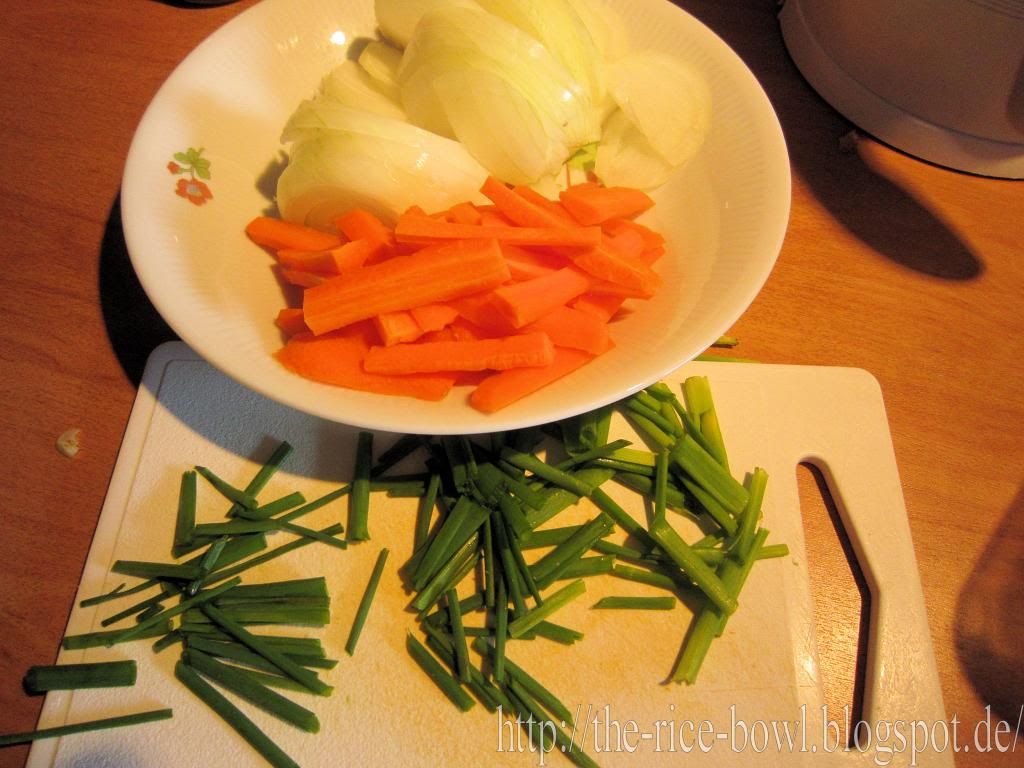
1. Peel the onion and cut it into thin slices. No cut the scallions into  thin rings. Clean the mushrooms. When you're having big mushrooms, cut them into bite size pieces. Peel the carrot and cut into very thin (2mm) rectangles.


2. Then cut the cabbage into 4 cm long and 1 cm wide pieces. This may be a weird comparison, but that's about the size of your pinky ... a bit smaller maybe. Cut the beef the same size.
3. Squeeze or grate the garlic into a bowl. Add the marinade ingredients und mix well.
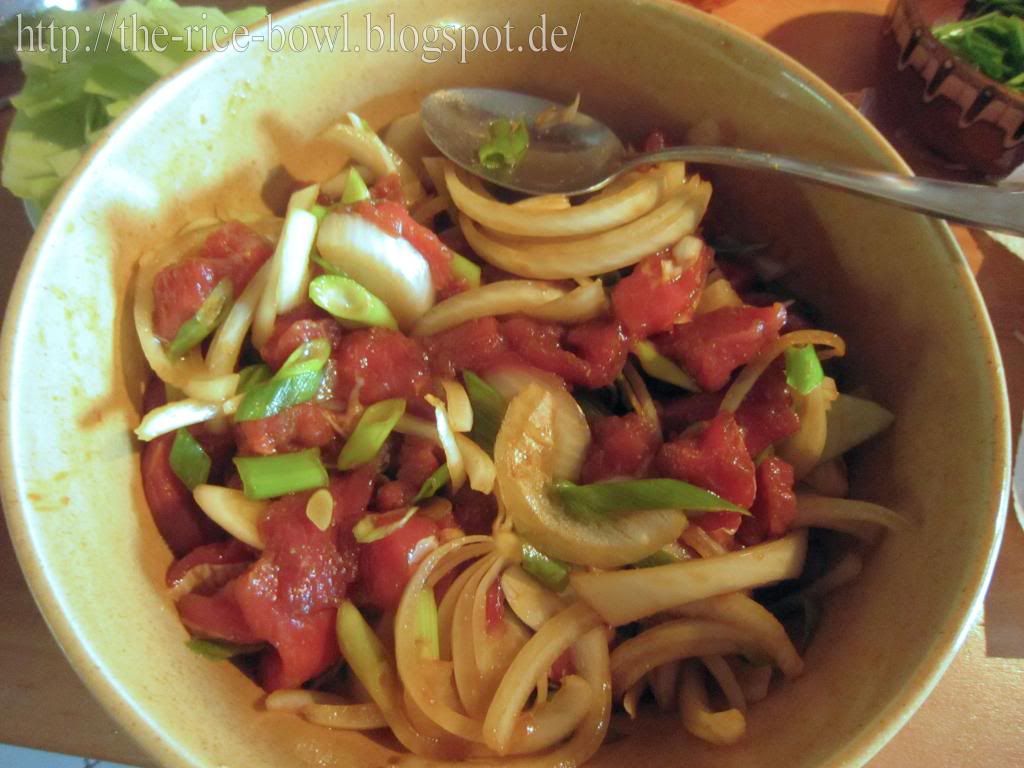
4. Add the beef to the bowl and stir until covered with marinade. Add the onions and scallions and mix well.


5. Let's mix the sauce! First, mix soy sauce and rice wine. Then add sugar and miso. In the end, add Gochujang and mix well.
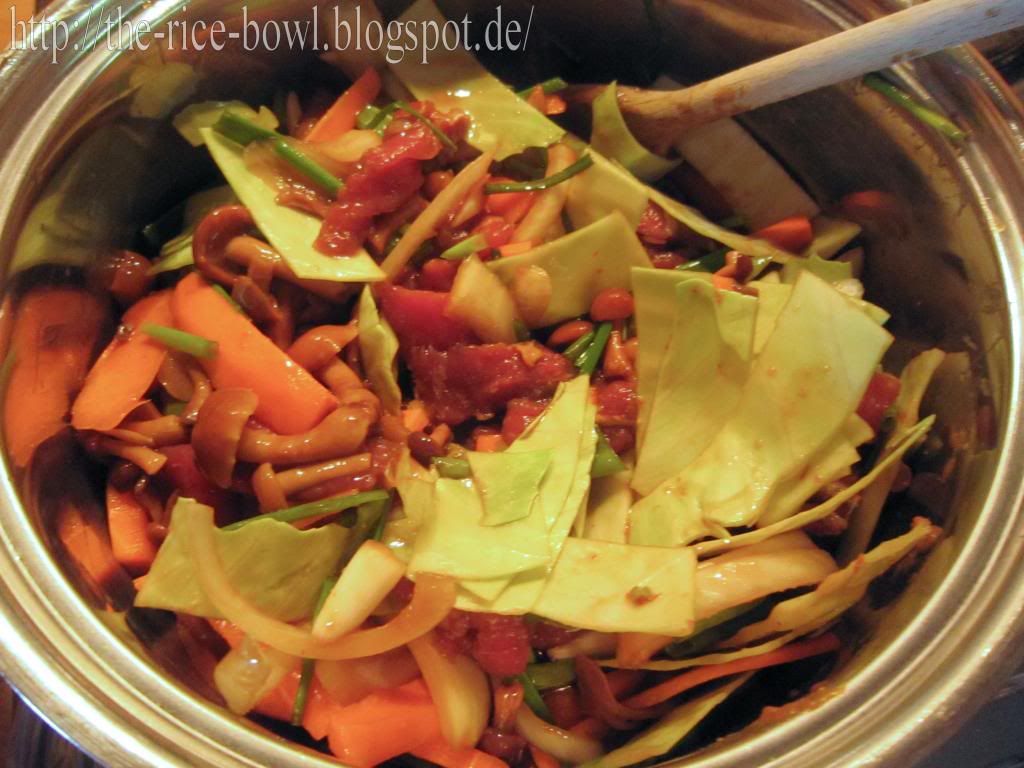
6. Let's cook everything! You'll need a pot, big enough to fit all the ingredients. Add the whole bowl of beef, vegetables and marinade to the pot. Now add the mushrooms, the carrots, the chives, cabbage and the sauce. So basically everything, okay?


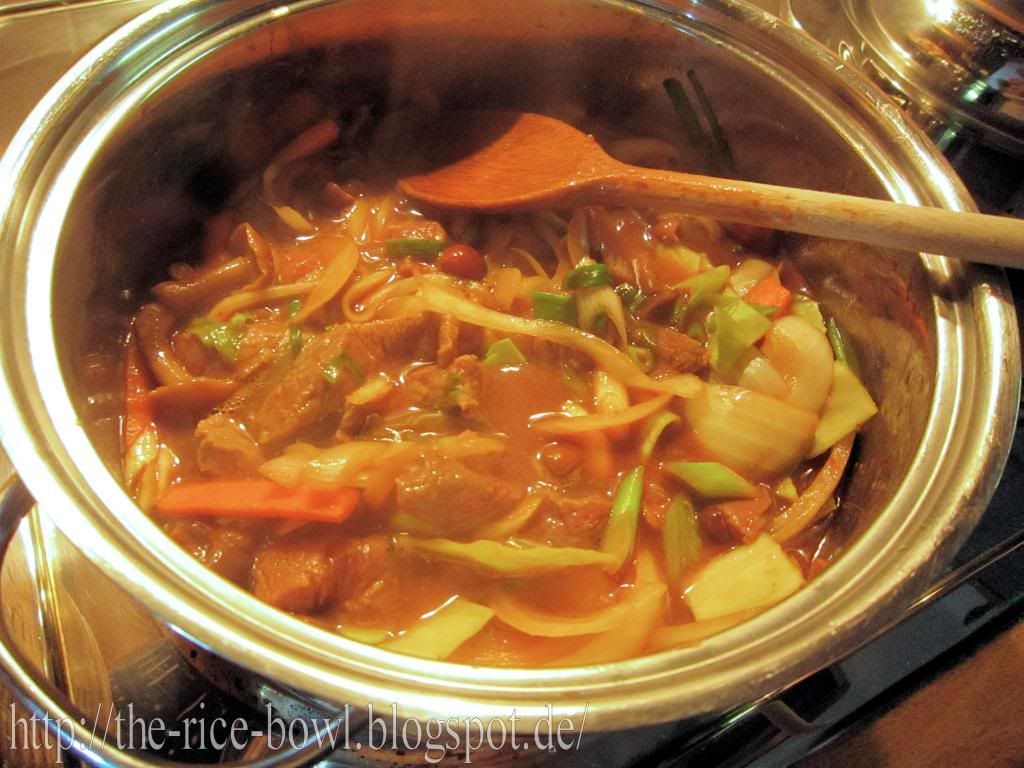
7. Bring to boil over medium heat, keep stirring. Then reduce heat and keep cooking until the beef has turned brown and the vegetable is soft. Done! Turn off the heat!
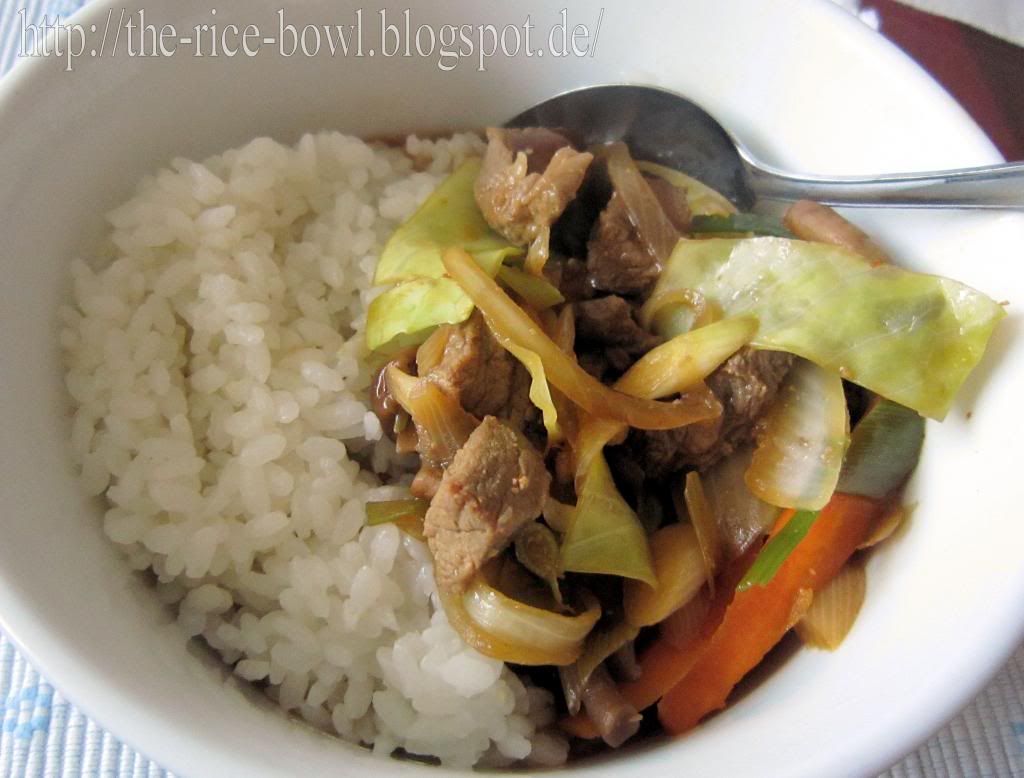
8. No you only have to arrange it! If you're not good with spicy food (like me), eat it with rice.

맛있게 드세요!
(Is that correct? I have no idea, what it says! XD)

Mittwoch, 24. Oktober 2012

Open Sandwich Recipe [Brote auf skandinavisch Art Rezept]

This is a quick one, it's basically just arranging. Prunes and liverwurst might seem a little off, but it's actually really good.

Open Sandwiches for 4 [300kcal / serving]


8 slices of rye bread (The smaller the better. I had too big slices and as you can see, it looks kinda boring. You can use other kinds of bread.)
8 servings of butter
8 small servings of liverwurst
8 slices salami
8 prunes
8 prepared shrimps (you can take fresh ones, then you have to prepare them yourself)
8 slices of lettuce
tartar and sweet chili sauce if you like

1. Spread a serving of butter on each slice of bread.
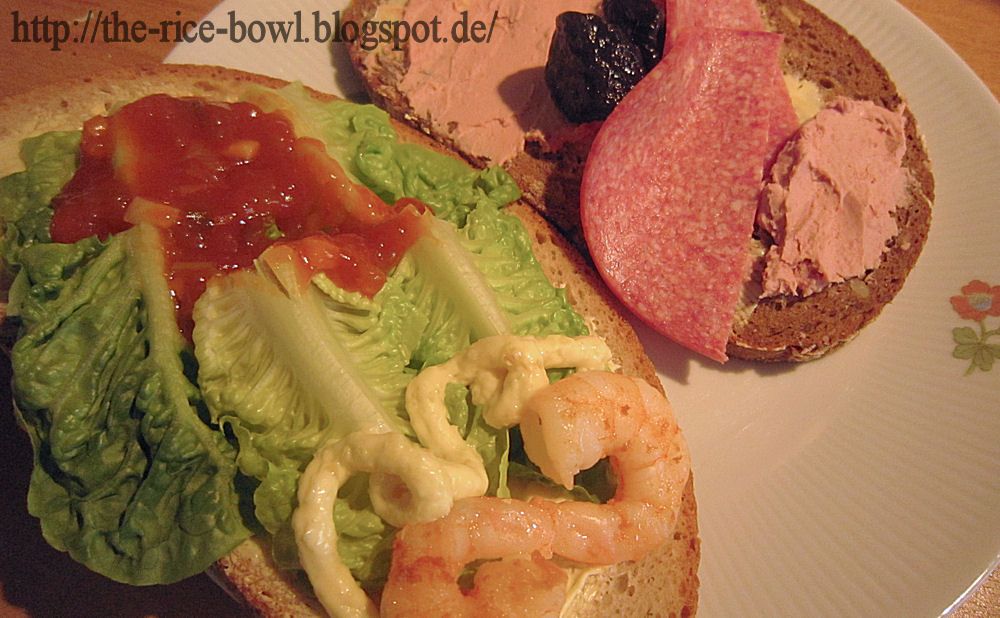
2. Putt a blob of liverwurst on one half of 4 of the breads (so in the end you have 4 slices of bread with on half liverwurst).
3. Arrange two prunes in front of the liverwurst.
4. Put two slices salami in front of it.
5. Add the second blob of liverwurst. So in the end, your bread slices look like this: liverwurst, 2 prunes, 2 slices salami, liverwurst.
6. Arrange lettuce and shrimps on the other 4 bread slices.
7. You can add remoulade and sweet chili sauce to the shrimp sandwich if you like

Nyt ditt måltid!

Montag, 8. Oktober 2012

Kung Po Prawns Recipe [Kung Po Garnelen] Gong Bao Prawns

For this recipe, you're supposed to use giant prawns, but as I've mentioned before, I'm highly allergic to shellfish, that's why I can't prepare prawns (my fingers swell). So when I'm making this dish for my family, who loves it, I'm using already prepared shrimps out of the chiller cabinet.

To achieve a more appealing look, you should try to use giant prawns with the head still on.

Kung Po Prawns for 4 (220kcal / serving)


400g shrimps OR 20 giant prawns with the head on OR you can use any other white fish or squid
200ml chicken broth
50g scallions
15g ginger
2 garlic cloves
2tbsp Doubanjiang (you can use chilisauce instead, but the taste will be slightly different)
2tbsp starch
8tbsp ketchup
4tbsp sake (rice wine)
1 1/3tbsp soy sauce
2tbsp sugar
2tsp rice vinegar
1 1/2tbsp salad oil
2tsp sesame oil


1. Chop scallions, ginger and garlic.


  • When you're not using prepared shrimps, you should now prepare the giant prawns. Remove the legs and antennas with a knife or a pair of scissors. Remove the end of the tail and press out the liquid. Cut open the backpart of the prawn, but keep the first and last segment intact. With a thin skewer, remove the bowel.

2. In a bowl, combine chicken broth, ketchup, sake, soy sauce, sugar and vinegar. Mix well.
3. In another bowl, combine starch with 2tbsp water.
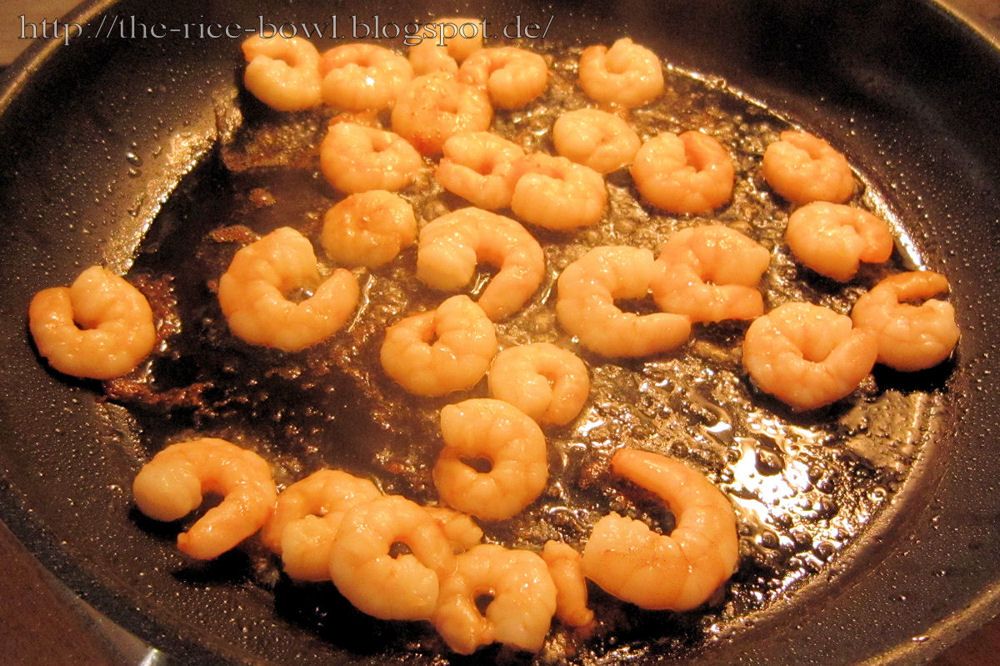
4. Let's fry the prawns/shrimps. In a pan, bring 2tsp salad oil to high heat. Add the shellfish.
5. When using prawns you fry them until they turn red. When using shrimps, you fry them for about 2-3 minutes. Then remove both from the pan.


6. In the same pan, heat another 2tsp of salad oil and add scallions, ginger and garlic. Add doubanjiang but be careful. The spiciness might make you cough or burn in your eyes. Cook until everything developed its aroma.
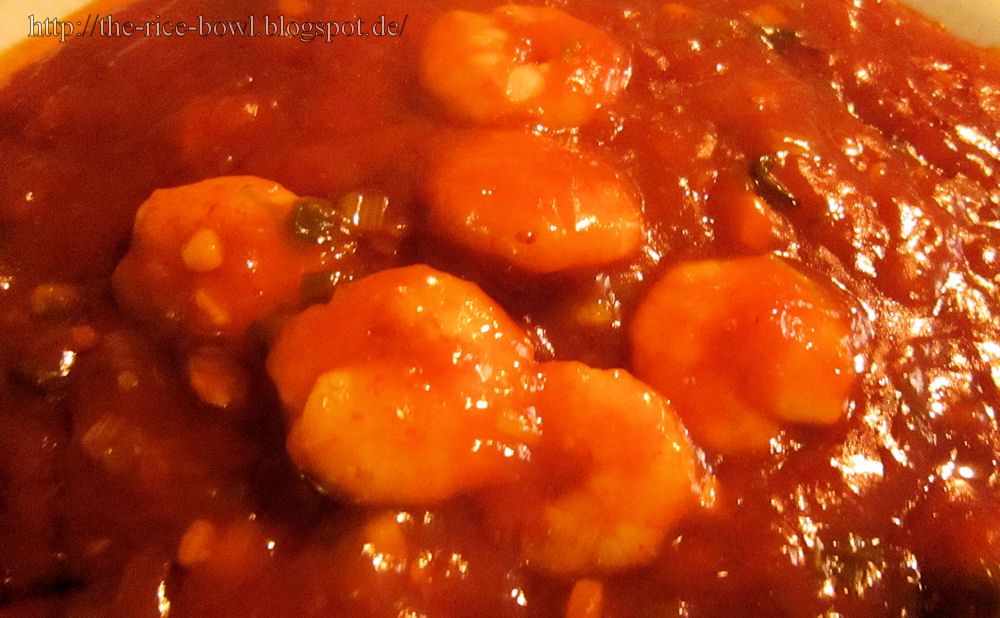
7. Add the prepared spice mix (the one from step 2). Bring to a boil.
8. Add the shellfish and fry for another few minutes.
9. Slowly add the starch mixture while stirring fast to thicken the sauce.
10. At the end, add the sesame oil and done!

请慢用!!

Sonntag, 7. Oktober 2012

Spicy Fried Eggplant Recipe [Auberginen in pikanter Sauce Rezept]

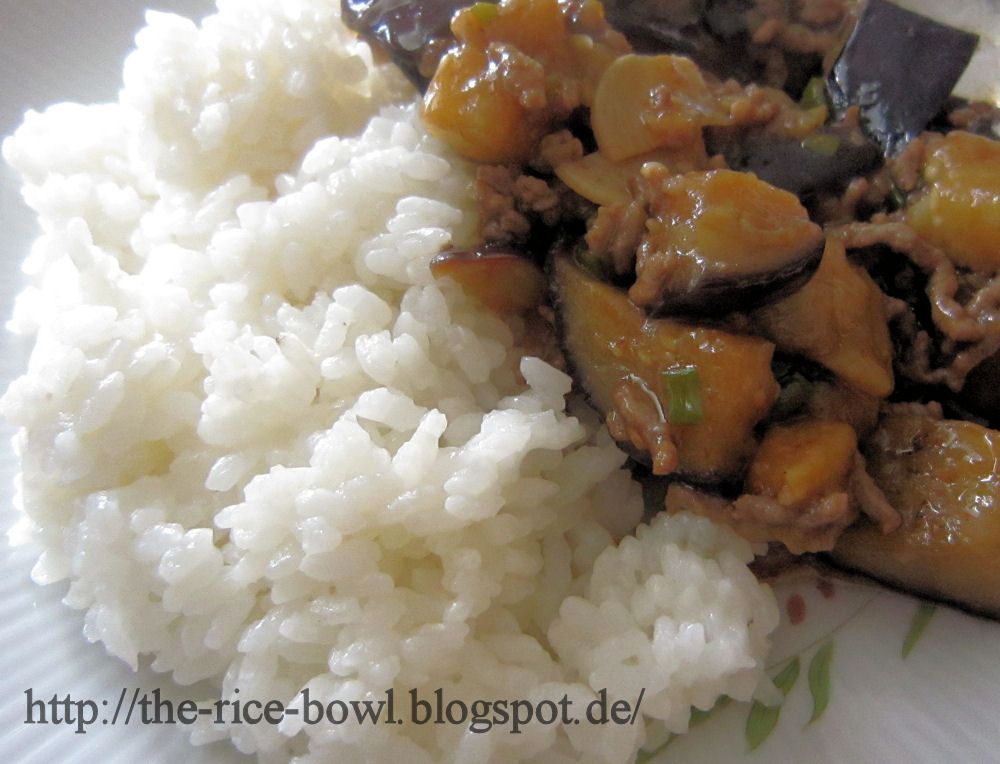
This recipe is rather oily, so you should serve it with a plain side dish like rice to take in the extra oil. You can also consider steamed or cooked side dishes.
Fry the meat together with the garlic to give it an extra aroma, then add the fried eggplant.
You can use pork or beef and chilisauce instead of doubanjiang, but the taste will be not the same.


Spicy Fried Eggplant for 4 (500kcal / serving)


800g eggplant
150g - 200g (what you like) of  ground meat
200ml chicken broth
70g scallions
15g ginger
2 garlic cloves
2tbsp salad oil
3tbsp soysauce
2tbsp sake
2tsp sugar
1tsp Doubanjiang
2tsp starch
2tsp sesame oil
oil for deep frying


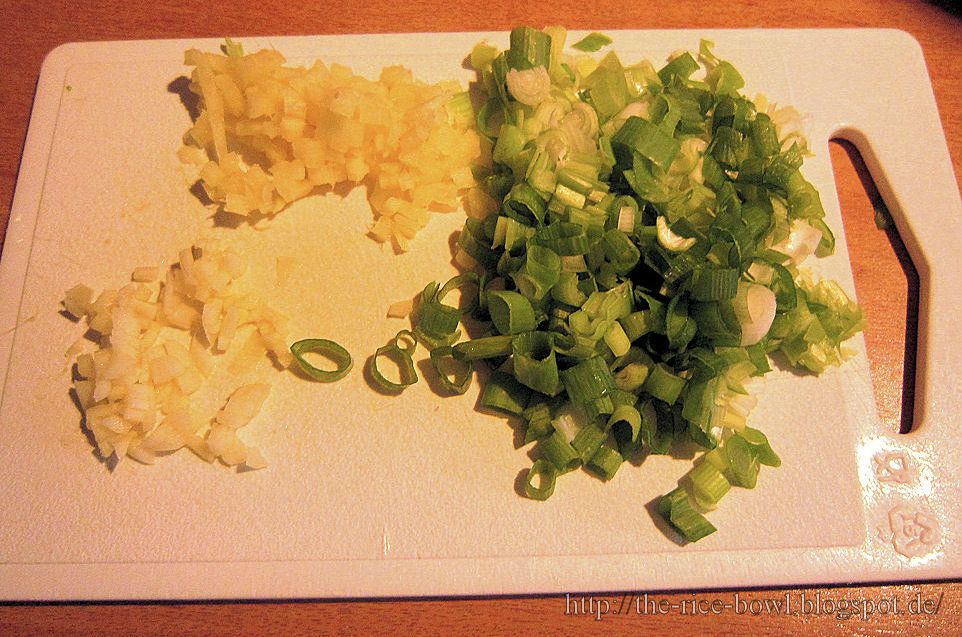
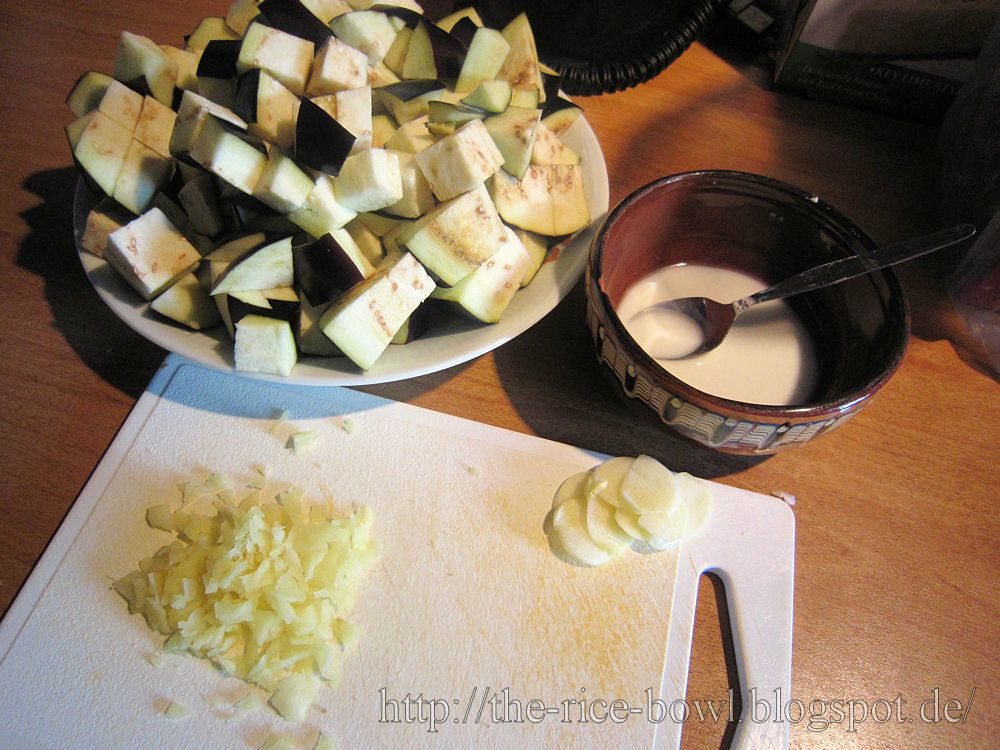
1. Cut the scallions into small rings. Peel the ginger and garlic and then thinly slice both of it.
2. Remove the stem of the eggplant. Cut it into bitesize pieces.


3. Now it's time to deep fry the eggplant. In a pot, heat enough oil to 180°C. Add the eggplants and deep fry until the skin is deep purple (2-3 minutes). Take them out and place them on a plate with a kitchen towel to drain.
4. Let's fry the meat. In a pan, bring the salad oil to medium heat. Add the ground meat and fry until crumbly.
5. Add ginger, scallions and garlic and keep frying.
6. Add doubanjiang but be careful, the spiciness might make you cough or burn in your eyes. Add soysauce, sugar and sake. Add the chicken broth and boil up.


7. Add the fried eggplant and let everything boil for 1-2 minutes.
8. In the meantime, combine the starch with 1 1/2 tbsp water. While fast stirring, add the starchmix to the pan and thicken everything a bit.
9. When it has thickened, add the sesame oil and done!


请慢用!!

Beware, you might need some bitters afterwards.

Mittwoch, 29. August 2012

Sopa de Fideos Recipe [Nudelsuppe Rezept] Noodle Soup Recipe

This soup is not one of my all time favourites. But I've made it for a lots of people, who actually liked it a lot, so I guess it's just me.
In this recipe I'm using chorizo - a Spanisch sausage. You can use salami oder speck or other sausages with distinctive taste. But since every sausage is different, you have to be very carefully with seasoning.

Sopa de Fideos for 4 (90 kcal / serving)


100g chicken breast (with skin or without)
20 chorizo
20g thin noodles or actual soup noodles
1l chicken broth
salt
pepper
chopped parsley for the finishing touch

1. Put chicken breast, chorizo and broth together in one pot. Bring to a boil and then reduce heat. Let slightly cook for ca. 5 minutes and then take the pot from the stove.
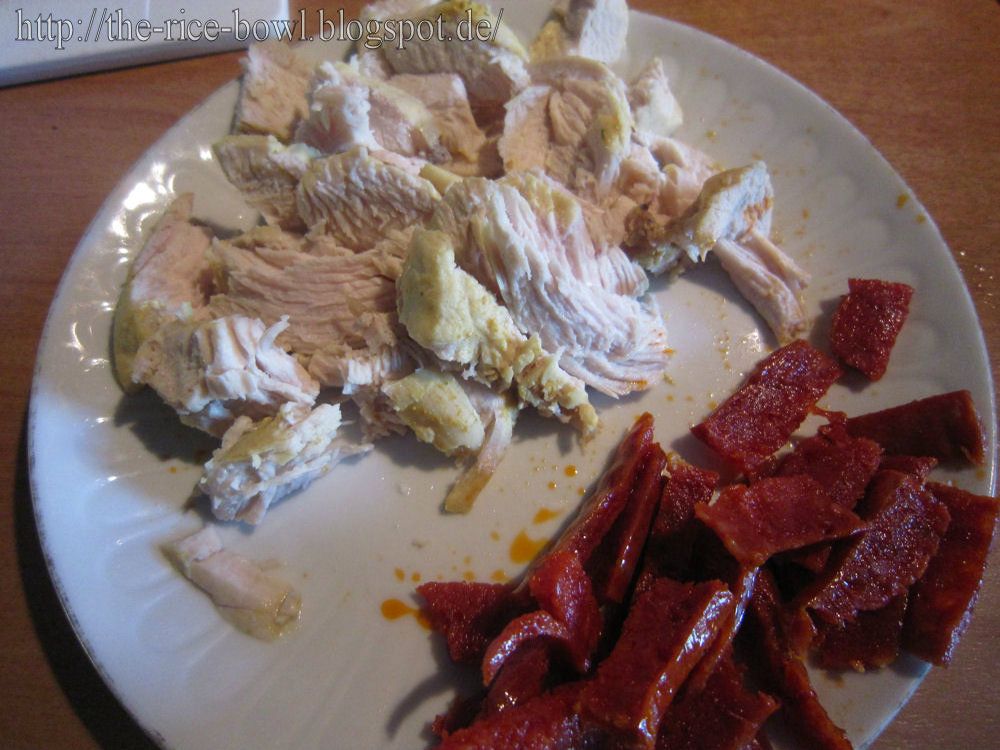
2.Remove chicken and chorizo from the pot, but keep the broth!
3. Let the meet cool. Remove the chicken skin and tear it into stripes.
4. Cut the chicken skin into fine stripes. If chicken was skinless, skip this step.
5. Cut the chorizo into fine stripes.


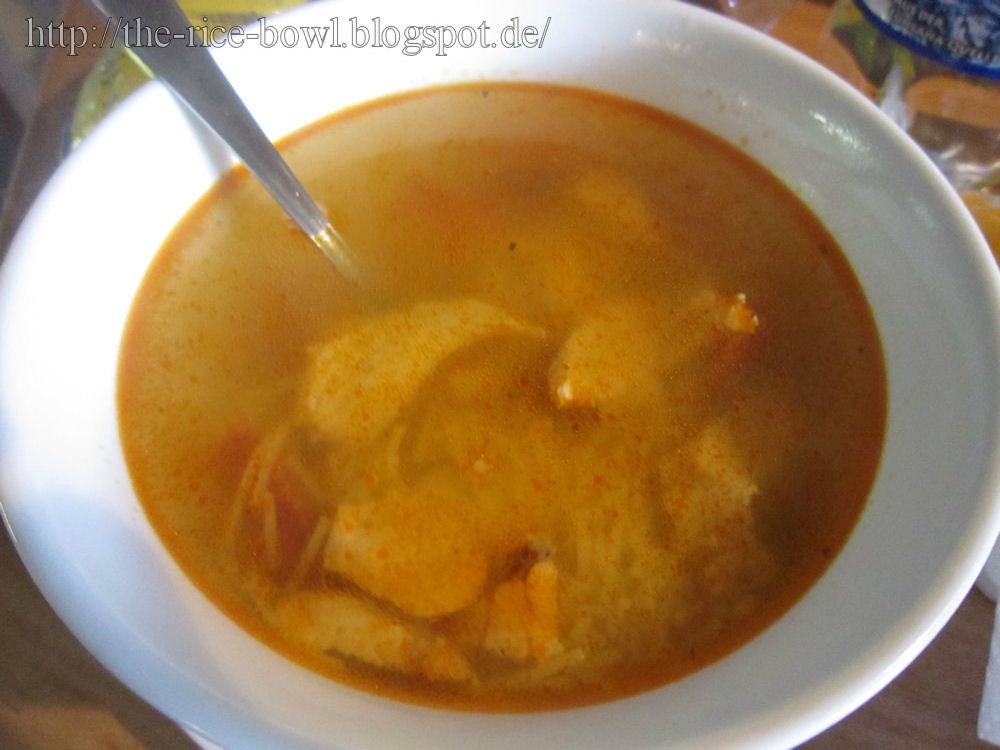
6. Bring the soup to a boil. Break the noodles into 3cm pieces and add them to the soup. Let everything boil for ca. 3 minutes or until the noodles get soft.
7. Add meat, skin and chorizo back to the broth, so they warm up.
8. Add salt and pepper to taste. Arrange in a bowl and sprinkle with parsley.

Buen Provecho!

Mussels Soup Recipe [Muschelsuppe Rezept]

This recipe uses mussels from can. You can also use fresh mussels, still in their shell and add clam shells (it looks better), but then you have to clean them first, which is not described in this recipe. Please be careful when cooking shells, if they don't open while cooking, they're not edible anymore!

When mussels are cooked too long, the taste will change for worse.

Mussels soup for 4 (80 kcal / serving)


18 mussels
20g butter
20g celery
1l chicken broth
salt
pepper
2tsp chopped parsley (for decoration and finishing touch)

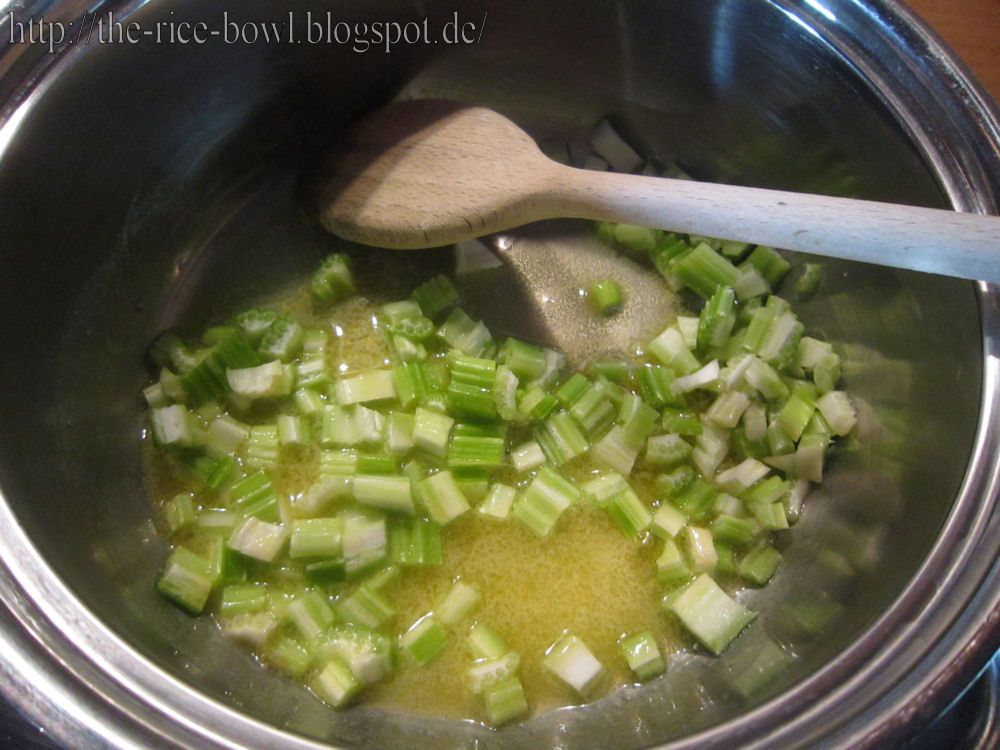
1. Wash the celery and chop it into fine pieces.
2. In a pot (big enough to hold all the ingredients), melt butter over low heat.
3. Add the celery and fry until soft.


4. Add the mussels and fry for a few moments only.
5. Add the broth and bring to medium heat.
6. Let simmer for ca. 5 minutes.
7. Taste with salt and pepper.
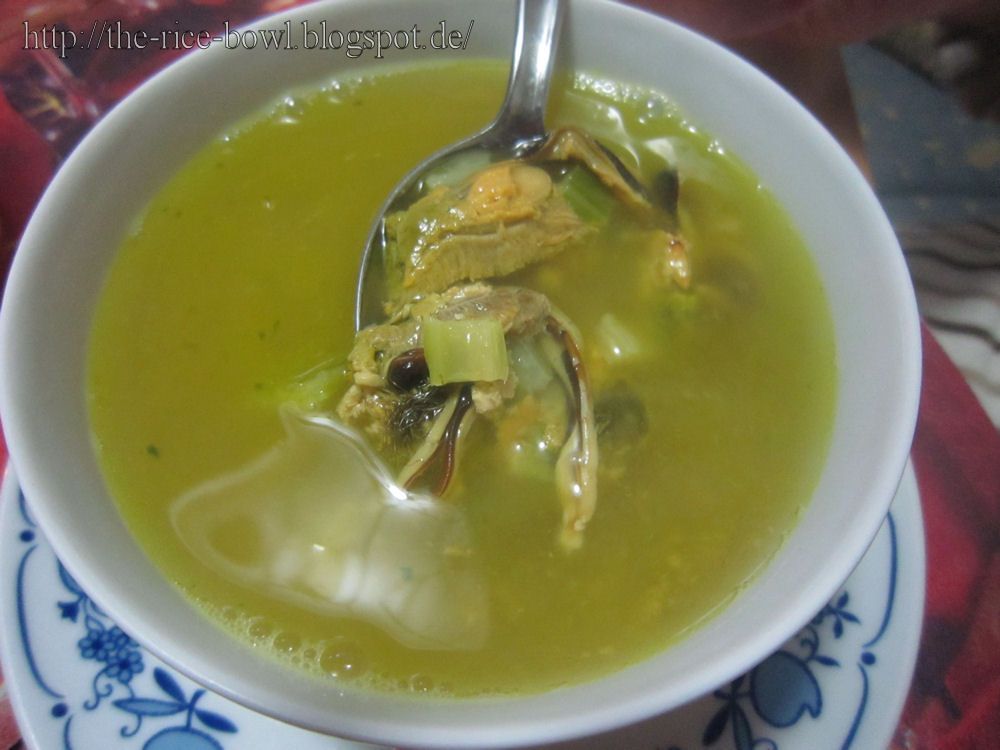
8. Arrange in a bowl and sprinkle with the parsley.

Bon Appetit!

Samstag, 30. Juni 2012

Salade des Carottes [Karottensalat Rezept] (French Carrot Salad Recipe)

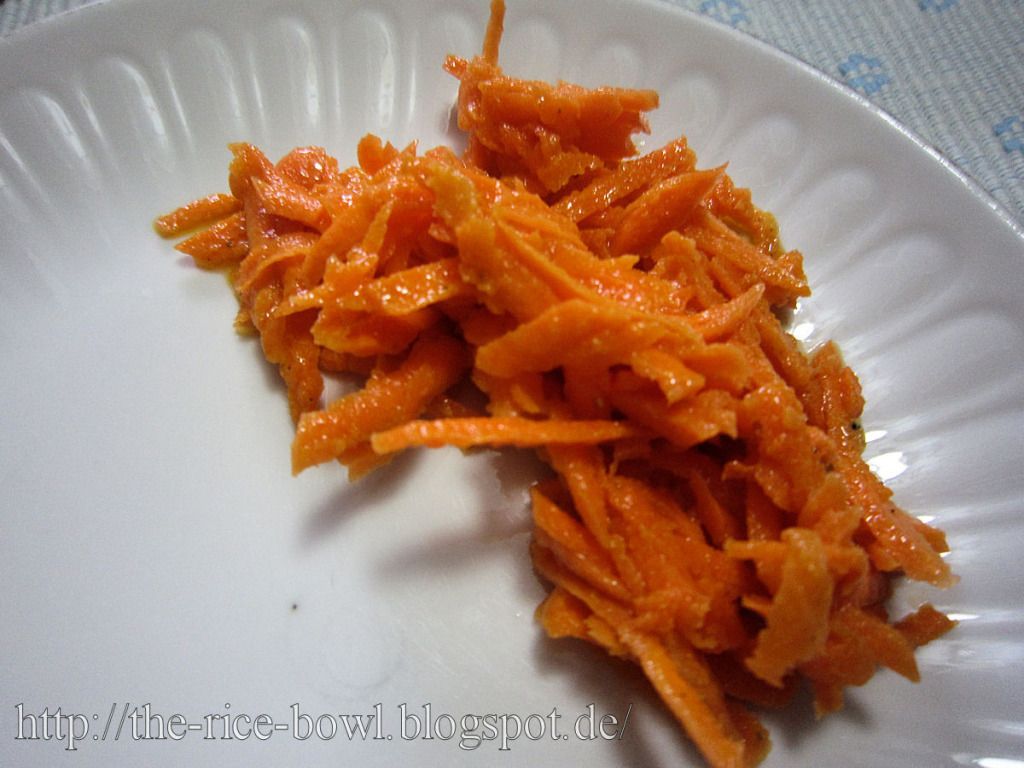
Be warned ... the pics don't look very appealing, but the taste is fine!

Carrot Salad for 4 (270 kcal /serving)


400g carrots
2tbsp white wine vinegar
4 tbsp salad oil
4 tbsp olive oil extra vergine
2 tsp medium hot mustard
2 tsp lemon juice
chopped parsley as decoration
salt and pepper to taste


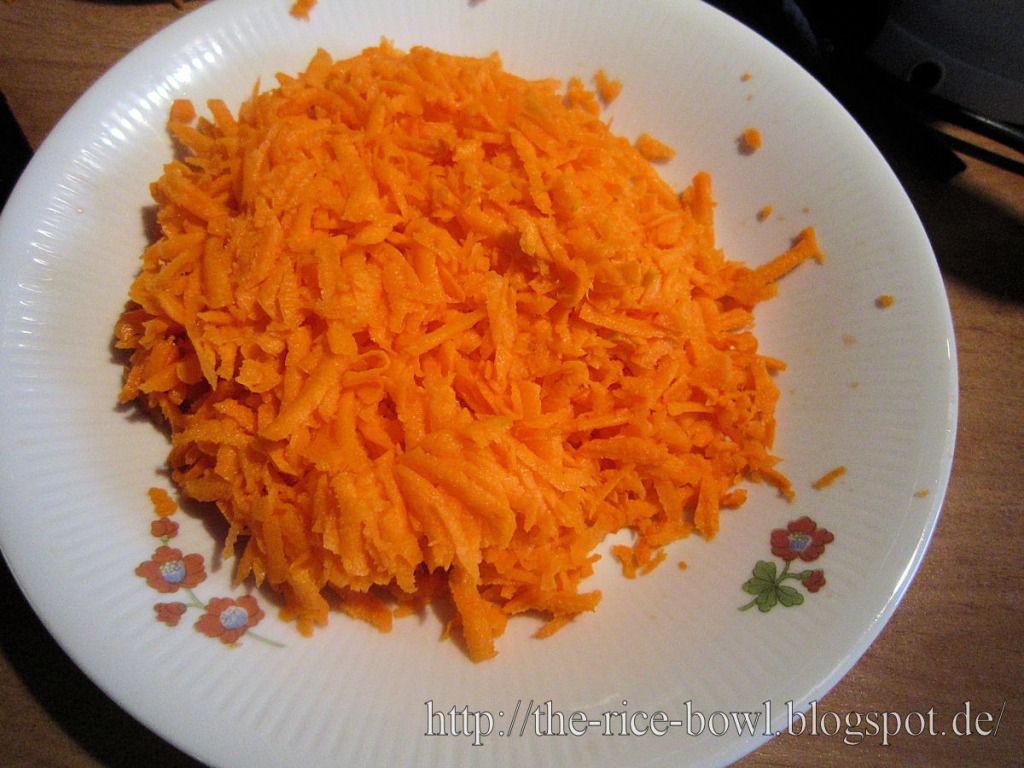
1. Peel the carrot. Rasp it.


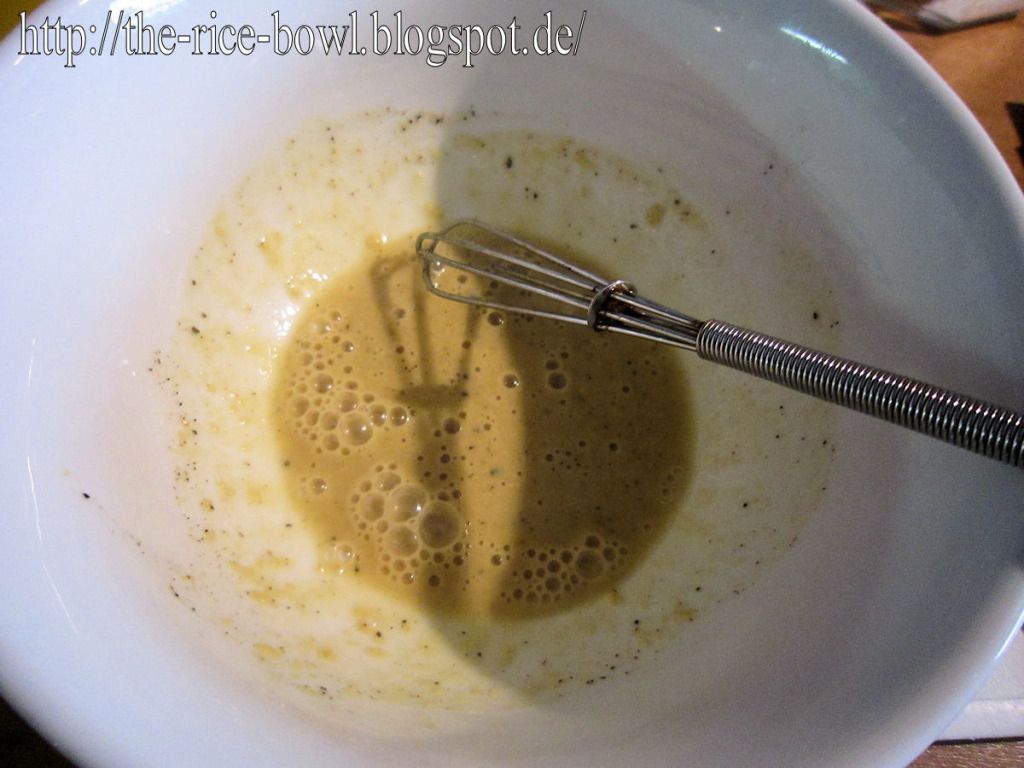
2. In a bowl, combine salt, pepper, mustard and mix. Add the white wine vinegar and lemon juice. Mix everything well.


3. Keep mixing and slowly ad salad oil. Add olive oil the same way.
4. Add the raspes carrots to the bowl and mix until they're covered with the dressing.
5. Sprinkle with parsley.

!Bon Appetit!

Samstag, 23. Juni 2012

Changes

I've changed the layout. You can now directly pick a recipe you're interested in by first clicking on the continent and then the dish. Everything is arranged alphabetically and some dishes are explained. First, I was going to make the usual division in starters, soups, desserts etc. but this isn't the purpose of this blog. This blog wants to show you the different nations of the world by their foods. A culinary world tour, you could say.
If you're not sure what to cook, you can still use the search function and look for words like 'tomatoes' or 'noodles'. Every post comes with lots of tags to make sure, you find what you're looking for. :)

If this is not working for you, please tell me!

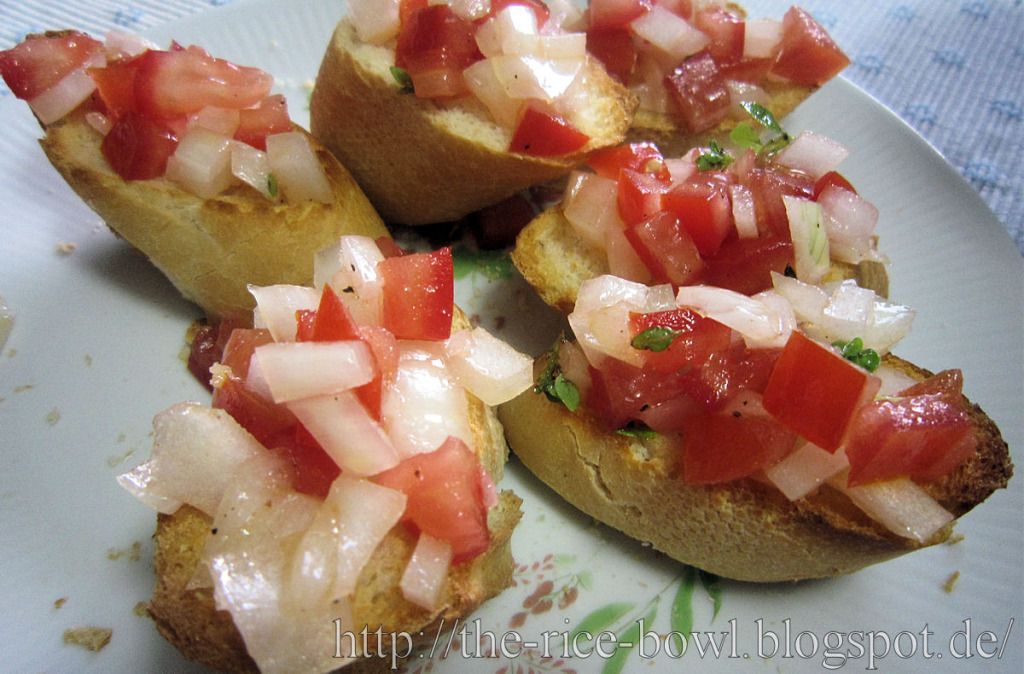
Bruschetta with Tomatoes Recipe [Bruschetta con pomodorini e olio] (Tomatenbruschetta Rezept)

Bruschetta are a very easy dish, but not very filling. It's best served as a starter or as a quick and delicious small dinner.

Bruschetta for 4 (120 kcal / serving)


200g tomatoes
30g finely chopped Spanish onions (the big, watery ones) (you can take regular ones, but they might be a bit too spicy)
5 basil leaves
2tbsp olive oil extra vergine
8 slices of baguette
1/2 - 1 garlic clove (to taste)

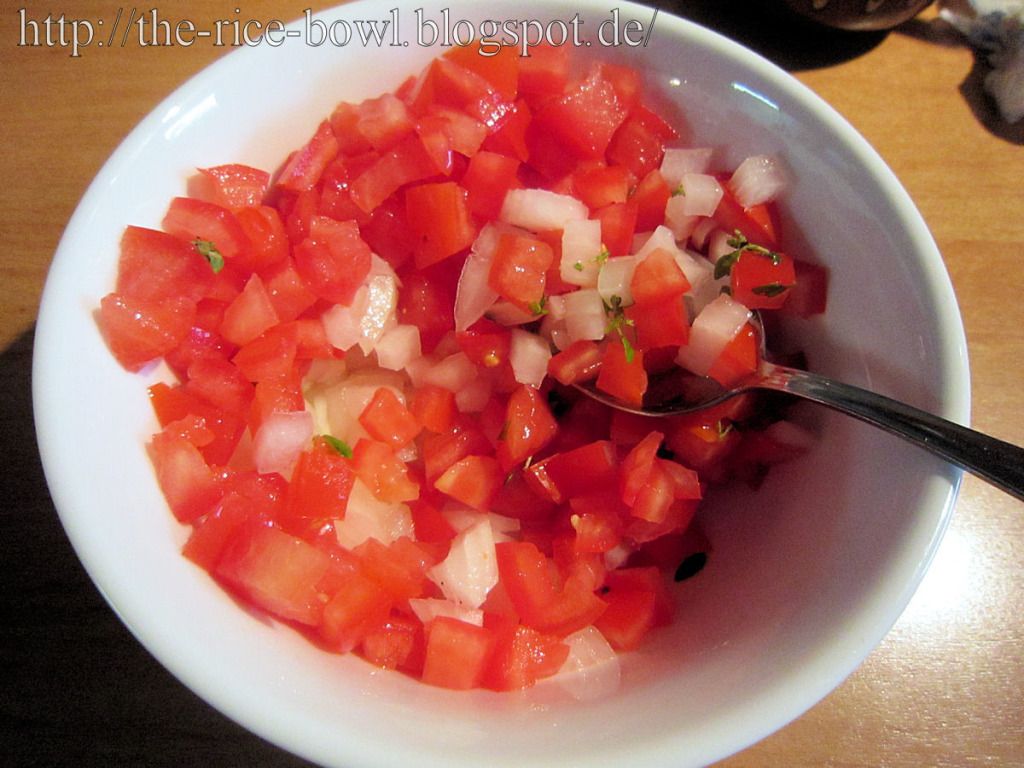
1. Remove the tomatoe stem, cut the tomatoes in half and remove the core. Cut into small cubes.
2. Cut the basil into fine stripes.
3. In a toaster oven or your regular oven or with the grill function of your microwave: toast the baguette slices until crisp.
4. Cut the garlic clove in halb and then rub the toasted baguette with the cut face.
5. In a bowl, combine tomatoes, onions and basil. Add the olive oil. Mix well and taste with salt and pepper.


6. Just before you're serving the bruschetta, arrange the topping on the baguette slices. If you're doing it too early, the bread will get all soggy.

Buon Appetito!

Freitag, 25. Mai 2012

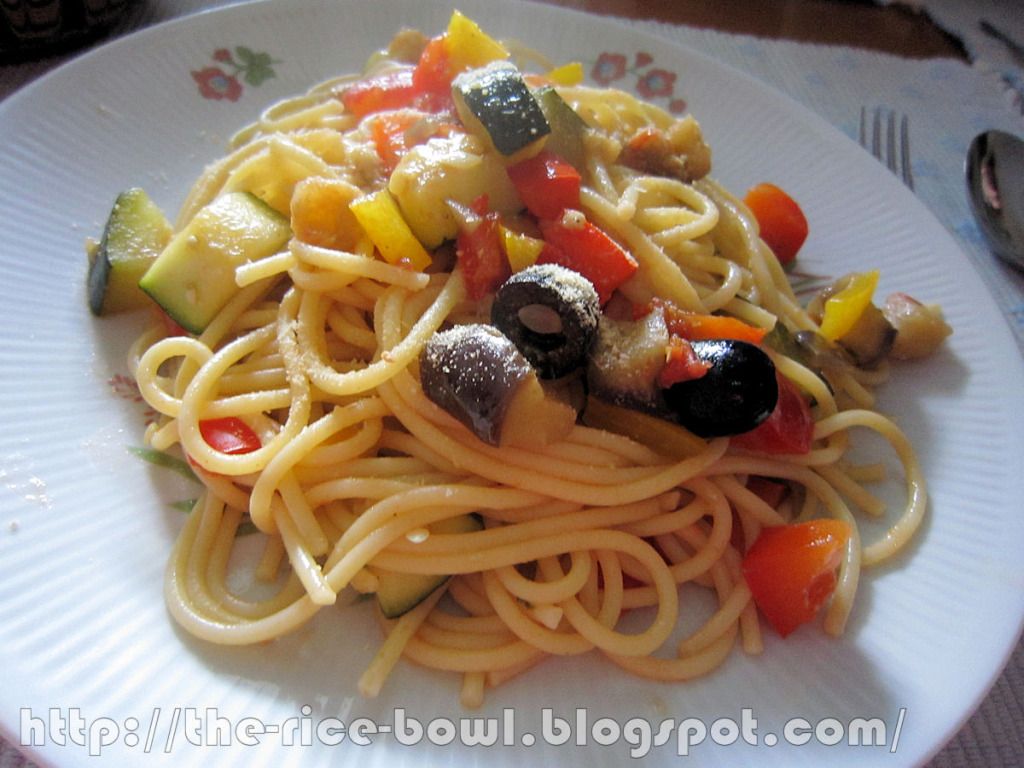
Spaghetti alla Siracusana Recipe

I haven't been blogging for over half a year now. Not because I'm not cooking anymore - I still am several times a week - but because posting recipes is kinda hard work. The bigger was my surprise, when I saw, that this blog is still visited by people, looking for recipes.  I would have never expected it. I hope, I can blog recipes more often from now on. Maybe every friday... I'll try my best.

Spaghetti alla Siracusana for 4 (610kcal / serving):


400g spaghetti (or other noodles if you like)
100g egg plant
1 red bell pepper
1 yellow bell pepper
160g zucchini
700g tomatoes
black olives (I think that 10 are okay, but if you like them, you can add more and if you don't like them, you just leave them)
fresh basil leaves (ca. 8)
2 garlic gloves
3 filets of anchovies (Don't worry, it won't taste like fish in the end. But be careful, just take the ones in oil, not the salty ones.)
olive oil
salt and pepper to your taste
parmesan

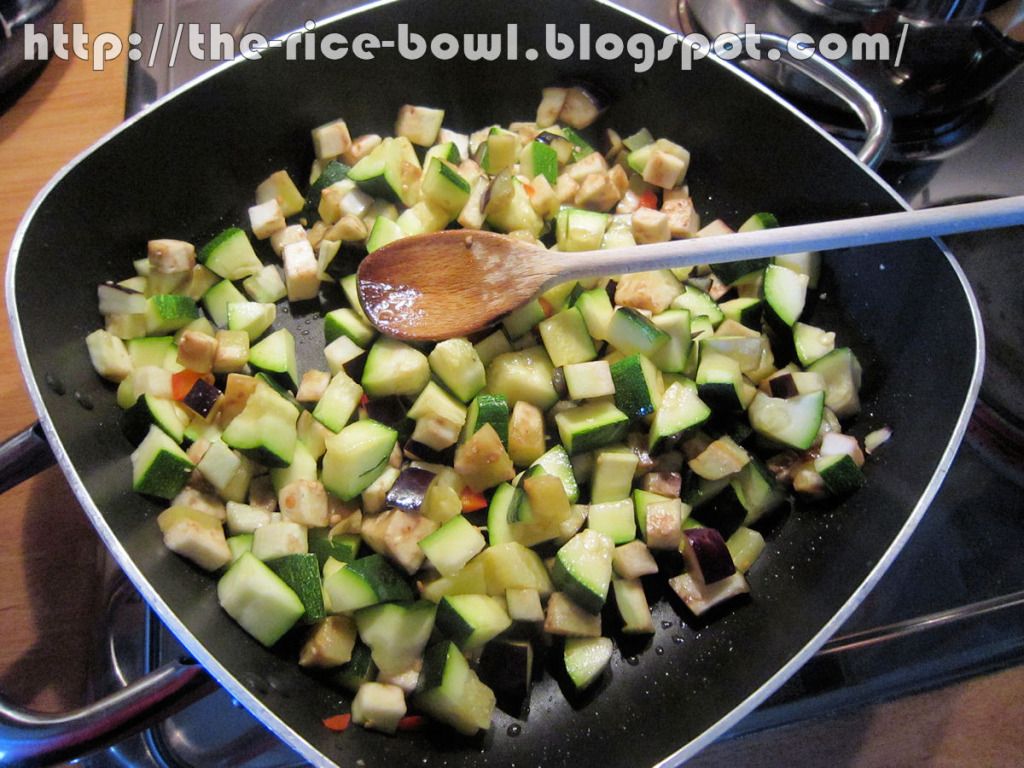
1. Wash the zucchini and eggplant and cut them in 1 cm cubes. Sprinkle with a bit salt and let stand for ca. 20 minutes. It'll increase the aroma.
2. Meanwhile, remove the stem of the bell peppers. Wash and cut into 1 cm cubes.
3. In a pot, big enough to hold the tomatoes, bring enough water to boil. Scratch a cross in the bottom of each tomatoe, that'll help the peeling later. Now blanch the tomatoes in the boiling water.
4. When the skin starts bursting, get the tomatoes out, chill under cold water and then peel the skin.
5. Cut the tomatoes into 1cm cubes.
6. Cut the olives into half.
7. Peel the garlic and crush it with a wooden spoon.
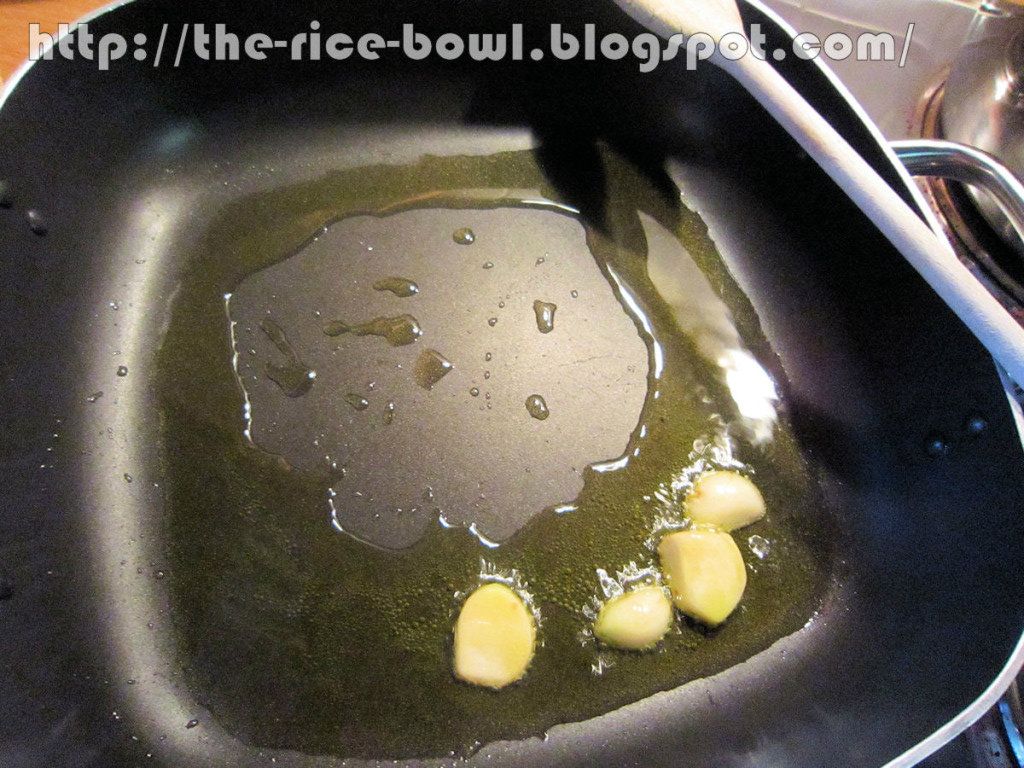
8. Now you need a pan. Add like 4tbsp of olive oil into the pan and bring to medium heat. Add the garlic and let brown. Then take out.


9. Put zucchini and eggplant in the same pan. Fry until they're getting slightly brown.


10. Add the anchovy and while frying, squash them with a spoon.
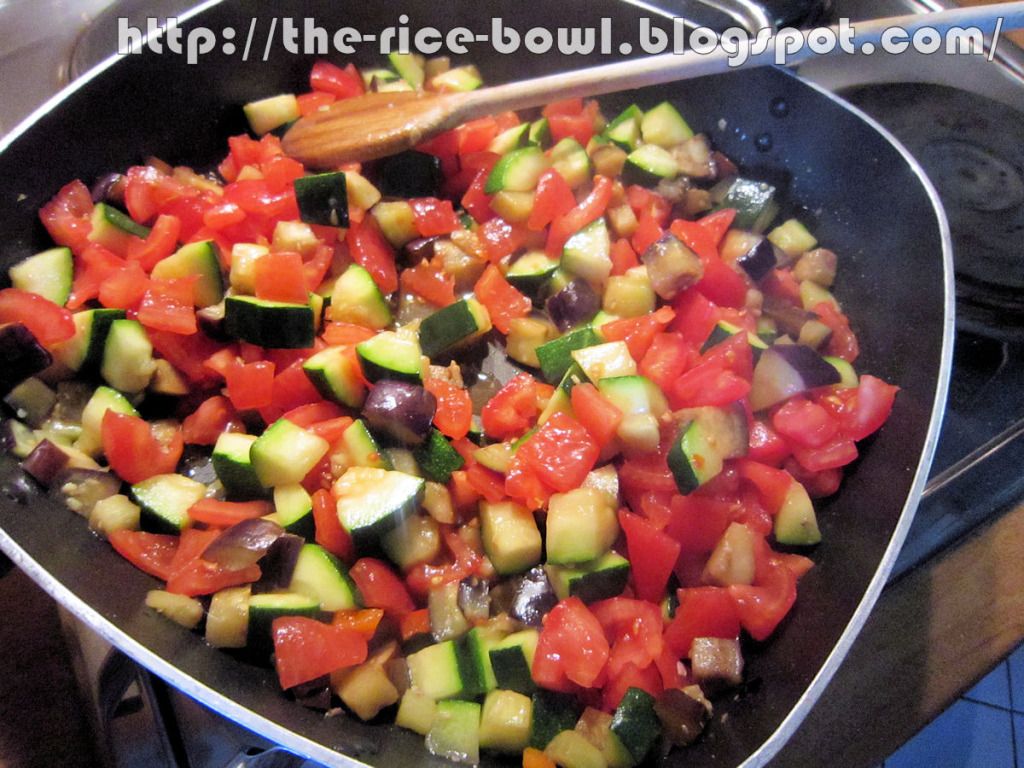
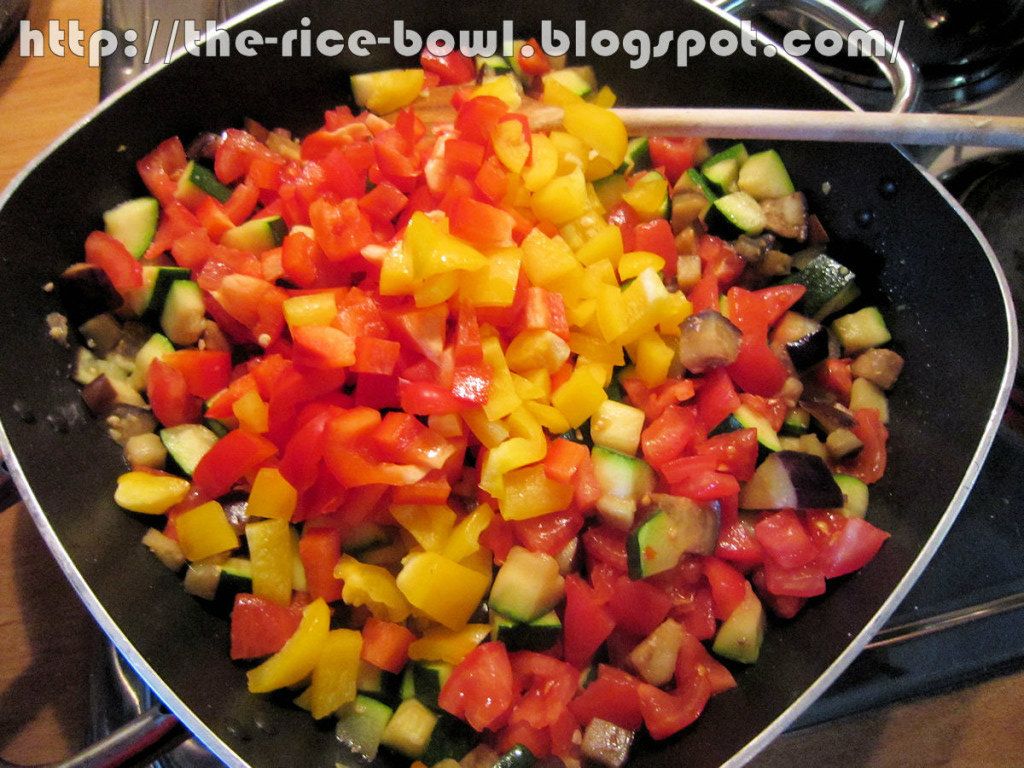
11. Add tomatoes and bell pepper. Mix well an keep frying.


12. When everything's covered with oil, reduce to low heat and let simmer for 10 minutes.
13. In the meantime, cook the spaghetti.
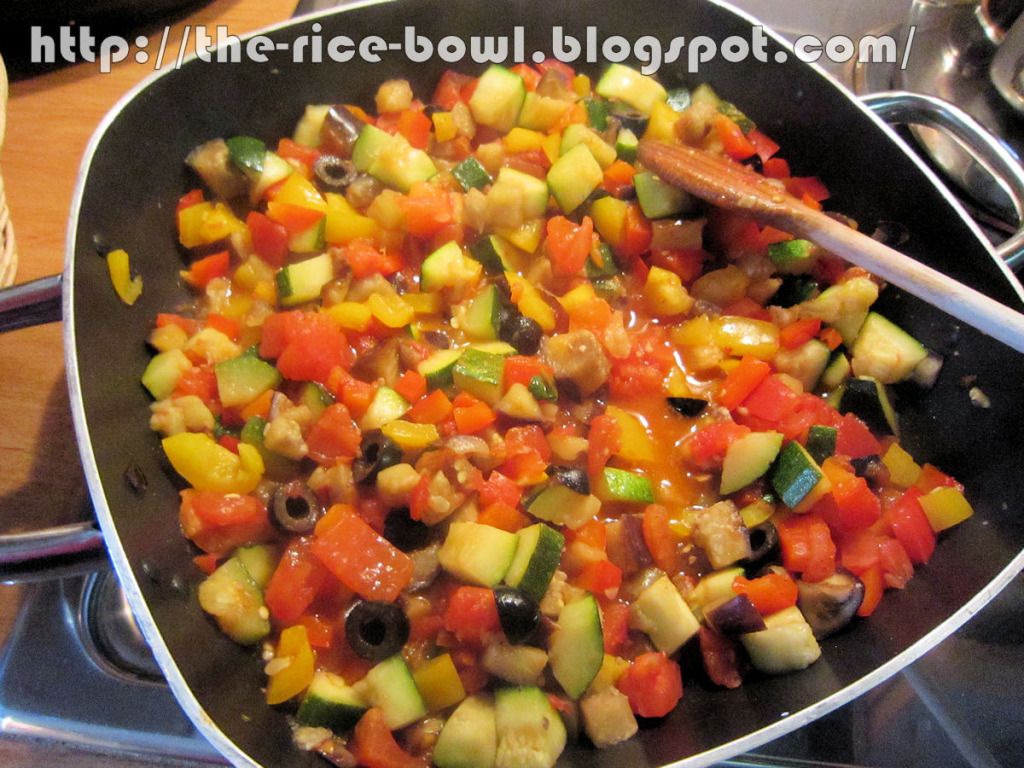
14. When the time has passed, add basil leaves and olives to the sauce and bring to medium heat again.


15. Add the cooked spaghetti to the sauce and stir everything. Add salt and pepper to your taste.
16. Finally arrange the spaghetti on a plate and sprinkle with parmesan and you're done!

Buon Appetito!

Montag, 14. November 2011

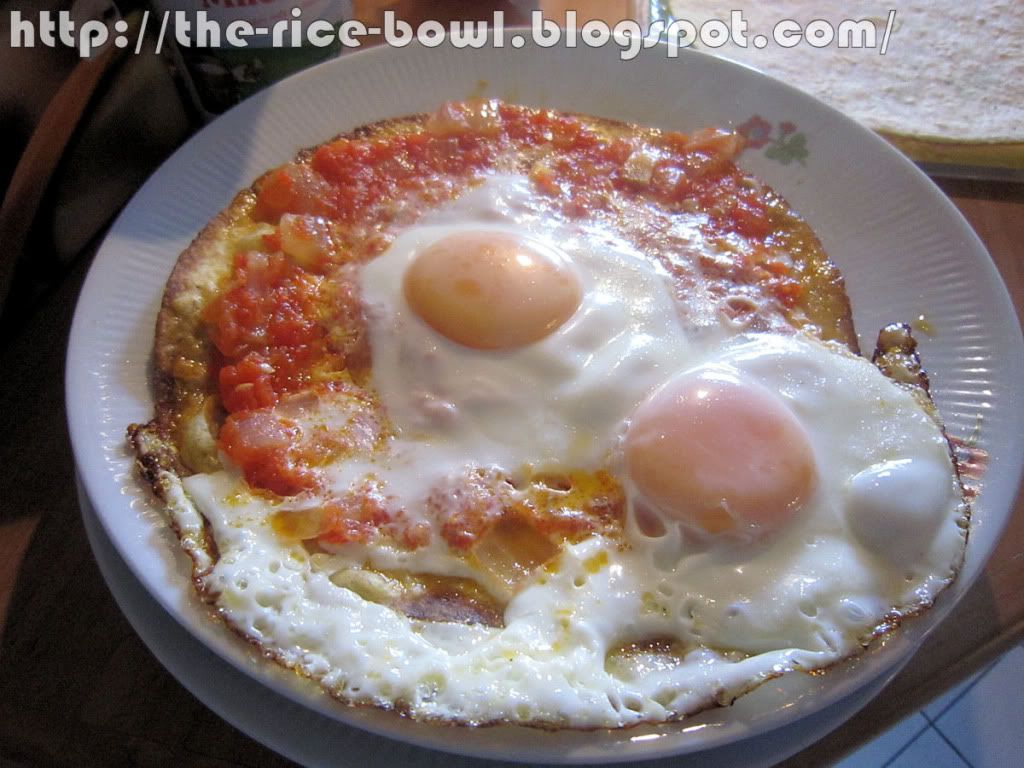
Tortillas with Huevos Rancheros Recipe [Tortillas mit Huevos Ranchos Rezept]

This one is actually very easy AND delicious. I guess, it's a good morning dish, too.

Tortillas with Huevos Rancheros for 4(530kcal / serving):


4 tortillas
8 eggs (you can also take one per serving)
400 tomatoes
1/2 onion
chilisauce
4tbsp olive oil
salt and pepper to your taste
you need a food processor ... if you don't have one, take processed tomatoes out of a can

1. Peel the onion and chop. Wash the tomatoes. Remove stem, cut in pieces and then purée in the food processor.
2. In a pan, bring olive oil to medium heat. Add onions and fry until lucent. Add the tomatoes.
3. Close the pan with a lit and let simmer over low heat for ca. 10 minutes.
4. Add chili sauce, salt and pepper to your taste, then take off the cooker.
5. Now you need another pan with lit, big enough to fit one tortilla. Place a tortilla in the pan over medium heat. Spread a bit of salsa ranchera on it and crack to eggs over it. Add a little salt and pepper, then close the lit and let cook until the eggs are done to your taste.
6. Arrange on a plate and done!

¡buen provecho!

Samstag, 15. Oktober 2011

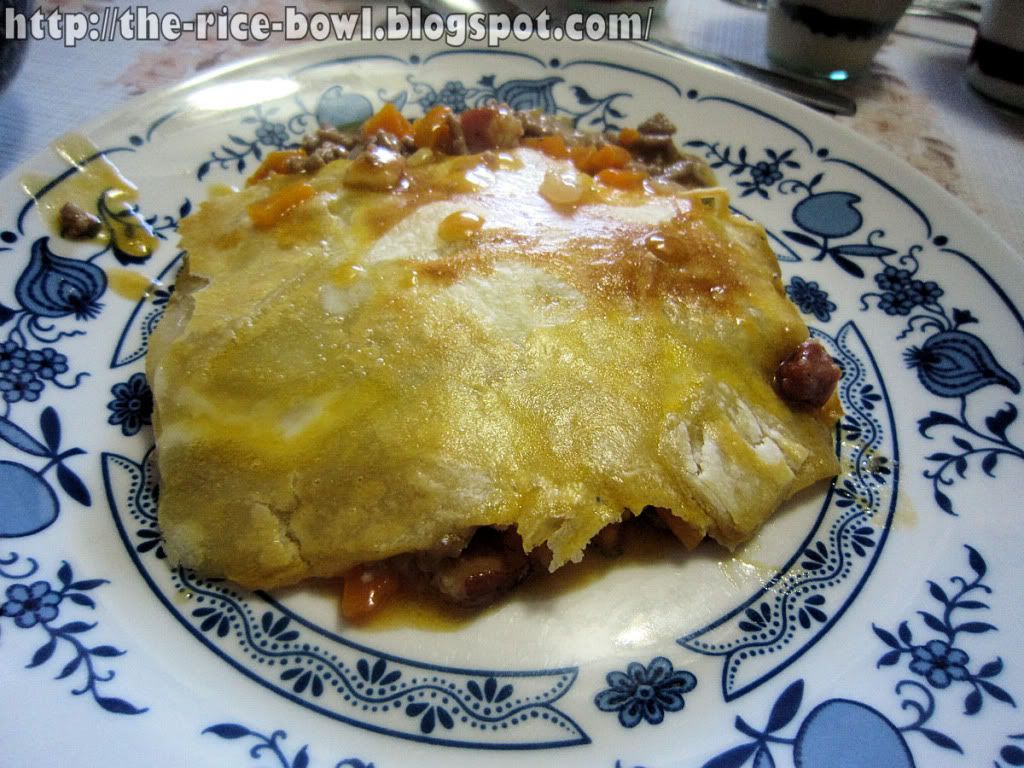
Australian Meat Pie Recipe [Australische Fleischpastete Rezept]

When I heard the word "meat pie" for the first time, I would have never thought, that it could be something delicious. Too much meat always seems very heavy and spicy ... but this meat pie was super delicious!
For the vegetable part, I've added carrots, but you can also add other vegetables, that'll cook through within the time and aren't too soggy (so no tomatoes).


Australian Meat Pie for 5 (330kcal per serving)


300g mixed minced meat
1 big onion
125g bacon
150g carrots (not in the recipe, added by me, really good!)
3 garlic gloves
2 1/2 tbsp flour
500ml meat broth
60g butter
2 bay leaves
2tbsp ketchup
250g flaky pastry (frozen)
1 beaten egg
salt and pepper to your taste
a casserole

1. Peel the onion, then chop it. Peel the garlic and chop it as well. Cut the carrots into 5mm pieces. Cut the bacon into 5mm cubes. Take the flaky pastry out of the freezer (Usually takes up to 10 minutes until you can use it.
2. In a big pan (everything has to fit, except the flaky pastry) melt butter on medium heat, add onions, garlic and carrots and let fry for like 5 minutes. Then, add bacon and meat and keep frying until the meat gets crumbly. Season with salt.


3. Add the flour, mix very well and make a quick roux. Add the broth, ketchup and mix well. Finally add the bay leaves and let boil up.

4. Cook on low heat for ca. 15 minutes until the fluid is almost gone. Season to taste with salt and pepper.
5. Fill in the casserole and let stand aside.
6. Preheat oven to 200°C.
7. Now we'll need the flaky pastry and a rolling pin. Powder your working space and rolling pin with flour. Lay on the flaky pastry and roll out to a thickness of 3mm. This is quite complicated.
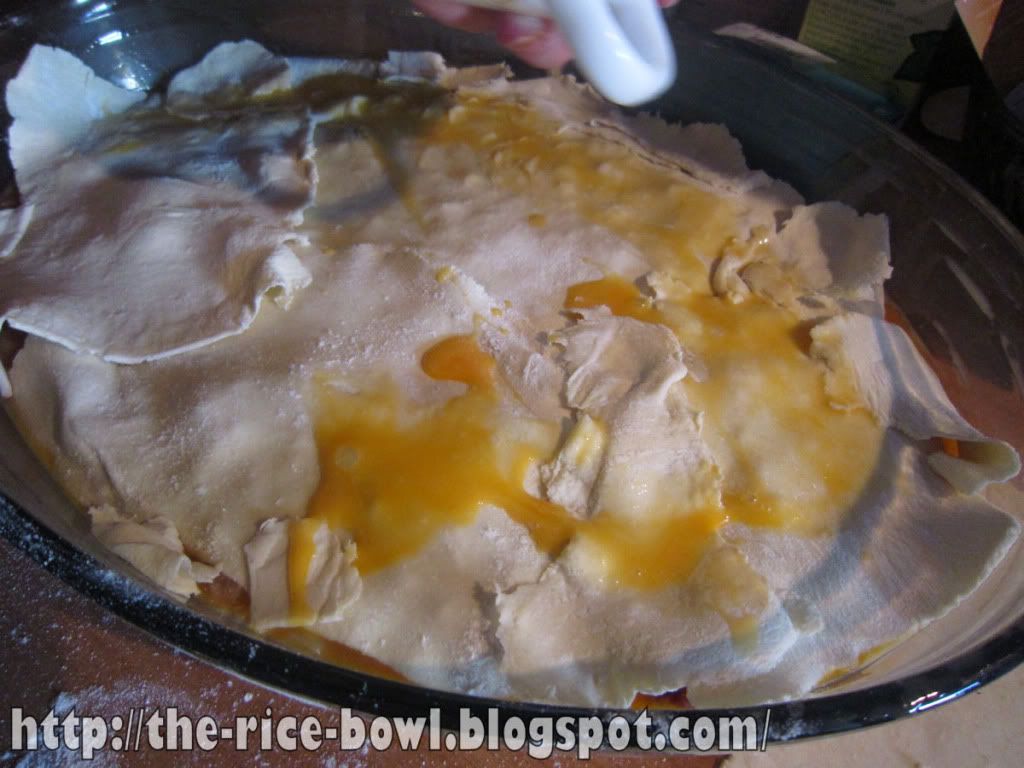
8. With a brush, coat the surface of your filling and the edge of your casserole with egg.
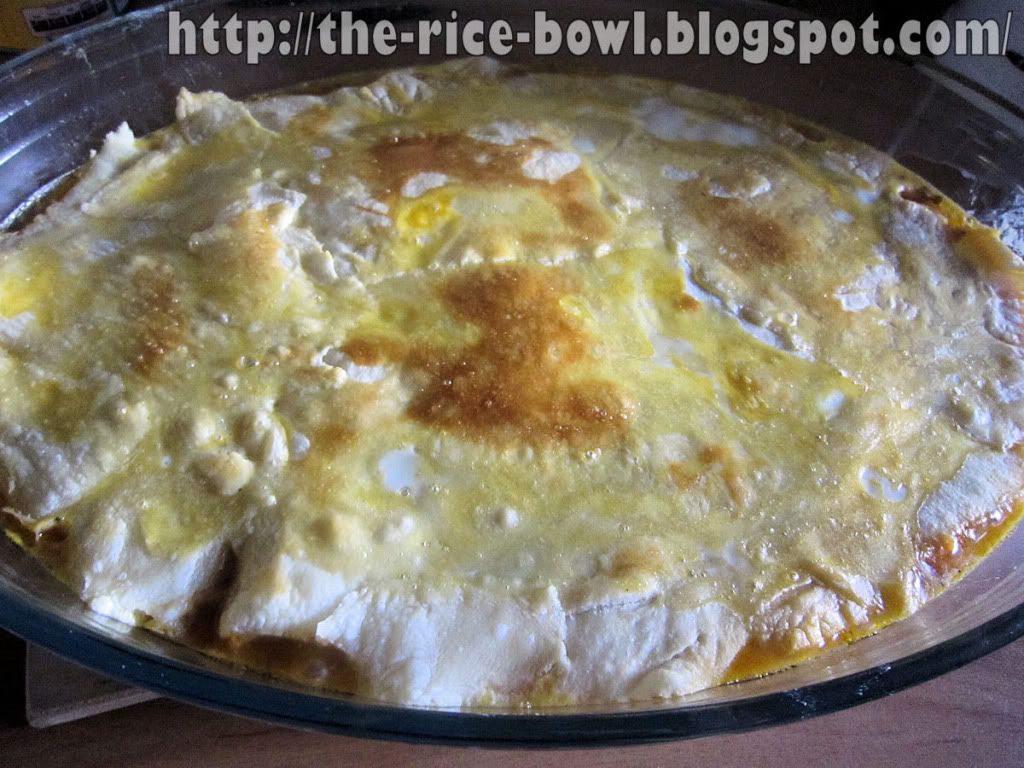
9. Cut the flaky pastry into shape, so it's a little bigger than your casserole. If you're using a quite big casserole, you can use several pieces of pastry. Mine was way to big, I had to lay the pastry on top of the filling, but it came out perfectly!
10. Brush the surface of the pastry with the rest of egg.


11. Place in the oven and backe for ca. 10 minutes.


12. At the end, cut in pieces and done!

Enjoy your meal!

Mittwoch, 5. Oktober 2011

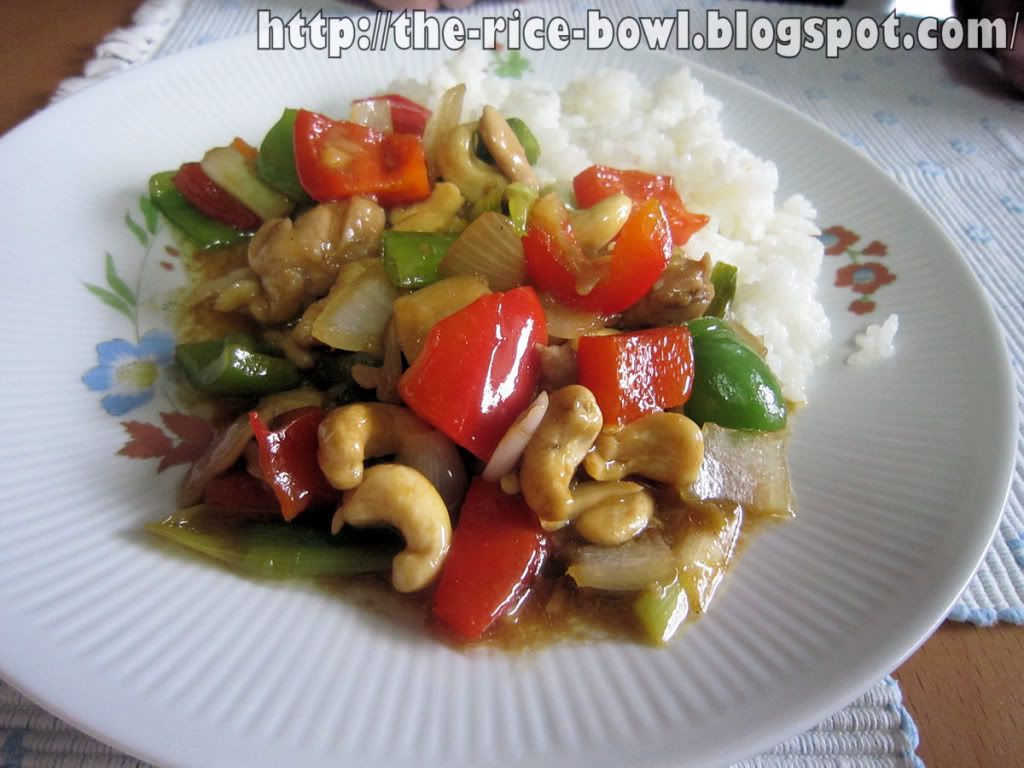
Sichuan Style Chicken with Cashew Nuts Recipe [Hühnchen Kung Pao Rezept] (Kung Pao Chicken)

Okay, I've decided I just can't post all recipes I've cooked, because it's taking too much time.
So from now on, I'll only post the most interesting recipes first, the easier ones, where you mainly have to cut and grate, will be pushed back until later.

Kung Pao Chicken for 4 (400kcal / serving):


400g chicken breast (recipe says thighs, but breast is better, trust me)
For chicken seasoning:
1/2tsp salt
2tbsp sake (rice wine)
1 1/2 tbsp starch
50g cashew nuts
100ml salad oil
60g green bell pepper
60g red bell pepper
50g spring onions
1tsp ginger
optional 2 red chilis (this dish is actually hot, but I was cooking for my family and they can't stand it spicy)
For seasoning:
3tbsp soysauce
2tsp sake
2tsp sugar
2tsp rice vinegar
5tbsp chicken broth
2tbsp starch

1. In a small bowl, soak the cashew nuts in oil for about 10 minutes.
2. Peel onions and cut into cubes. Clean the bell peppers, then cut into 1cm pieces. Cut the chilis into small rings. Peel the ginger and cut into small stripes. Cut the spring onions into 2cm pieces.
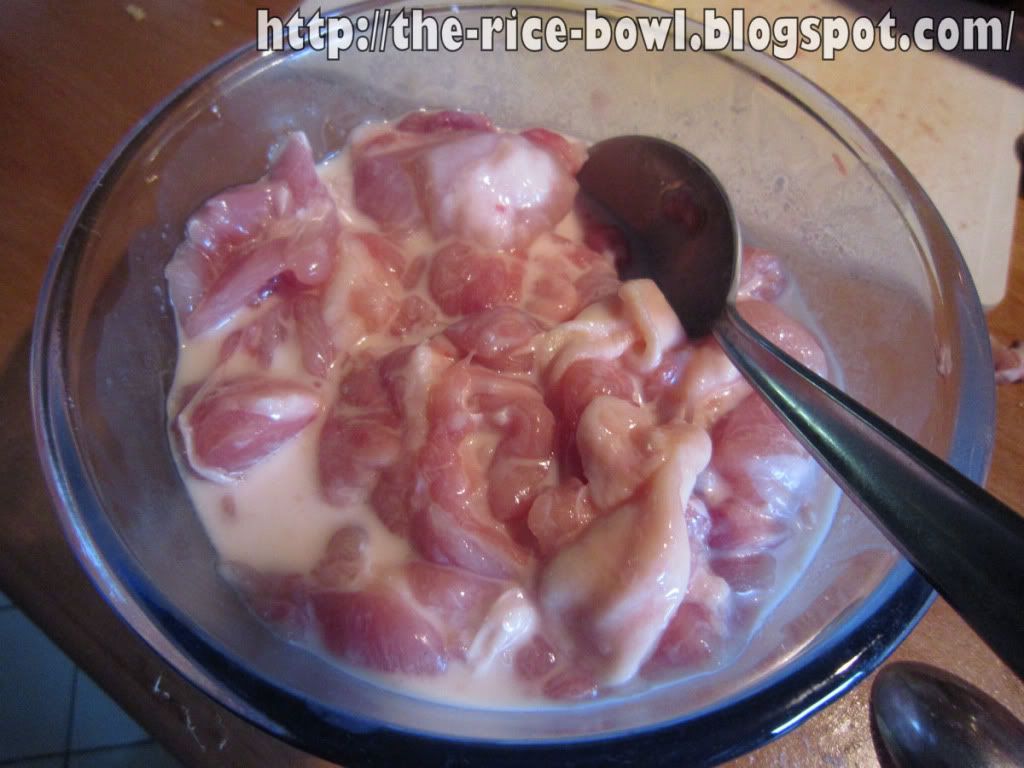
3. Cut the meat into 1cm pieces. Put in a bowl, then add  salt, sake and starch.


4. Now lets mix the spices for the seasoning. In a bowl, combine soysauce, sake, sugar and vinegar and mix. Add broth and starch and mix well.
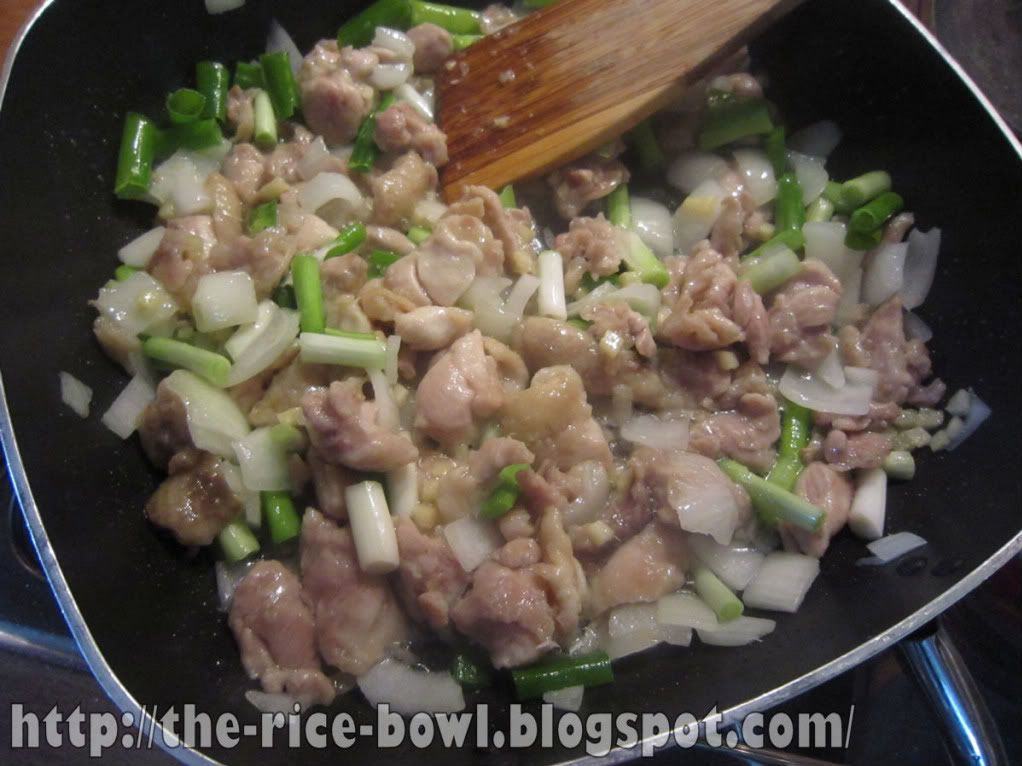
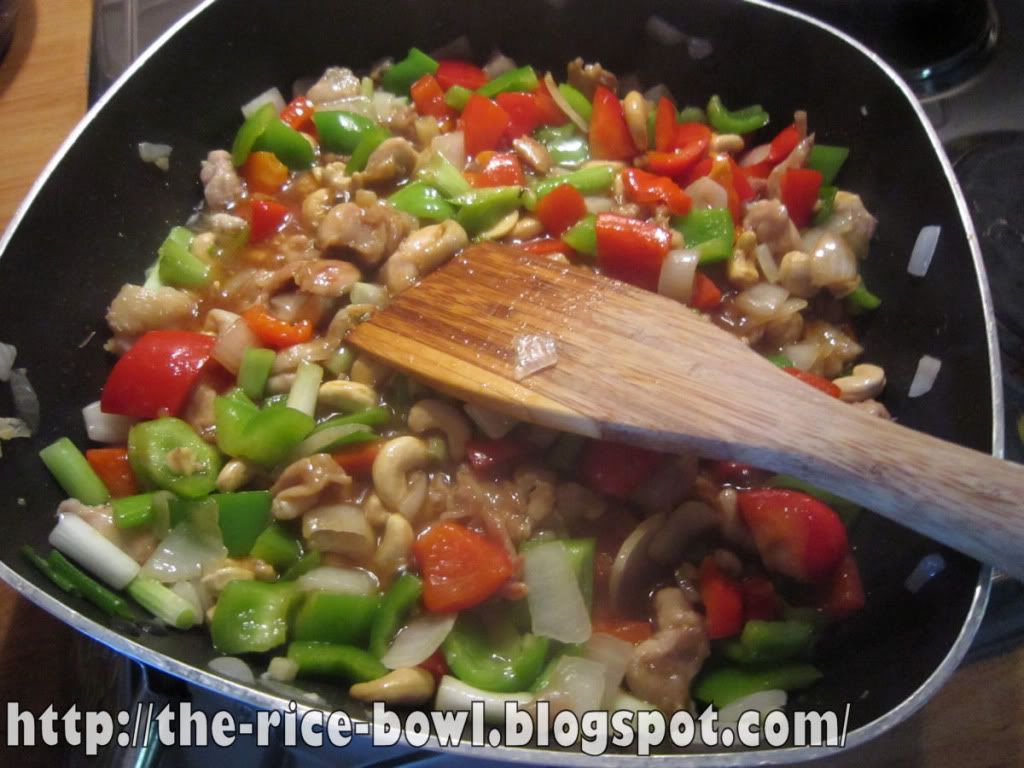
5. In a large pan, heat a few tbsp of salad oil to medium heat. Fry for a few minutes until the colour begins to change.
6. Add spring onions, chilis and ginger and keep frying.


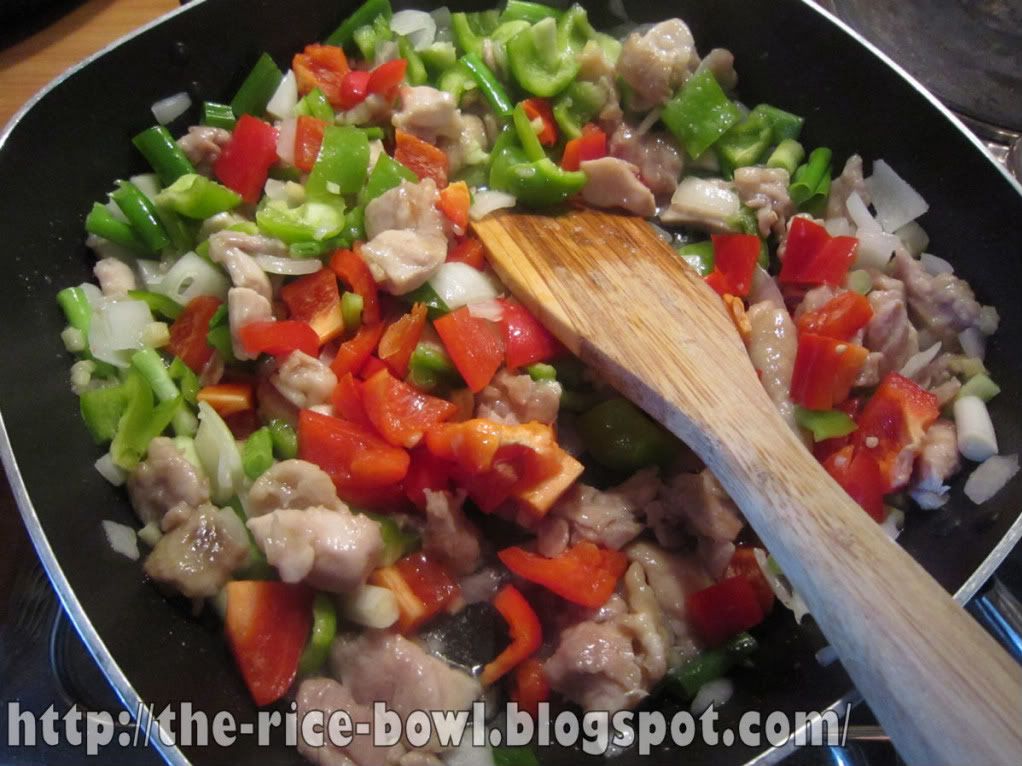
 Add the bell pepper and later cashew nuts.


Fry until the meat is cooked through and the vegetables are getting tender.
7. Add the seasoning und stir until the sauce begins to thicken.


8. Serve with rice and done!

 请慢用

Freitag, 30. September 2011

Bean Sprout Namul Recipe [Sojasprossen Namul Rezept]

A quick and delicious recipe, but really sour!

Bean Sprout Namui for 4 (105kcal/serving)


300g soy beans (out of the glass)
2tbsp sesame oil
4tbsp rice vinegar
2tbsp sugar
1 garlic glove
1tsp salt
1tsp cayenne pepper

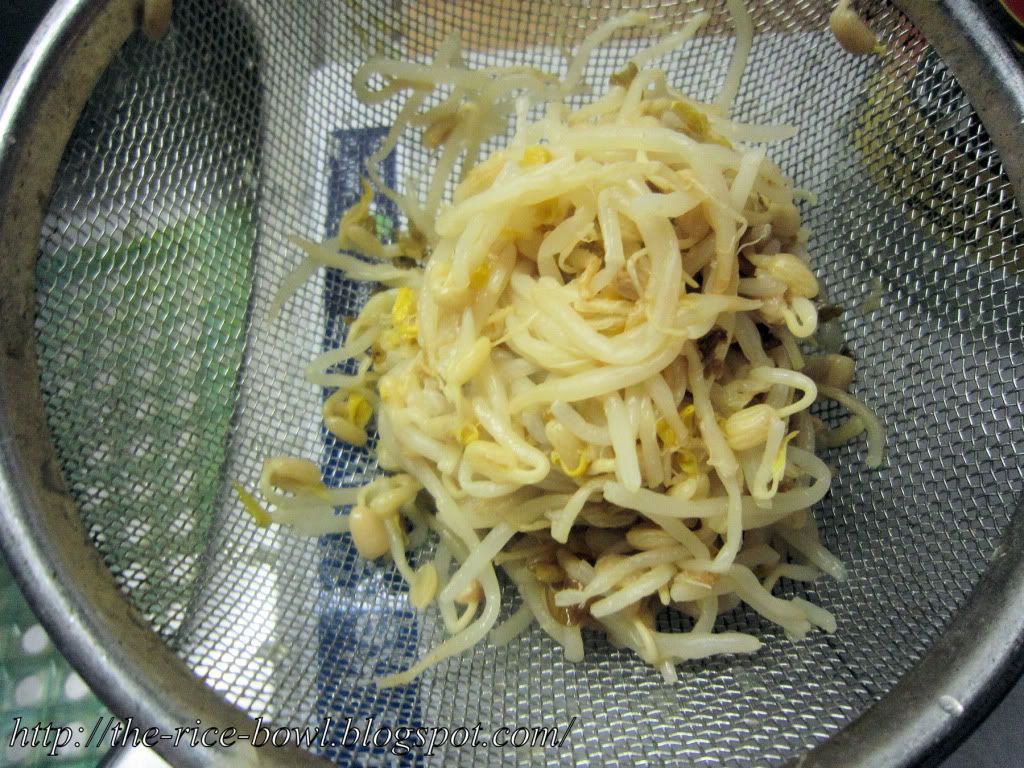
1. Peel the garlic and then chop. Let the soy beans drain. Pat dry with papertowels.


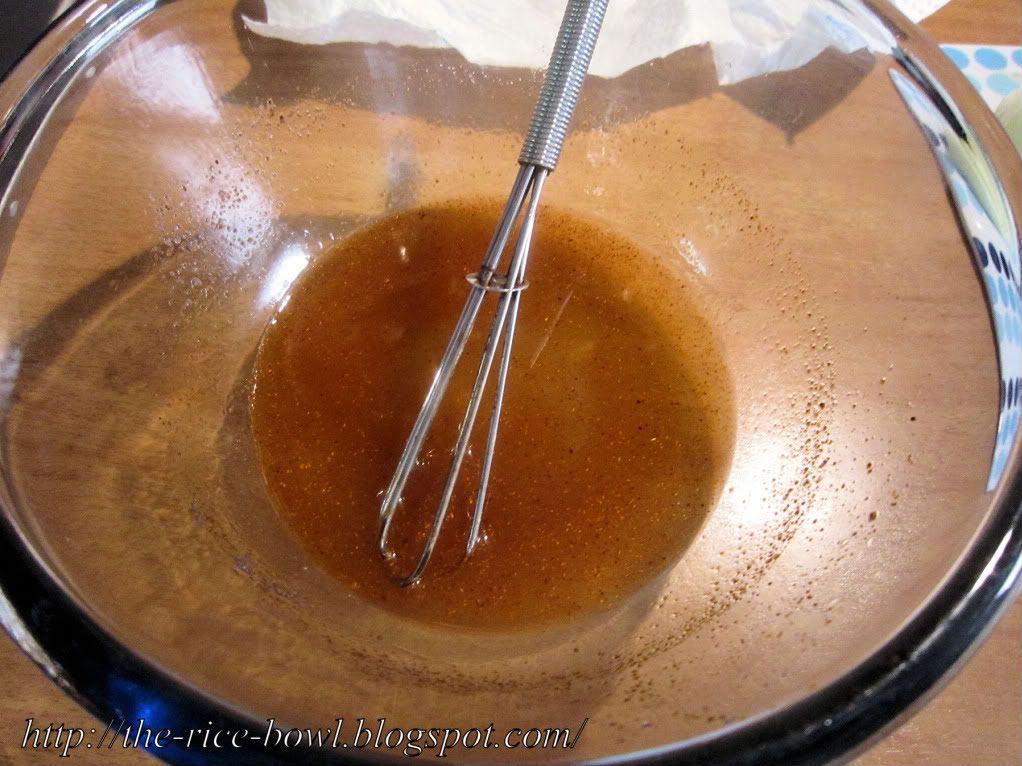
2. In a bowl, mix vinegar, sugar, salt and pepper.


3. In a pan, heat the oil. Fry the garlic on medium heat.
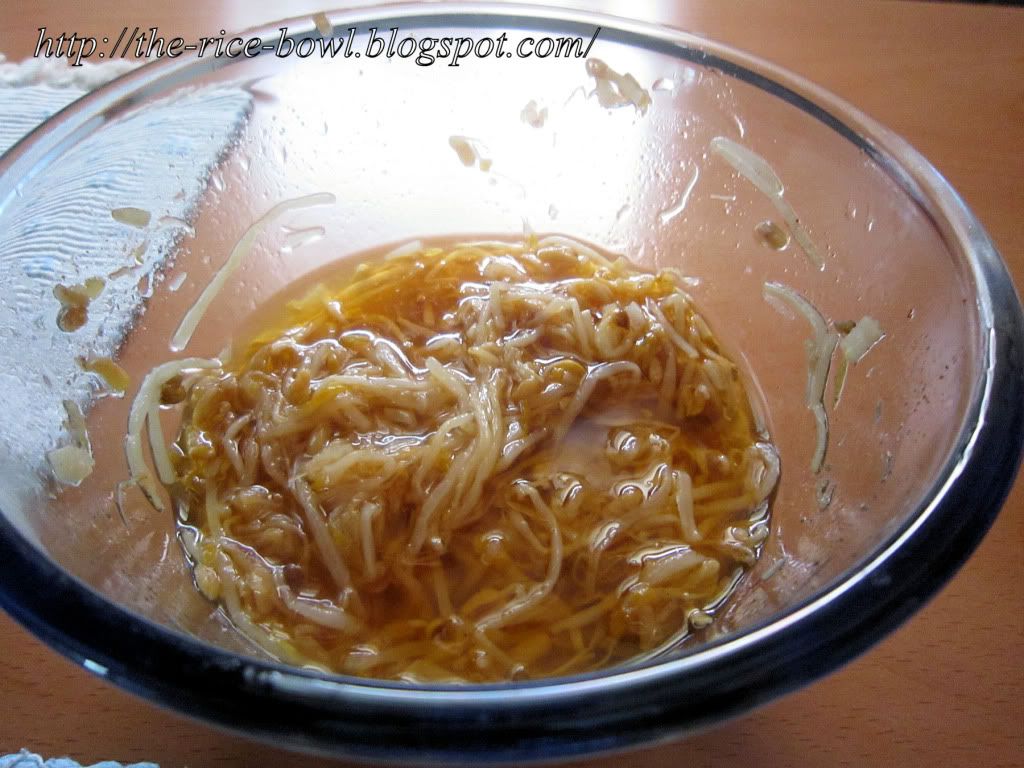
4. Add the sprouts and fry until they're coated in oil.
5. Put the sprouts in the bowl with the seasoning, mix and done!

맛있게 드세요

Montag, 26. September 2011

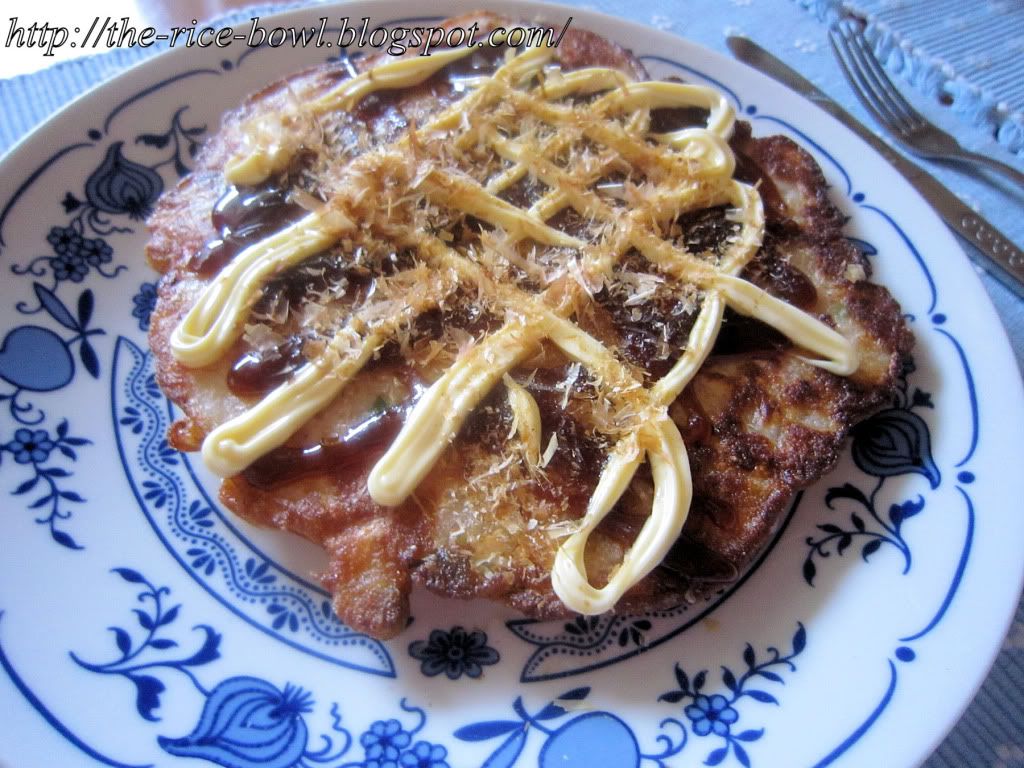
Okonomiyaki Recipe (Okonomiyaki Rezept)

I'm making okonomiyaki, the Japanese style pancake, for quite some time now and despite it's unhealthiness, it's just so delicious, I have to cook it every now and then.
Since I have some experience, I've changed the recipe quite a lot... I'm highly allergic to shellfish, so this version of Okonomiyaki isn't containing any! If you like, you can add shrimps, octopus and calamari as much as you like!

This is for Okonomiyaki as main dish - one per person.

Okonomiyaki for 6 (800kcal/serving):


200g bacon
10 leaves of Chinese cabbage
200g Chinese yam
50g spring onions
3tbsp beni-shoga (red pickled ginger)
2 eggs
500g flour
2tbsp baking powder
600ml dashi stock
30g tempura flour (to make Tenkasu)
salad oil
salt
okonomiyakisauce (commercial)
mayonnaise
dried bonito flakes
(optional) aonori

1. Seperate the cabbage into hard part and leaves. Chop the stem part thinly and cut the leaves into 1cm pieces.
2. Cut the spring onions into rings. Grate the yam. Chop the beni shoga into fine pieces. Cut the bacon strips into 3cm pieces!
3. Let's make tenkasu! Mix tempura flour with water to make an almost fluid batter.
4. Now we're going to deep fry the batter. Heat enough oil in a pan to ca. 180°C. Add the batter drop by drop and fry until golden brown! Remove from the oil and lay on a plate covered with a kitchen towel.
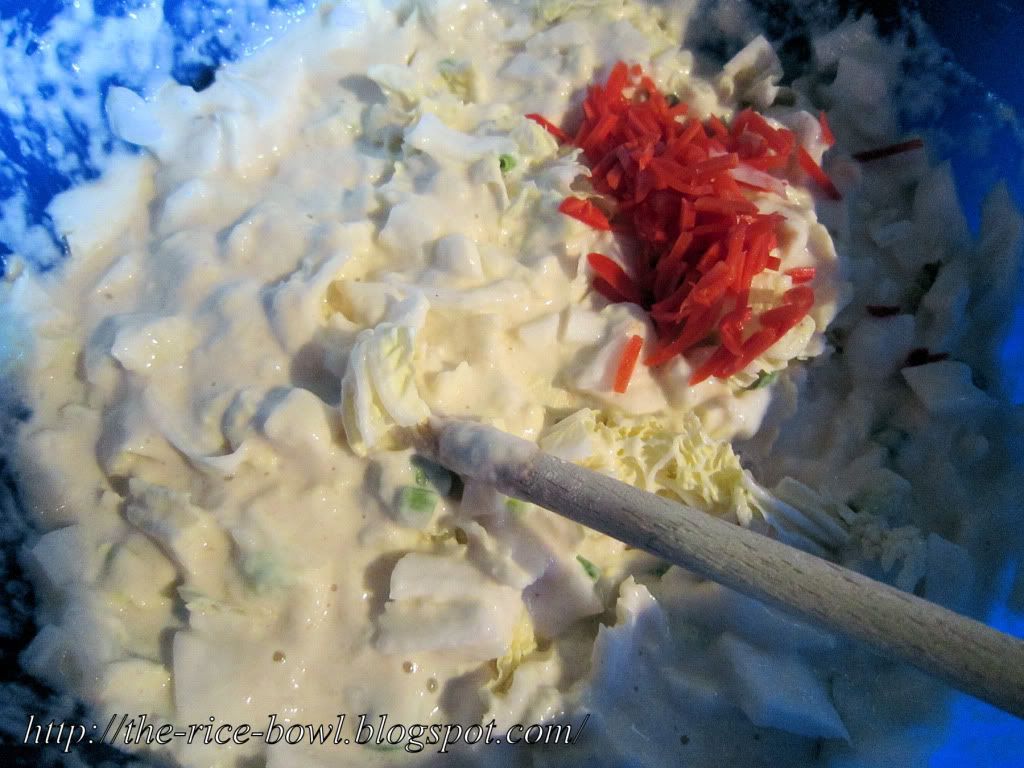
5. Let's make the Okonomiyaki batter! Put flour in a big bowl. Add the dashi stock little by little and whisk. Add the grated yam.
6. Now add the ingredients. Add the cabbage, spring onions and ginger.


7. When the tenkasu has cooled down, add it as well and mix everything.


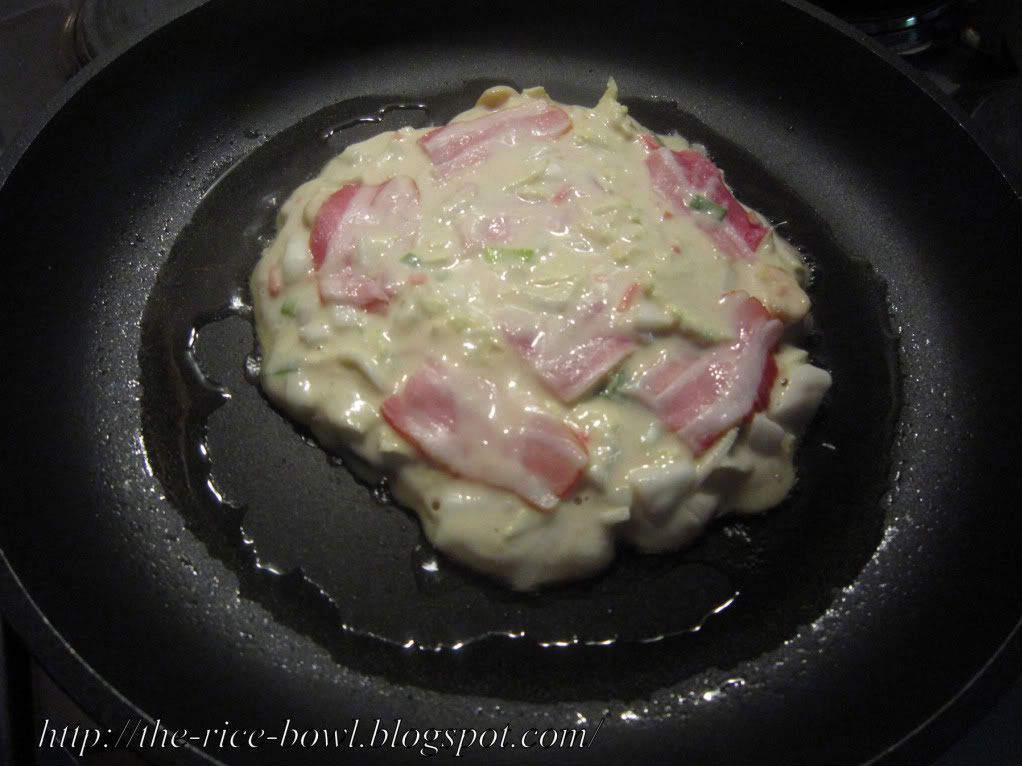
8. Let's make Okonomiyaki! In a pan, bring 2tbsp of salad oil to medium heat.
9. Pour 1/5 of the dough in the hot pan and quickly bring it into round shape!
10. Lay 1/5 of the bacon on top. Add a little more dough fluid on top, so the bacon will stick when it's turning time.


11. When the downside is browning and bubbles appear on the upper side, you have to flip the okonomiyaki over!
12. Fry until cooked through, then remove from the pan and repeat for the rest dough.
13. At the end, put on Okonomiyakisauce, mayonnaise and sprinkle bonito flakes and aonori!

いただきます!