Posts mit dem Label cooking werden angezeigt. Alle Posts anzeigen

Donnerstag, 21. Februar 2013

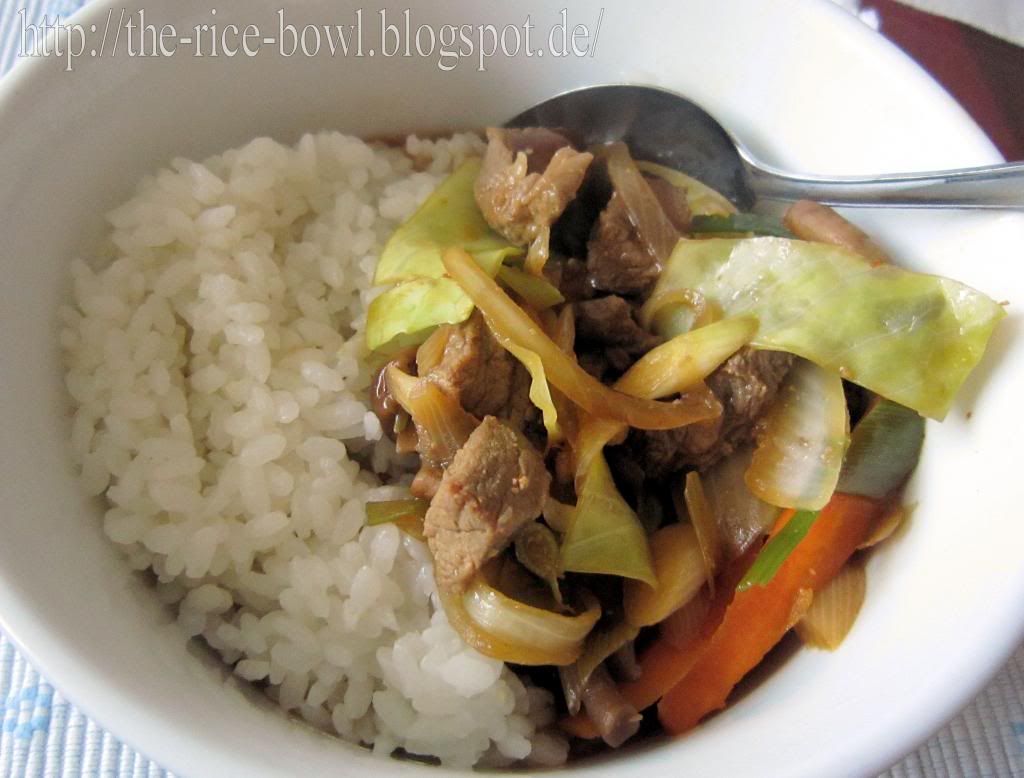
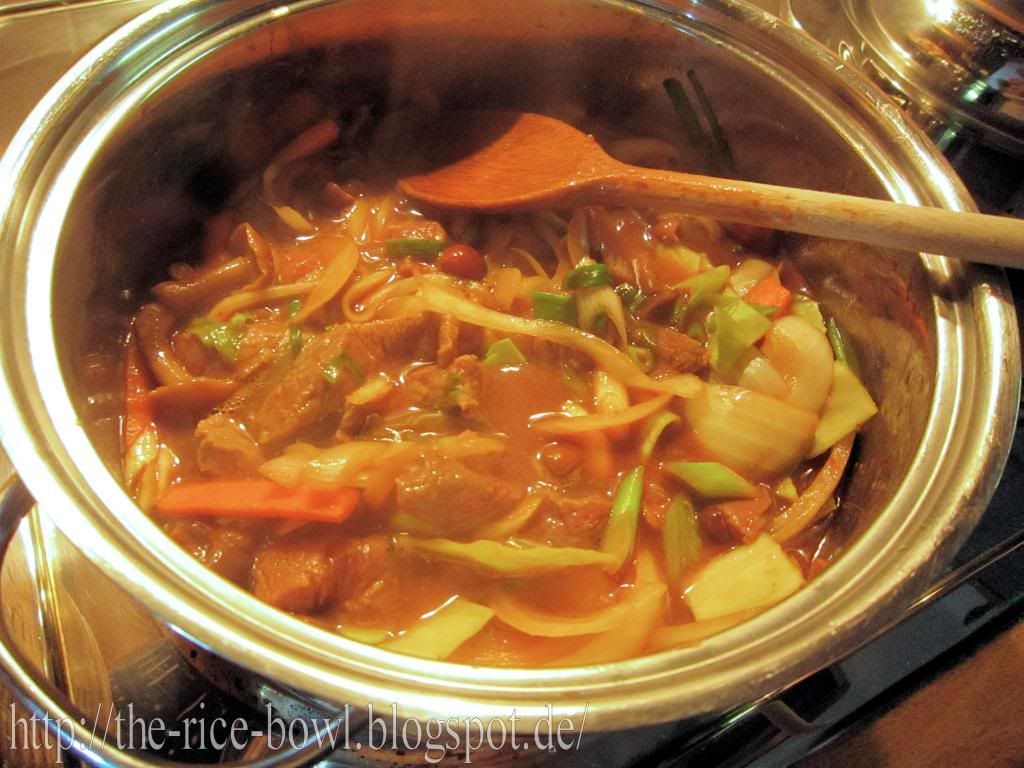
Bulgogi Recipe [Bulgogi Rezept]

Bulgogi is a Korean dish. When you're making only one serving, you should be really careful with the heat.


Bulgogi for 4 (320kcal / serving)


320g beef (from the round) in 2-3mm thin slices
1/2 Spanish onion or 1 usual kitchen onion
150g scallions
100g Asian mushrooms
1 small carrot
2 leaves of cabbage
2 garlic cloves
3 tbsp chopped chives

For the marinade:
4 tbsp soy sauce
4 tsp rice wine
2 tsp Miso
2 tsp sugar

For the sauce:
6 tbsp soy sauce
2 tbsp rice wine
2 tbsp Gochujang (a very spicy, Korean paste, made out of beans)
4 tsp sugar
2 tsp Miso


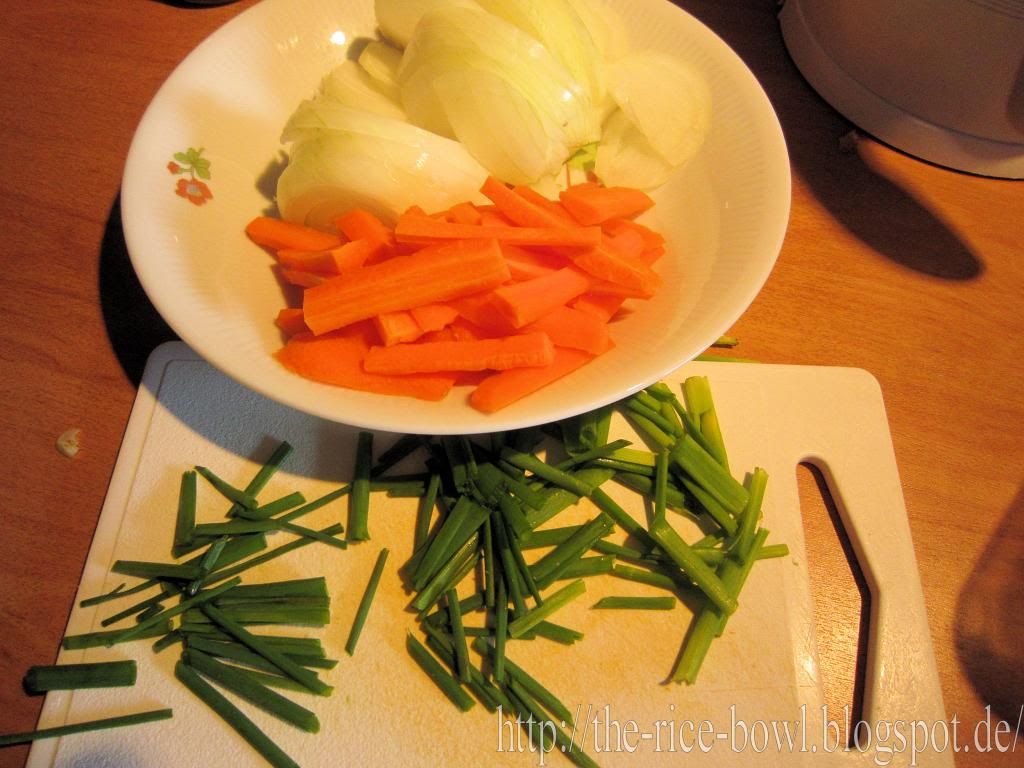
1. Peel the onion and cut it into thin slices. No cut the scallions into  thin rings. Clean the mushrooms. When you're having big mushrooms, cut them into bite size pieces. Peel the carrot and cut into very thin (2mm) rectangles.


2. Then cut the cabbage into 4 cm long and 1 cm wide pieces. This may be a weird comparison, but that's about the size of your pinky ... a bit smaller maybe. Cut the beef the same size.
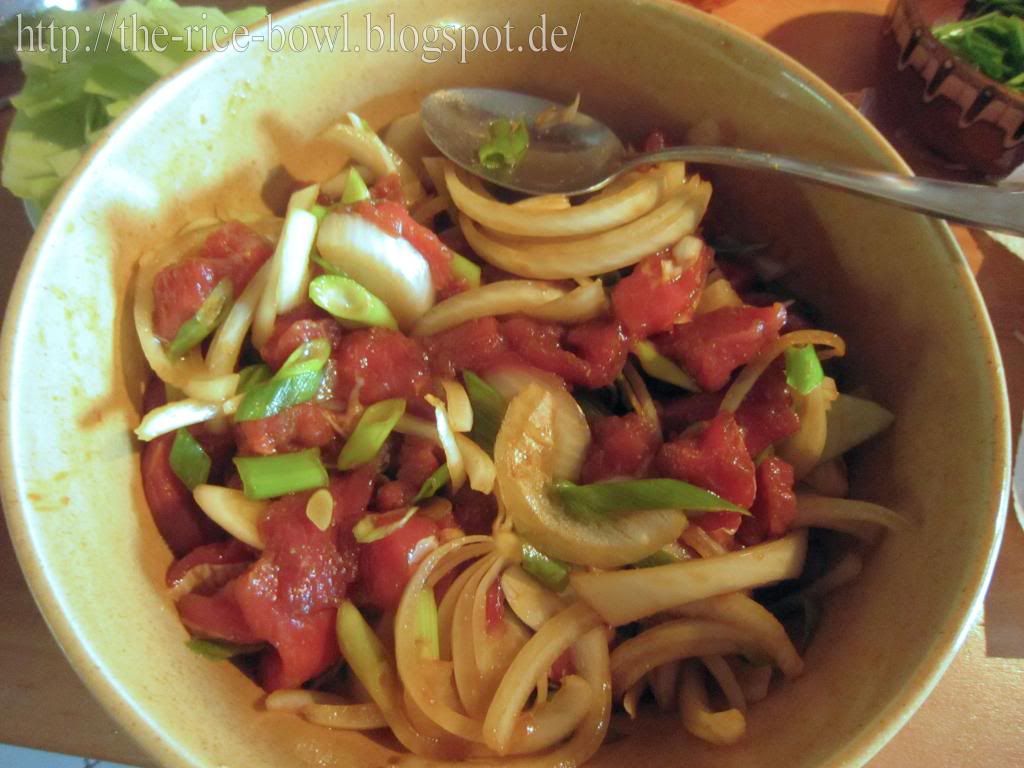
3. Squeeze or grate the garlic into a bowl. Add the marinade ingredients und mix well.
4. Add the beef to the bowl and stir until covered with marinade. Add the onions and scallions and mix well.


5. Let's mix the sauce! First, mix soy sauce and rice wine. Then add sugar and miso. In the end, add Gochujang and mix well.
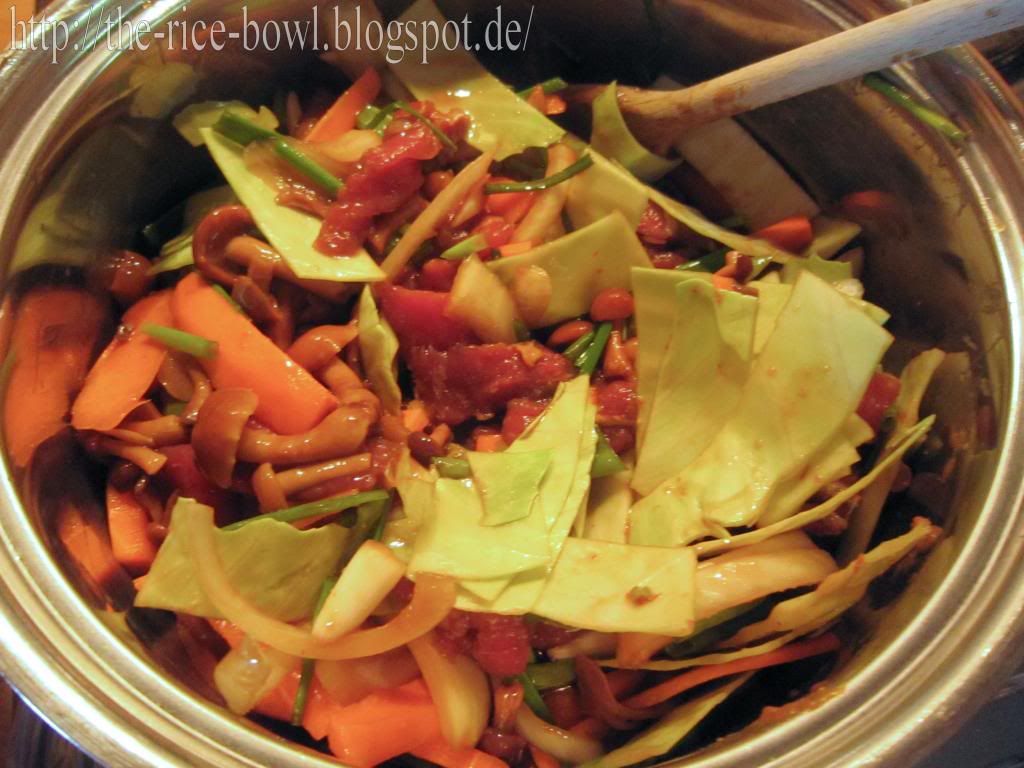
6. Let's cook everything! You'll need a pot, big enough to fit all the ingredients. Add the whole bowl of beef, vegetables and marinade to the pot. Now add the mushrooms, the carrots, the chives, cabbage and the sauce. So basically everything, okay?


7. Bring to boil over medium heat, keep stirring. Then reduce heat and keep cooking until the beef has turned brown and the vegetable is soft. Done! Turn off the heat!
8. No you only have to arrange it! If you're not good with spicy food (like me), eat it with rice.

맛있게 드세요!
(Is that correct? I have no idea, what it says! XD)

Mittwoch, 29. August 2012

Sopa de Fideos Recipe [Nudelsuppe Rezept] Noodle Soup Recipe

This soup is not one of my all time favourites. But I've made it for a lots of people, who actually liked it a lot, so I guess it's just me.
In this recipe I'm using chorizo - a Spanisch sausage. You can use salami oder speck or other sausages with distinctive taste. But since every sausage is different, you have to be very carefully with seasoning.

Sopa de Fideos for 4 (90 kcal / serving)


100g chicken breast (with skin or without)
20 chorizo
20g thin noodles or actual soup noodles
1l chicken broth
salt
pepper
chopped parsley for the finishing touch

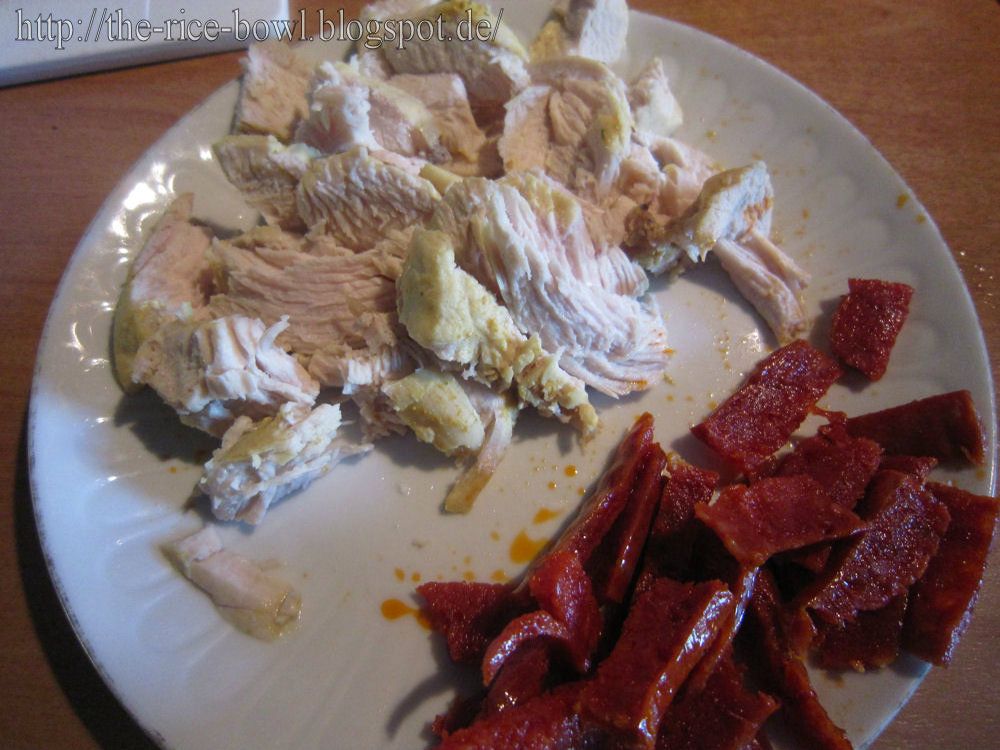
1. Put chicken breast, chorizo and broth together in one pot. Bring to a boil and then reduce heat. Let slightly cook for ca. 5 minutes and then take the pot from the stove.
2.Remove chicken and chorizo from the pot, but keep the broth!
3. Let the meet cool. Remove the chicken skin and tear it into stripes.
4. Cut the chicken skin into fine stripes. If chicken was skinless, skip this step.
5. Cut the chorizo into fine stripes.


6. Bring the soup to a boil. Break the noodles into 3cm pieces and add them to the soup. Let everything boil for ca. 3 minutes or until the noodles get soft.
7. Add meat, skin and chorizo back to the broth, so they warm up.
8. Add salt and pepper to taste. Arrange in a bowl and sprinkle with parsley.

Buen Provecho!

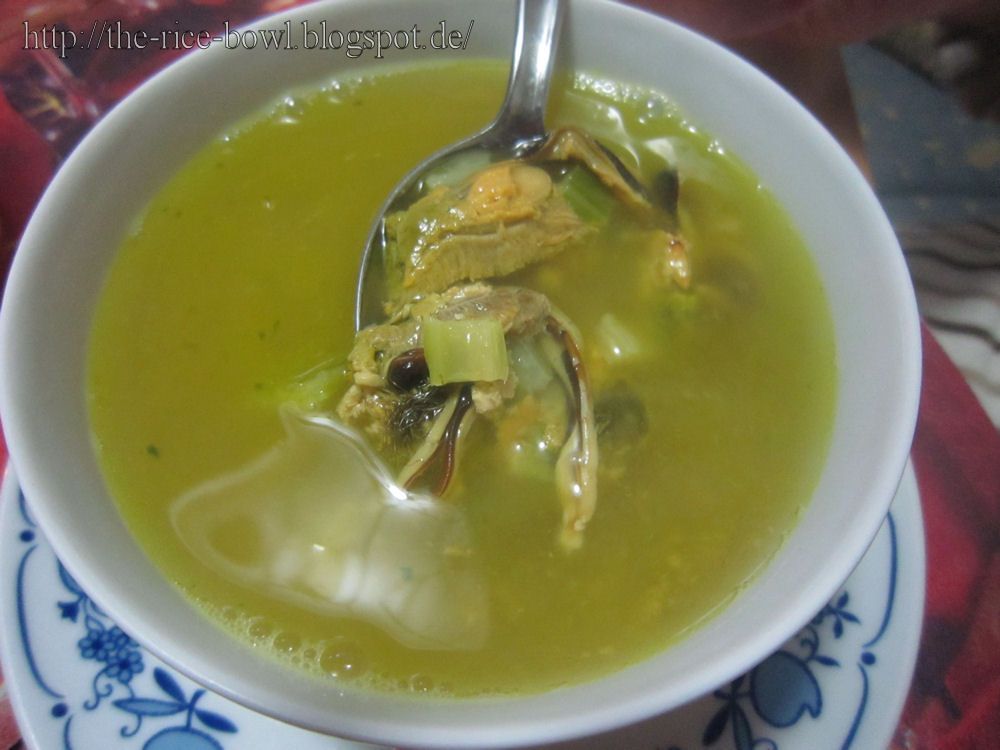
Mussels Soup Recipe [Muschelsuppe Rezept]

This recipe uses mussels from can. You can also use fresh mussels, still in their shell and add clam shells (it looks better), but then you have to clean them first, which is not described in this recipe. Please be careful when cooking shells, if they don't open while cooking, they're not edible anymore!

When mussels are cooked too long, the taste will change for worse.

Mussels soup for 4 (80 kcal / serving)


18 mussels
20g butter
20g celery
1l chicken broth
salt
pepper
2tsp chopped parsley (for decoration and finishing touch)

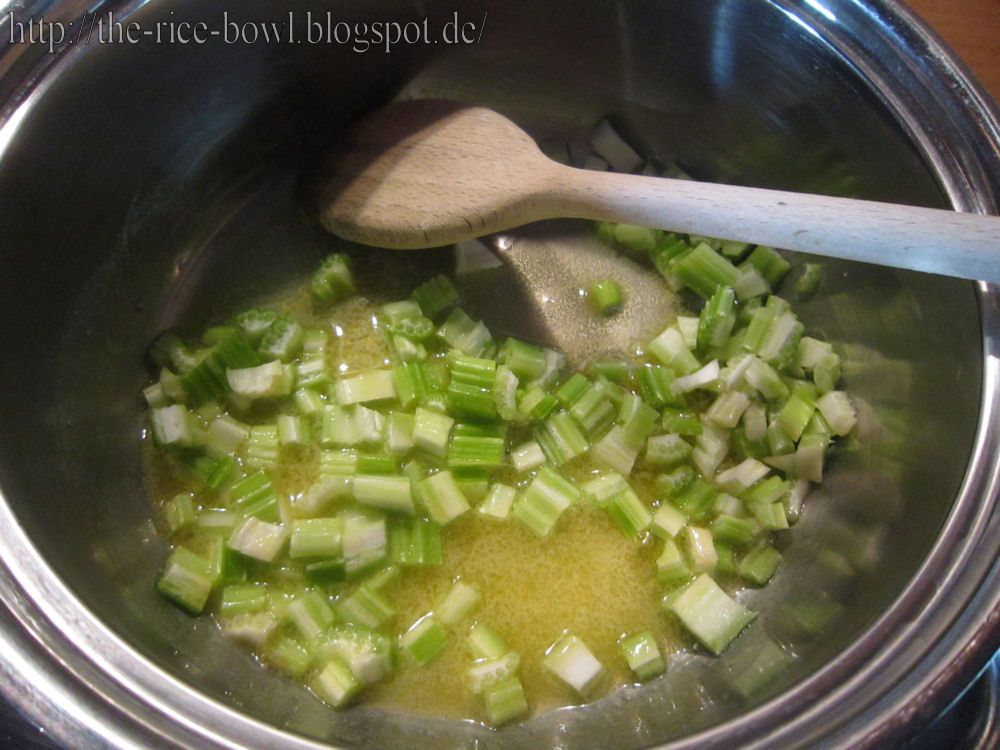
1. Wash the celery and chop it into fine pieces.
2. In a pot (big enough to hold all the ingredients), melt butter over low heat.
3. Add the celery and fry until soft.


4. Add the mussels and fry for a few moments only.
5. Add the broth and bring to medium heat.
6. Let simmer for ca. 5 minutes.
7. Taste with salt and pepper.
8. Arrange in a bowl and sprinkle with the parsley.

Bon Appetit!

Sonntag, 11. September 2011

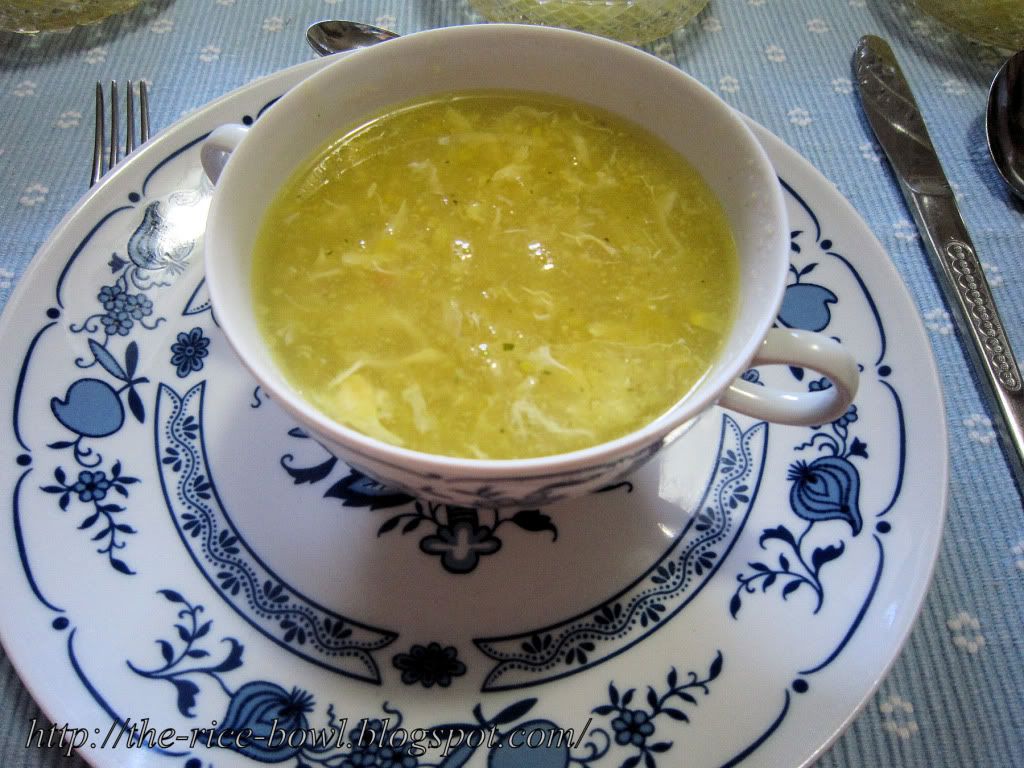
Sweetcorn Soup Recipe [Chinesische Maissuppe Rezept]

Sweetcorn Soup Recipe for 5 (80kcal per serving)


250g sweetcorn (can)
800ml chicken broth (no salt!)
1/2 tsp salt
sugar and pepper to your taste
1 big egg
1 1/2 tbsp starch
2 1/2 tbsp water

1. In a small bowl, dissolve starch in water. Puree the corn with a handheld blender.
2. In a big pot, bring broth to a boil. Add corn puree and salt.
3. Now thicken the soup with the dissolved starch.
4. Now slowly pour in the beaten egg and wait until it stocked.
5. Taste the soup. If salty, you can add another egg white. It'll help.
6. Already done!

请慢用!!

Donnerstag, 1. September 2011

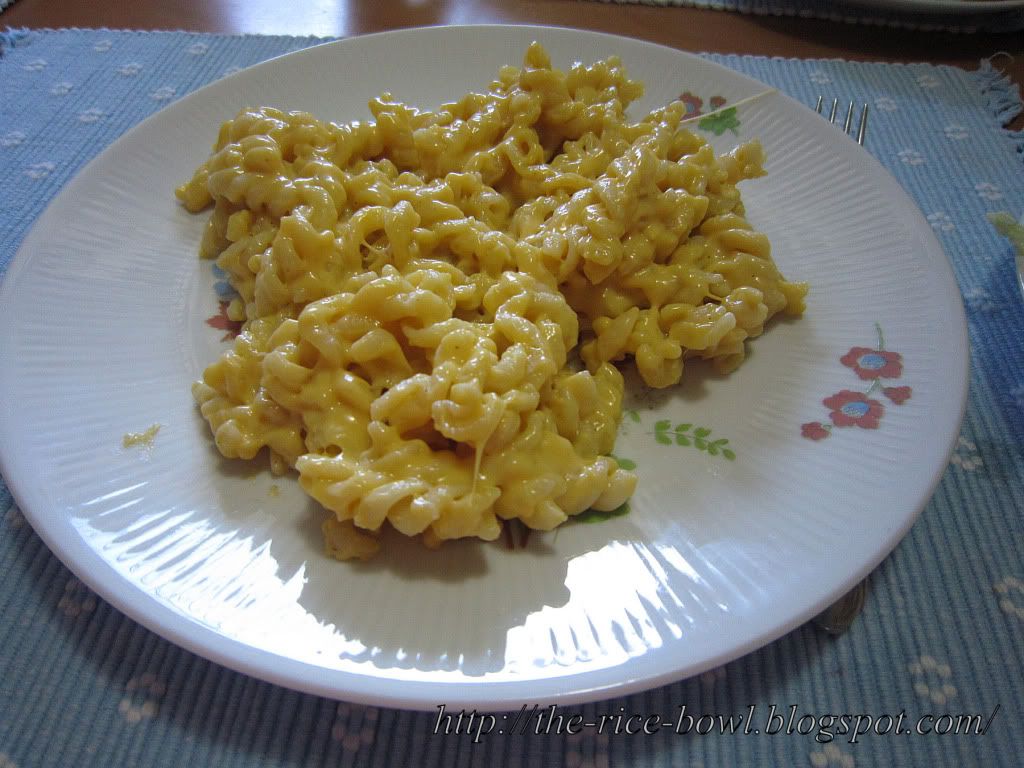
Macaroni & Cheese Recipe (Makkaroni und Käse Rezept)

Mac'n'Cheese is one of the most popular dishes in the US - strangewise it has not reached Europe yet.

Well, I like it very much, cause it's easy, you don't need much and it's very tasty and filling. You should definitely try it out, especially when you have kids. They love it.

Macaroni & Cheese for 4 (610kcal per portion)


350g cooked macaroni (or other short noodles)
20g butter
2tbsp flour
200ml milk
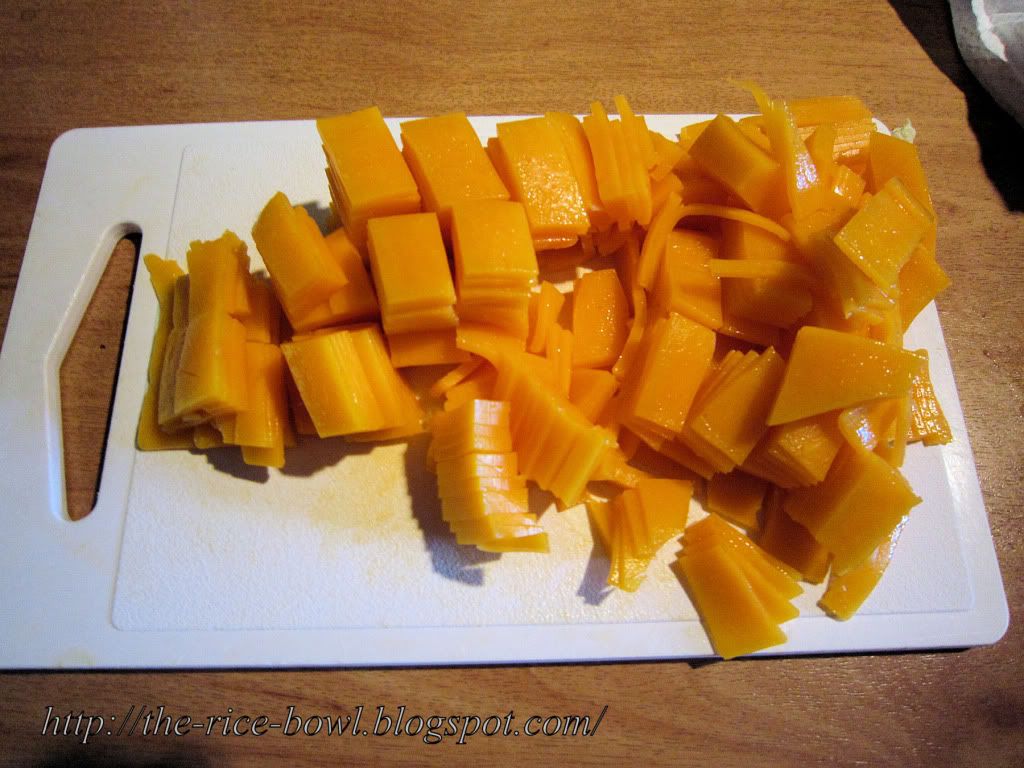
300g cheddar cheese
salt, pepper and nutmeg to your taste (nutmeg is optional)

1. Cut cheese into 1cm cubes. Let milk stand for a while, so it gets room temperature.


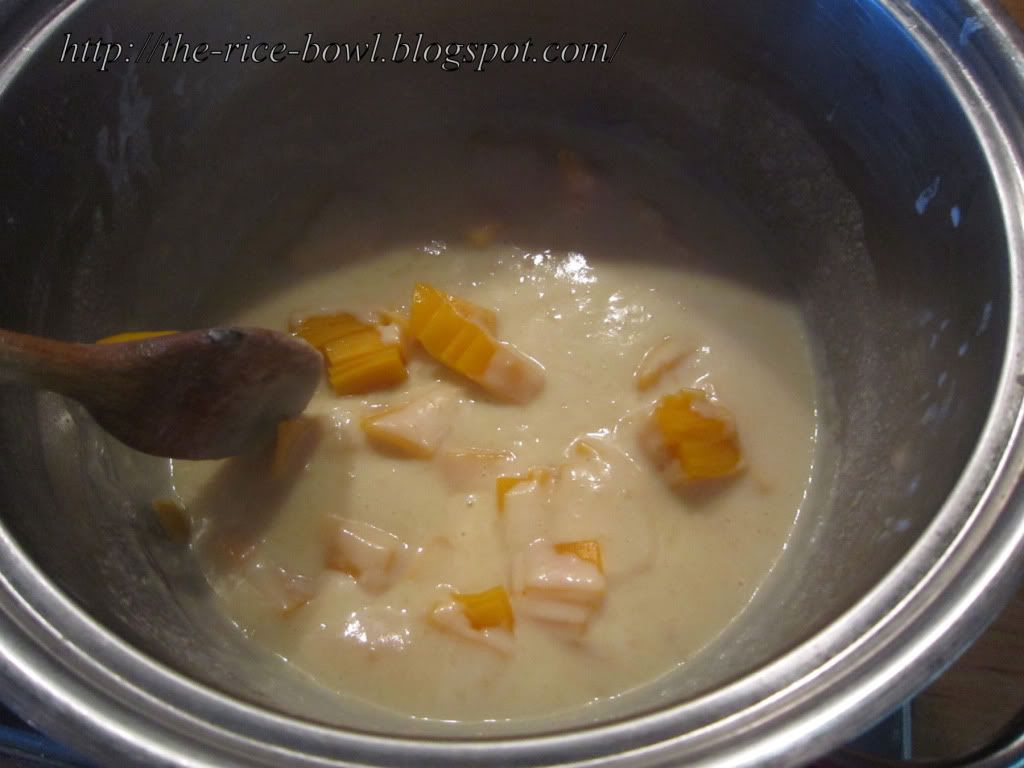
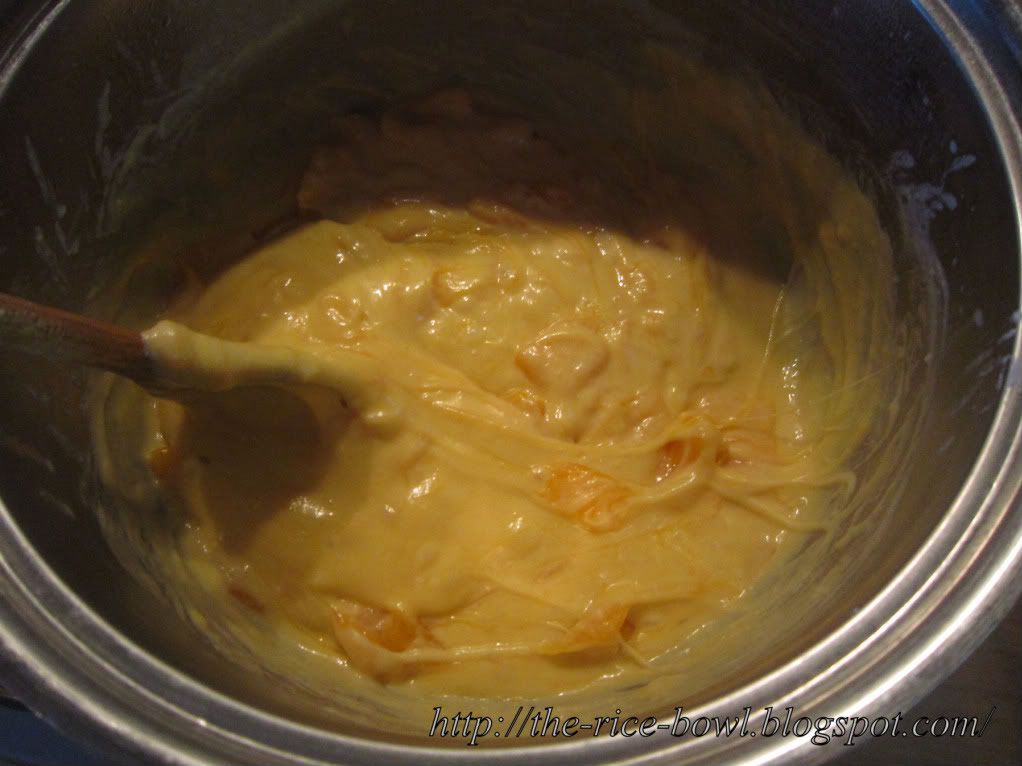
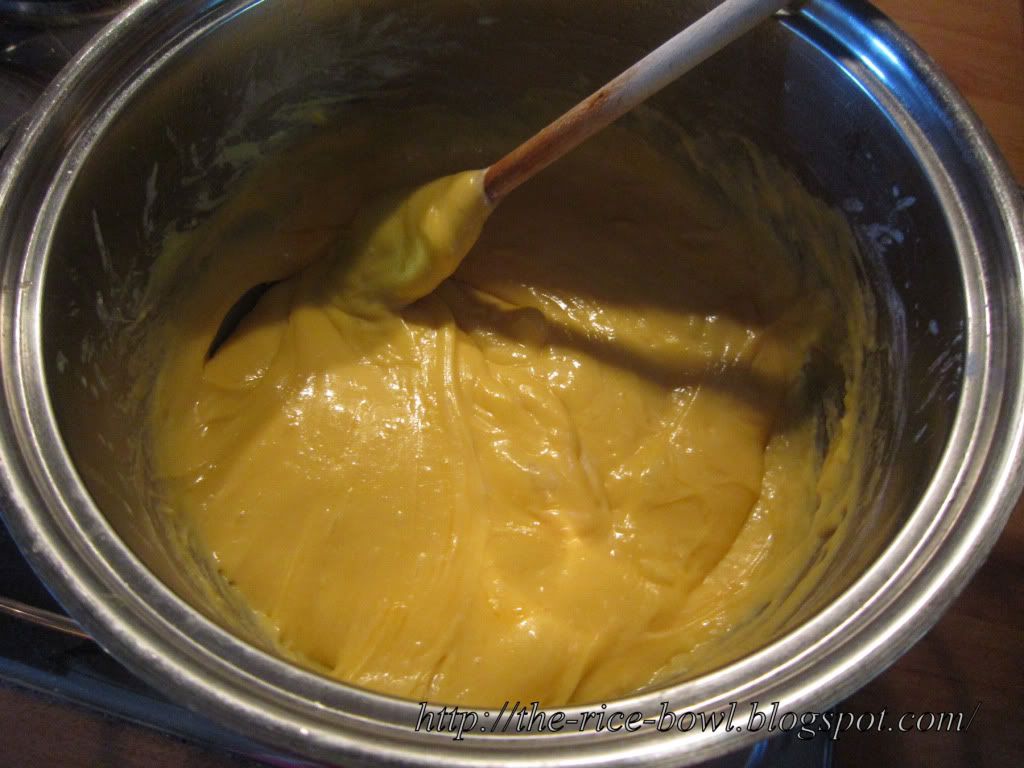
2. Now we need to make a roux and you need a big pan or pot (everything has to fit in). Melt the butter over medium heat. While stirring (you gotta keep stirring!!) add the flour little by little. When it's all "sweating" (that's means the colour keeps white til cream coloured and small bubbles are developing) add the milk and stir. When you're getting clumps while stirring, take the pot of heat.
3. Reduce to very low heat and add the cheese. Stir well until there are no more cheese clumps.


4. Add the macaroni and mix well, so that everything's coated.

Enjoy your meal!

Donnerstag, 18. August 2011

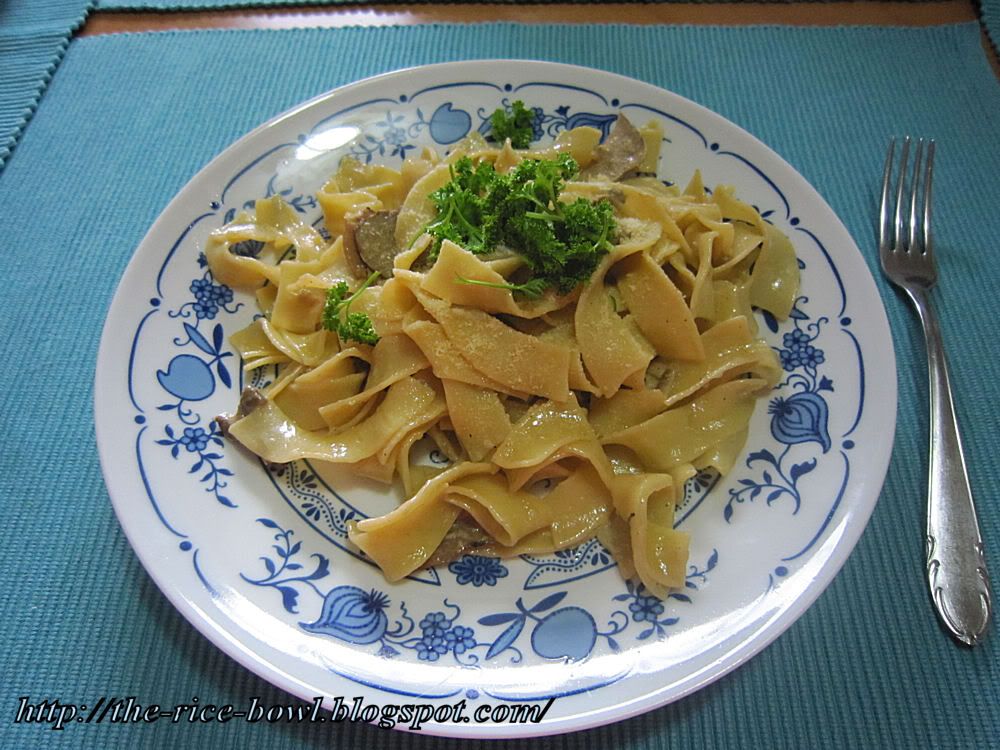
Fettuccine al Funghi Porcini Recipe (Fettuccine in Steinpilzsauce Rezept)

As you've noticed I haven't blogged about anything food related lately but I've been cooking! So the recipes are like stapling and I'm not doing anything...
That's why today I'll take my time and post as much recipes as possible. Thank God my camera is arranging the pics chronological...

Fettuccine al Funghi Porcini for 4 (720kcal /portion)


400g Fettuccine
25g dried ceps
100ml warm water
200ml cream
4 tbsp white wine
2 tbsp olive oil
20g butter
1 tbsp parmesan
2 tbsp chopped parsley
salt and pepper

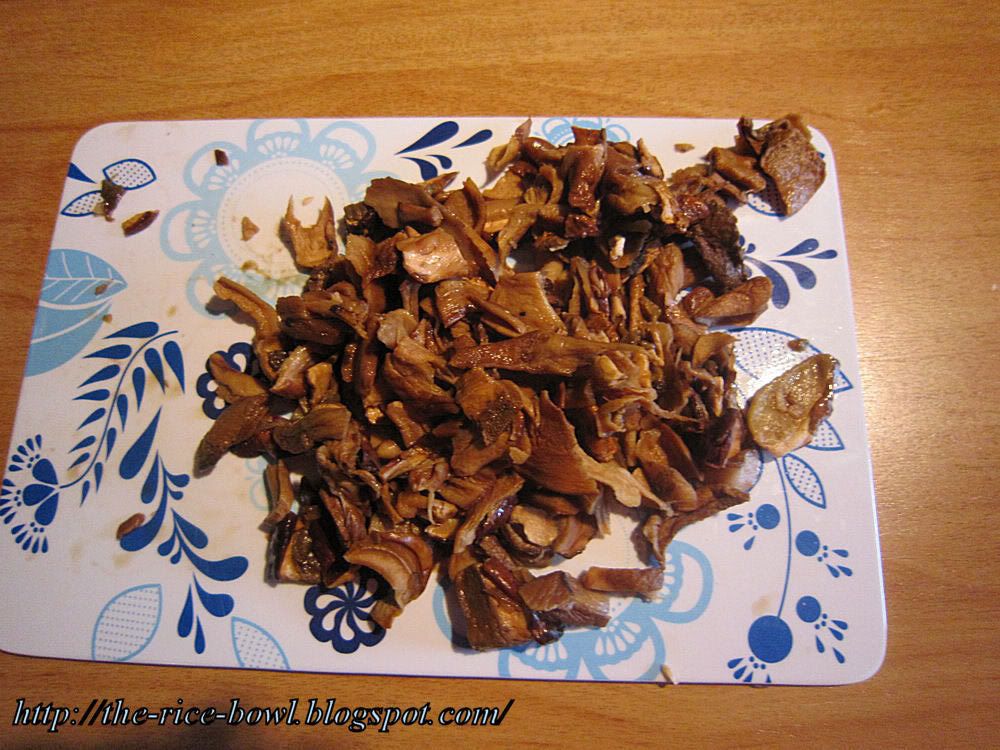
1. Soak the mushrooms in the 100ml water according to the instructions on the package. Then squeeze out and keep the mushroom water.
2. Cut them into small pieces (if not already)


3. Cook the noodles according to instructions, drain them and put aside.
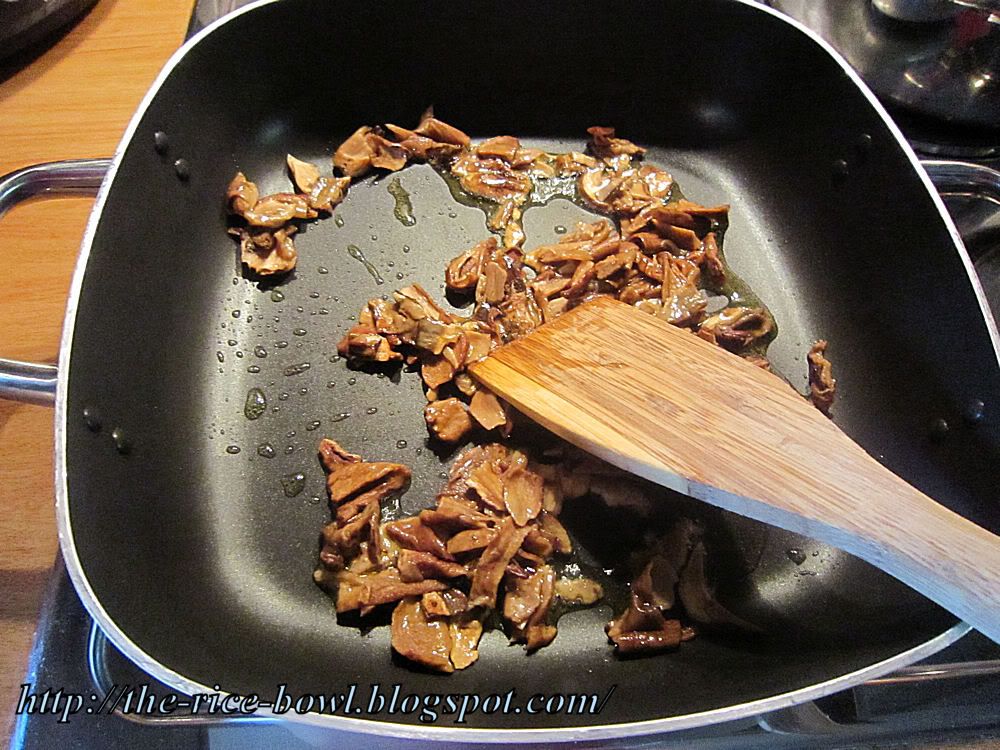
4. Now it's time for the sauce. Heat oil in a big pan on medium heat. Then add the mushrooms, but be careful, if they're still moist, it might spatter. Fry the mushrooms for around 1 minute.


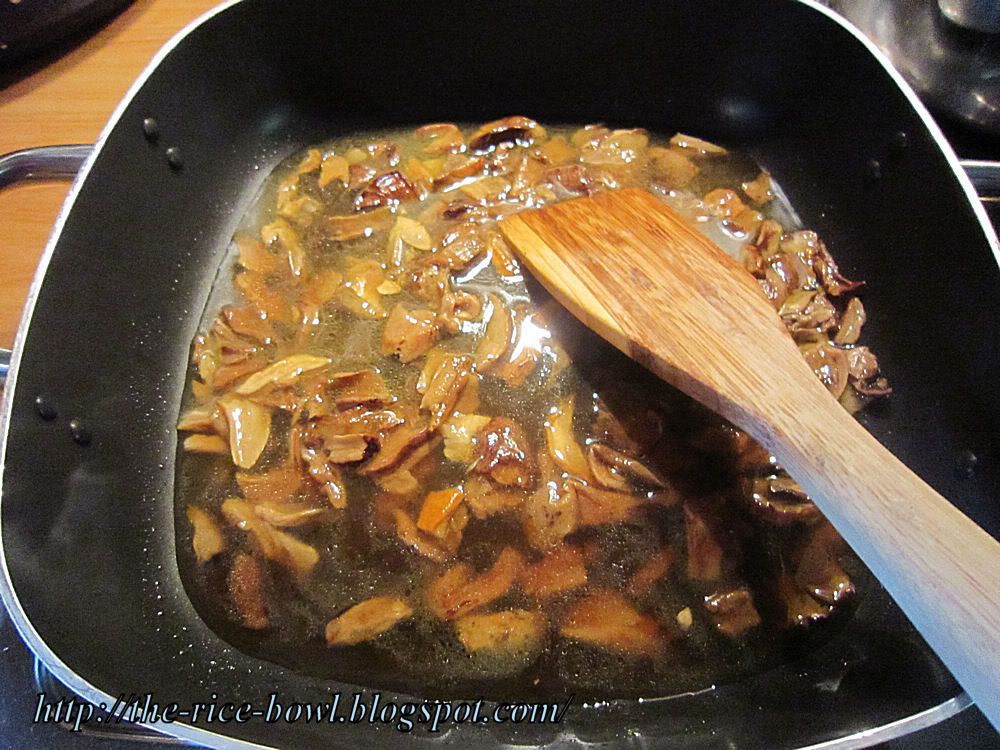
5. Add the wine and boil up. Now add the mushroom water from before. Don't taste yet, you wouldn't like it.


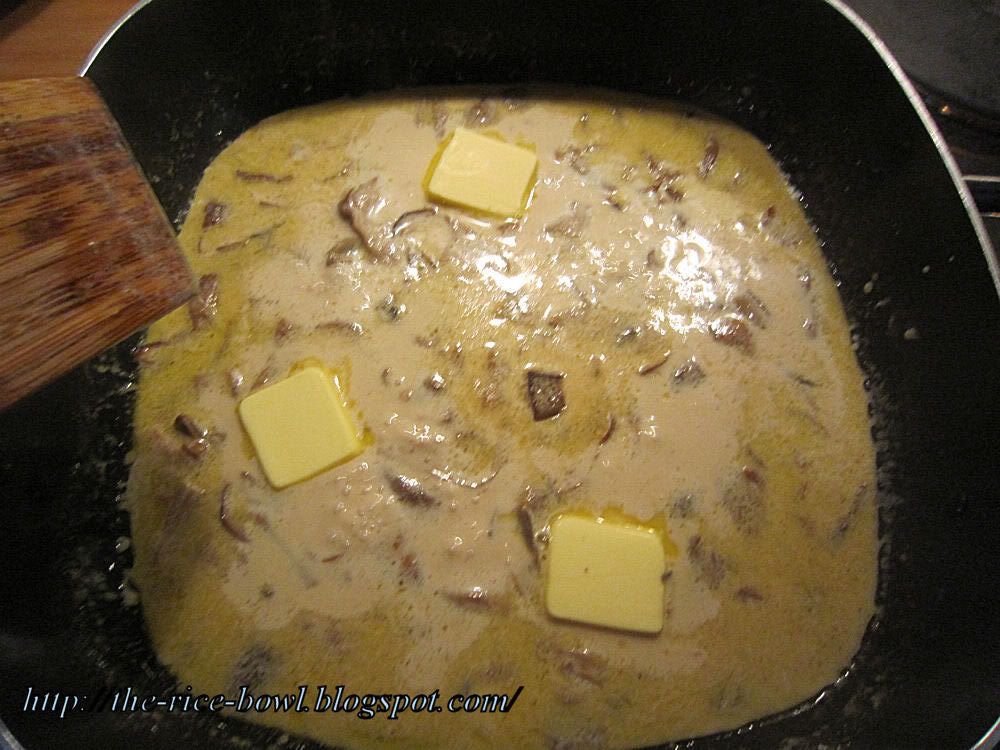
6. Add the cream and heat on low heat without boiling! Then add butter and stir in.


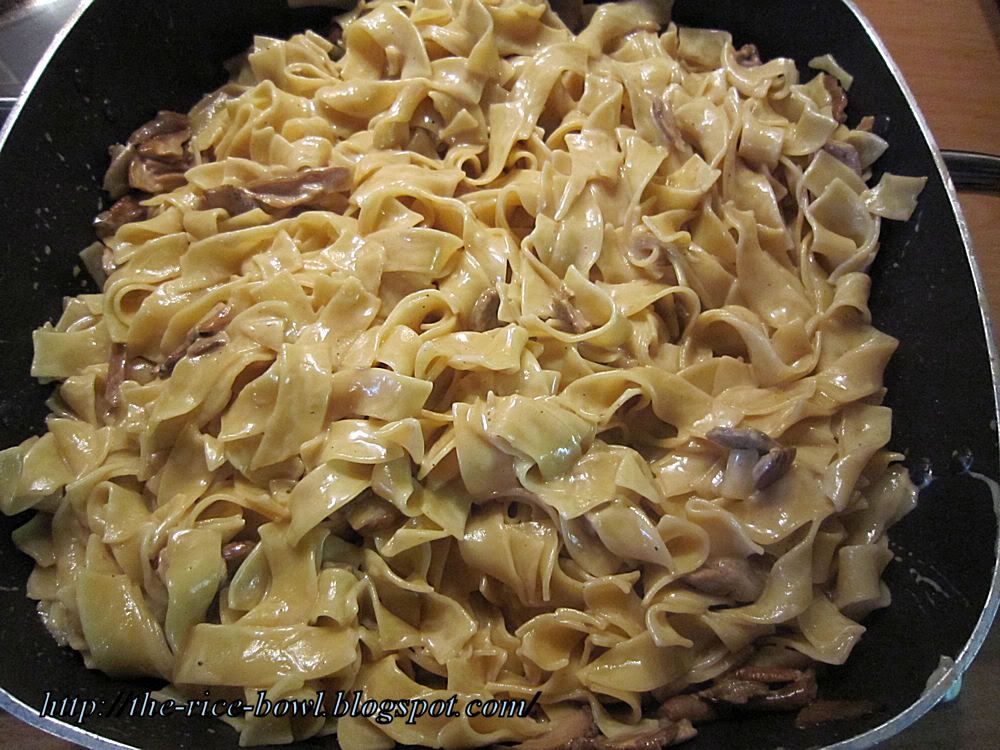
7. Add the noodles to the sauce and mix until they're coated.


8. Now arrange them on a platter, springle chopped parsley and parmesan.
9. Buon appetito!

Montag, 25. Juli 2011

Vacation

Okay, I haven't blogged lately, because it's so exhausting to always type all the recipes!
And now I'm going on vacation ... I wanted to show you a very complicated and special recipe over the next weeks, but I was so busy today...

Please be sure, I was cooking the last two weeks!

I made:
Greek Salad
Fettuccine al Funghi Porcini
Chicken Pot Pie (the recipe I was going to post next)
Lemon Chicken
Katsudon
Rote Grütze

So now I'm here:

231 recipes and 340 days to go

I can't cook and post at all for the next two weeks, but I'll be back with 5 recipes the week from August 10th!

I actually said something like "No, now I can't cook for two whole weeks."
I'm really going to miss it. ><

Sonntag, 17. Juli 2011

California Rolls Uramaki Recipe Tutorial

I love sushi and I love to cook. But I hate cooking sushi! Blabla, I know it's not cooking but you know what I mean. It's not the time or that you have to stand all the time. I'm just not very good at it, period. The rice, the rolling the taste. It's not working very well. Lately I've improved, but still...
So, I was a little intimidated when the Chibichef asked for California Rolls (funnily they're under Japan, but were invented in the USA)

What can I say? I think I nailed it! It went really well and I think I'll try this again.


California Roll for 4 (550kcal/portion):

400g hot cooked sushi rice (before cooking, wash the rice like 6,7 times ; cook it with 2tbsp sake and a piece of kombu)
   For sushi vinegar:
3tbsp rice vinegar
3tbsp sugar
2tsp salt
   Filling:
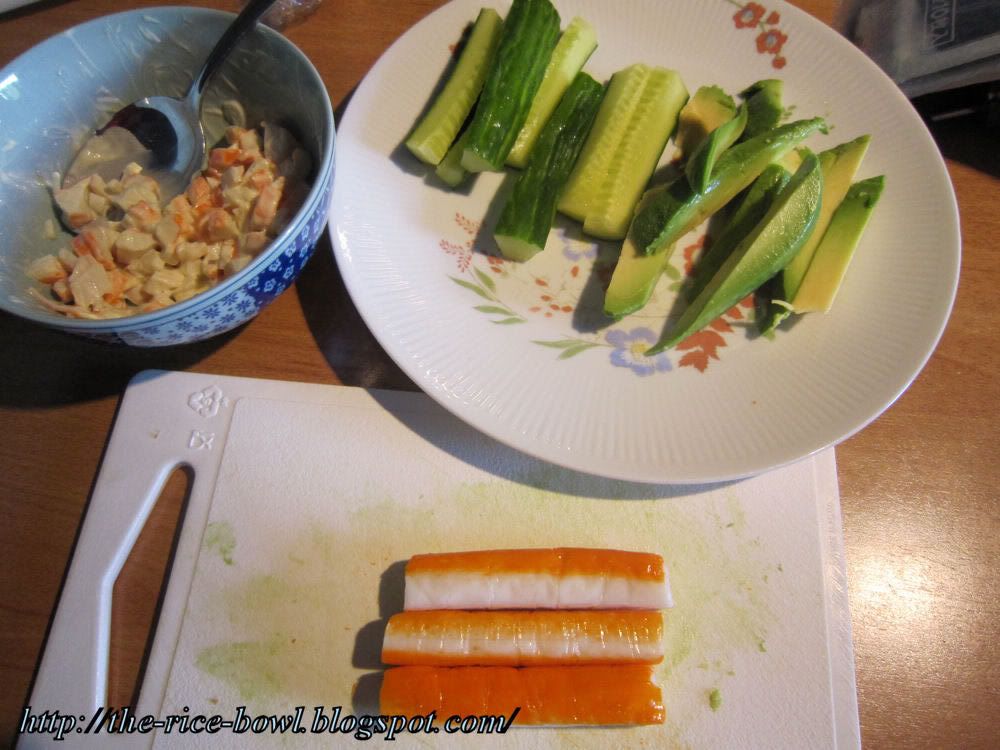
200g crab meat (I'm allergic, so I used surimi - it's 12 picks here)
2tbsp mayonnaise
salt
1/2 cucumber
1 avocado
Nori sheets (I'm not quite sure how many, so get a pack)
white sesame
wasabi paste
makisu
foil

1. Mix the ingredients for sushi vinegar. Pour them over the hot sushi rice and stir, but be careful not to squeeze the grains. Cool down.
2. Wash the cucumber. Cut into 1/8 pieces. Remove the soft part.
3. Peel the avocado. Make a lengthwise cut around the avocado and then move it slightly, so you can remove the stone easily. Cut the avocado into 1cm sticks.
4. In a bowl, take half of the crab meat (or surimi) and tear. Add mayonnaise and salt to your taste and mix well. You can keep the other half as it is.
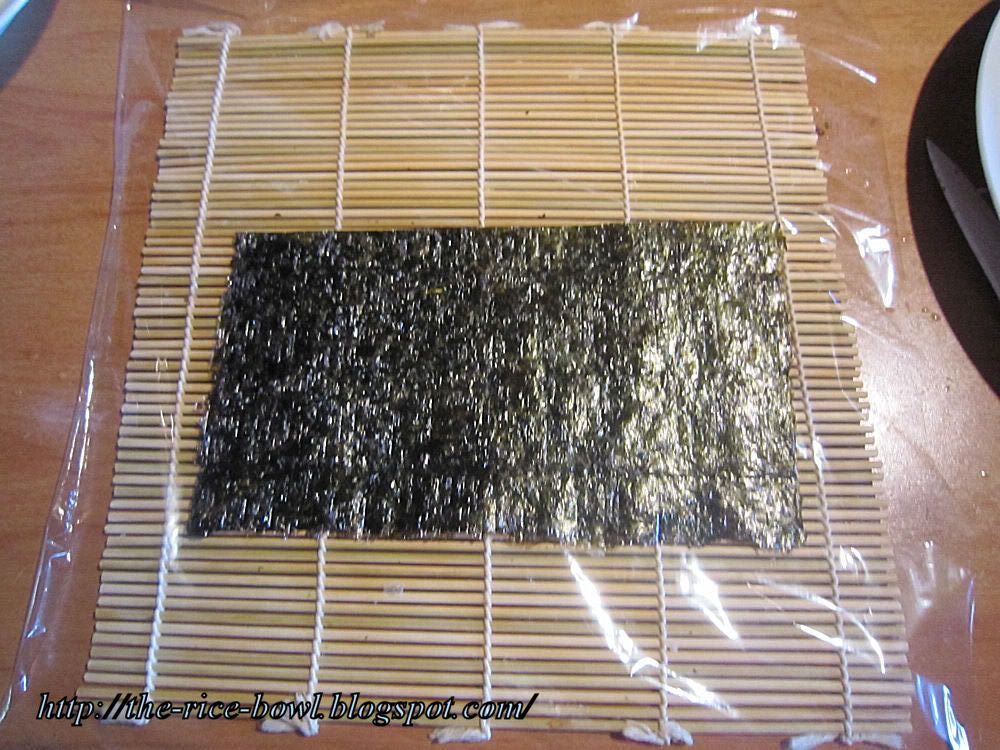
5. Cut the nori into half.


6. Let's roll! The cooking guide has a really weird technique here, that I won't show you. They roll up the filling first, then put rice in a foil and wrap it around the nori ... it's weird. I'll show you my way! :)
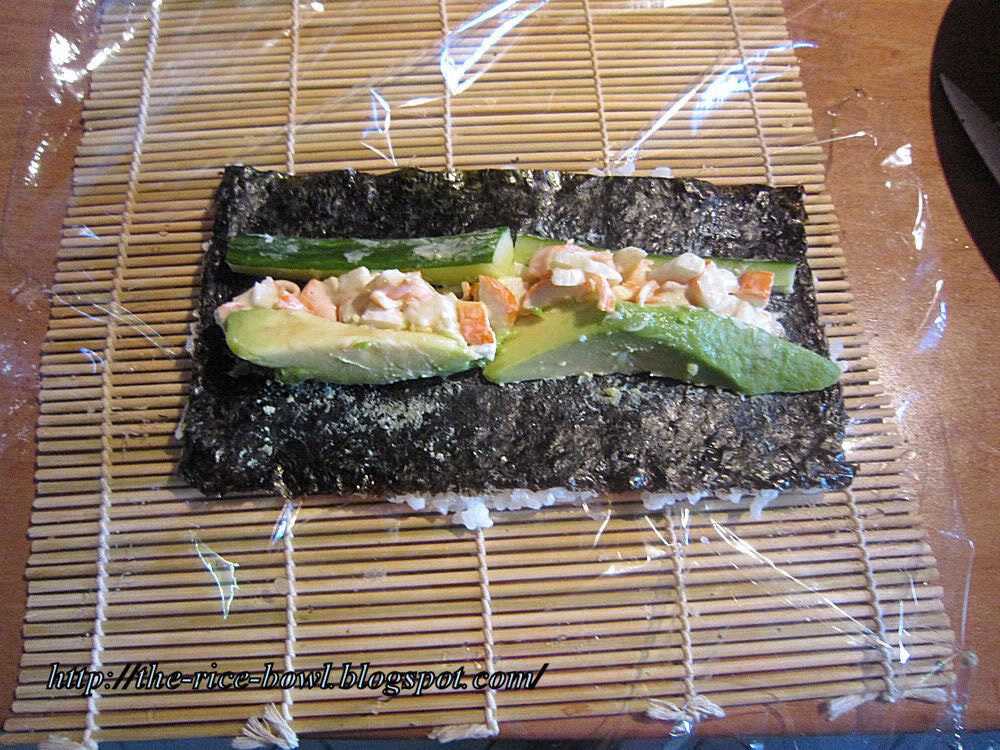
7. On your makisu, spread a large piece of foil. But the sheet of nori on top.


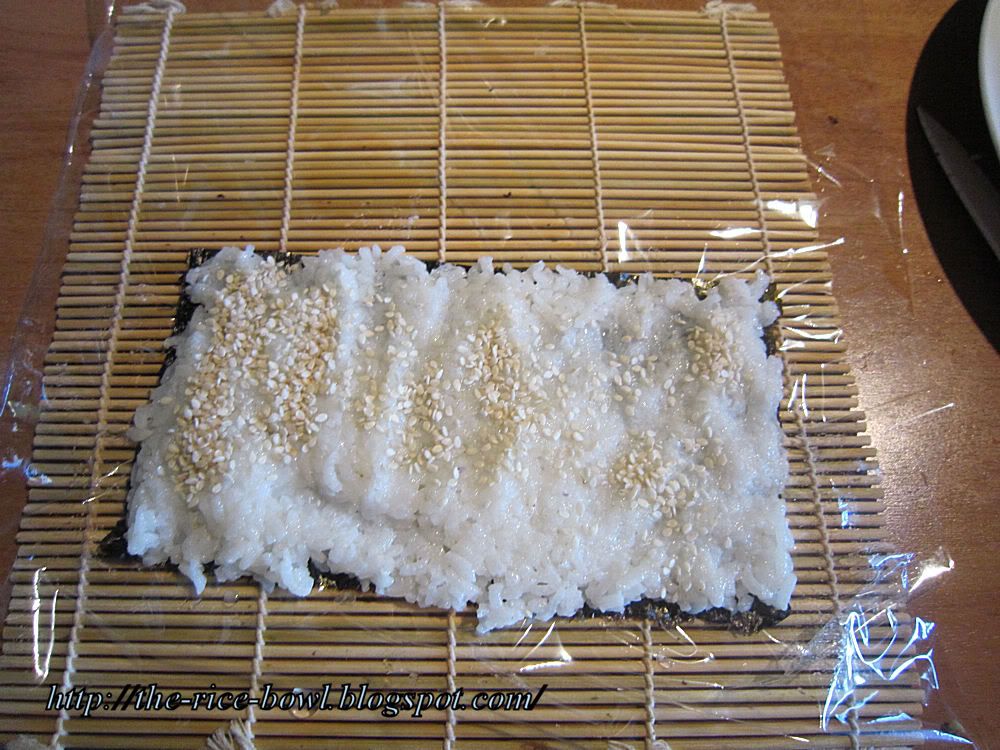
8. With wet hands spread a thin layer of rice and for California maki, don't forget the corners. :) Sprinkle sesame seed.


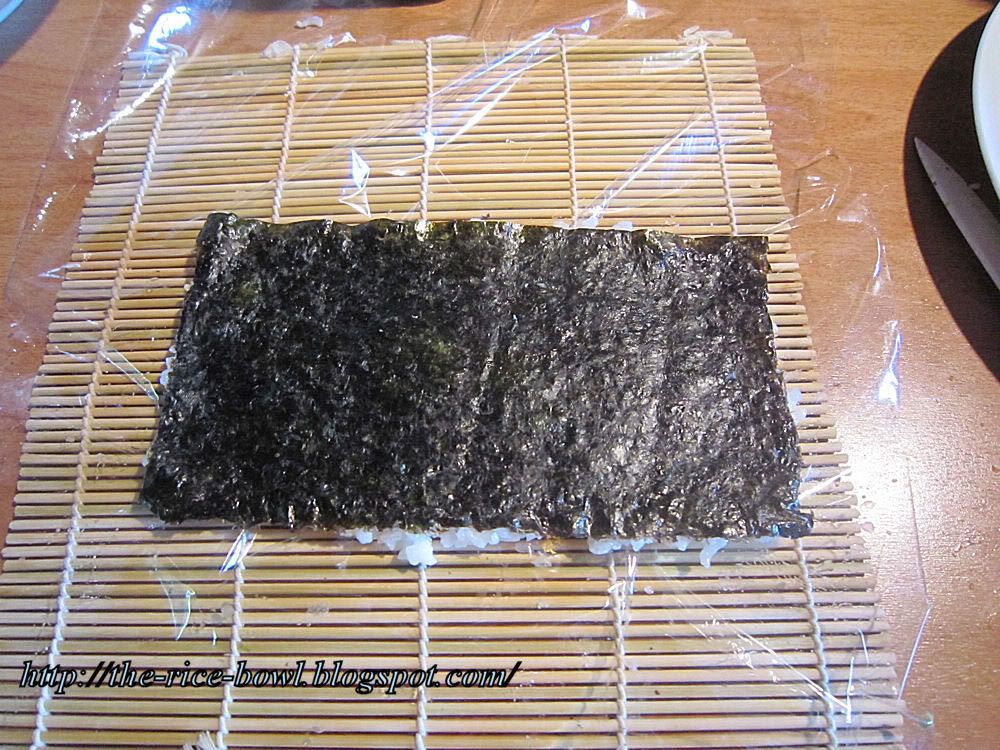
9. Now it's getting a little tricky. Flip your nori sheet, but the foil and makisu have to lay still.


10. Now spread a little wasabi in the middle. Thanks to the mayonnaise it's not neccessary here but I like it. Lay on the filling you like.


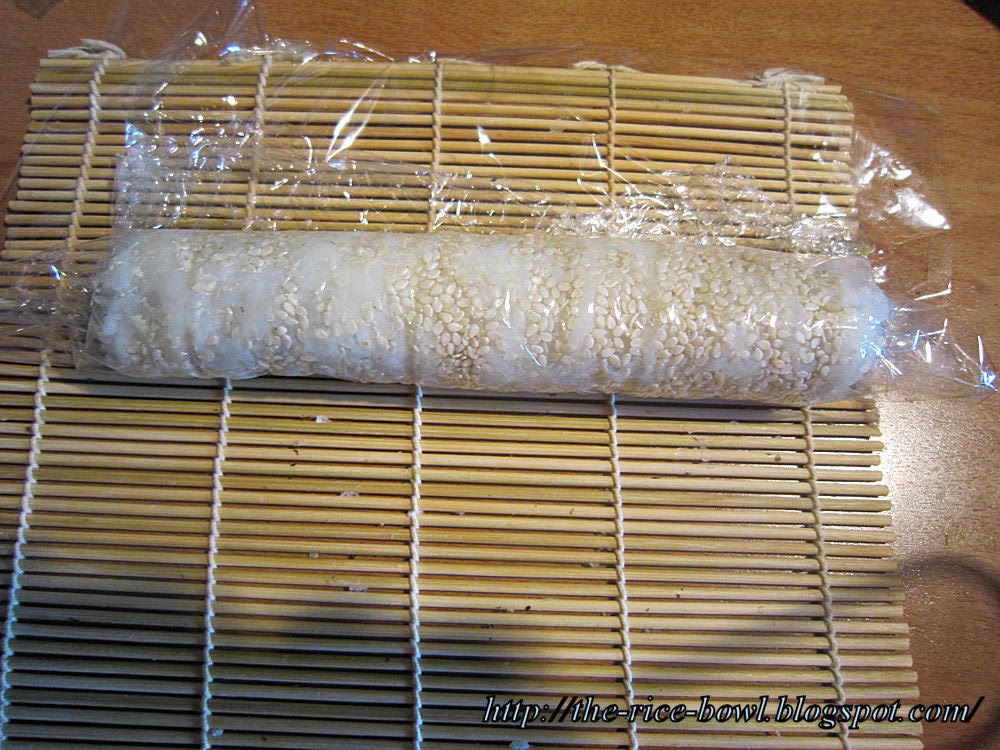
11. Now, bring the ends of the makisu together. With your hand, press the fillings inside and make a roll. Make it really firm, always pressing from all sides. The makisu will help you with this.


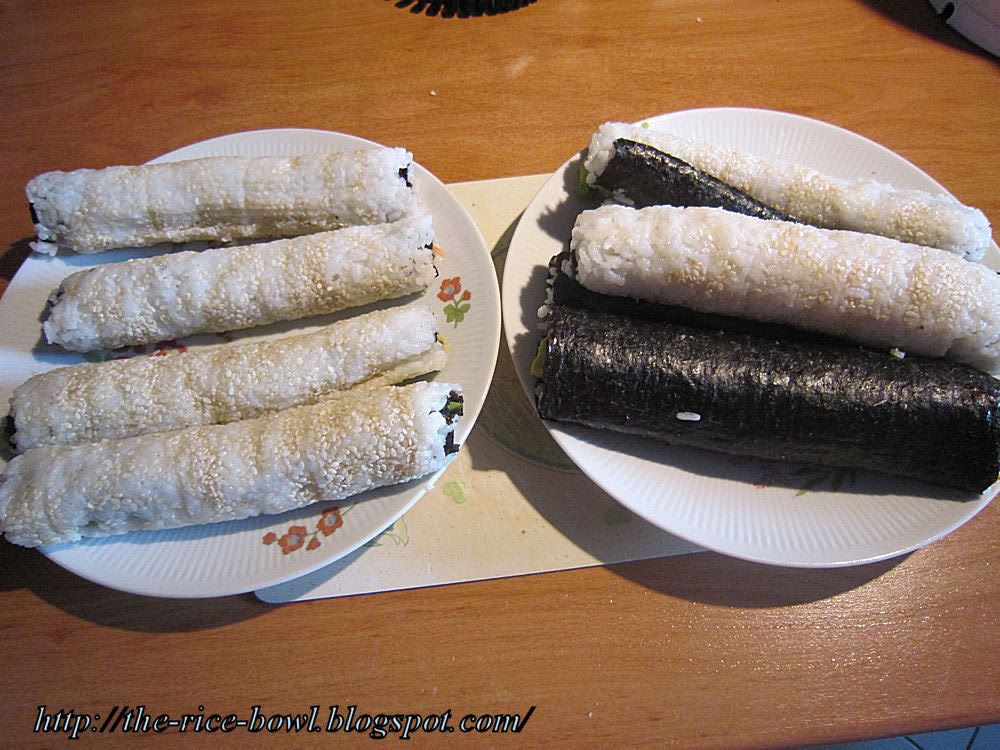
12. Repeat as long, as you have rice and filling. You can also mix it up. :)


13. With a wet knife, cut one roll into half. Than cut every half into 3 pieces.


14. Done! いただきます!

You can also use small caviar (masago) instead of sesame and shrimps or tuna instead of crab. Decorate with mayonnaise or a wasabi leaf.

This recipe might not be the most usefull, since you can learn how to make sushi ... EVERYWHERE. I hope, you still like it. :)

Donnerstag, 14. Juli 2011

Nasi Goreng

I've been really lazy latley, because I wasn't blogging! I kept cooking but I had no will to upload the pics and actually write an entry. So This week I've already cooked three dishes, the next two following saturday and I haven't blogged about a single one! This needs to change!

Monday I made Nasi Goreng, which is an Indonesian rice dish. I (calling my blog rice bowl) usually love rice dishes, but this is not my cup of tea. It's all about taste but I think it's a little dry and, yeah, boring. I miss the vegetables. But I think as a side dish, it might be great!

So, here's the recipe for Nasi Goreng as main dish.


Nasi Goreng for 4 (660kcal/portion):
600g cooked hot rice (long grain)
200g ground beef
1 onion
12 small green onions
1 garlic clove
optional 2 red chilis
1tbsp lemon juice
salt and pepper to your taste
oil for frying
cucumber
  Fried eggs:
4 eggs and oil
  Sauce:
2tbsp soy sauce
2tbsp chilisauce


1. Chop the onion into small pieces. Properly wash the the green onions and cut them into small rings.  Grate or press garlic. Cut the cucumber into 5mm slices.
2. Cut the chilis in half, remove the small pits and cute into small pieces. Be careful not to touch your face afterwards. If you don't like it spicy, just skip the chilis.
3. In a small bowl, mix soysauce and chilisauce.


4. For the fried eggs, heat oil on medium heat in a small pan. Crack the egg into a bowl. When the oil is hot enough, let the egg slide into the pan and fry until the white is firm. If you like it through, flip the egg, so the sunny side's down. Repeat with the other eggs.
5.In a big pan, heat oil on medium heat. Add garlic and heat through. Add the chopped onion and chilis and fry until their aroma is released.
6. Add ground beef and a 1tsp salt. Add pepper and lemon juice. Fry until the beef gets crumbly.
7. Add the hot rice and stir, so it won't clump.


8. Add the sauce and mix well, so that everything is covered.


9. Add the green onions and keep frying.
10. Arrange on a plate, lay the egg and cucumber slices on top.
11. selamat makan


Tuesday I made Californa Rolls (for the first time!) and today Fettuccine al Funghi Porcini. I'll post the recipe's soon!

Dienstag, 12. Juli 2011

Cherry Clafoutis (Clafoutis aux Cerises) [Kirsch Clafoutis]

The last two days I was busy with ... cooking. I made one recipe a day and so I can present you those two!

I'll start with the Cherry Clafoutis - a cake, that I know for over ten years now from 7th grade when my French teacher told us about it on our very first day. The taste is very special and I can't describe it properly - it's like you're eating a VERY thick pudding. It's tasty but I couldn't eat it every day.


Cherry Clafoutis for 5 (340kcal / potion):

100g wheat flour
3 eggs
50g butter
80g sugar
250ml milk
380g sour cherries (glas)
butter to grease the baking dish
a fireproof baking dish (like for pies)

1. Preheat the oven to 160°C. I'm using an electric oven, you need to experiment with hot air.
2. In a bowl, scramble the eggs.
3. Let the butter melt in a pan at very low heat!
4.Put flour in a big bowl. Add the eggs and mix with a whisk.


5. Add sugar, milk and melted butter whisk well.


6. With a little bit butter, grease the baking dish slightly.
7. Lay in the cherries, so they lay side by side. Carefully shaking the dish a bit might help.


8. Slowly pour the dough.


9. Bake in your oven for about 40 minutes. With a toothpick, try to prick the thickest part of your cake. When the toothpick comes out clean, the clafoutis is done! If not, let bake for another 5 minutes, then try again.
10. Bon appetit!

Samstag, 9. Juli 2011

Sweet and Sour Pork [Schweinefleisch Süß-Sauer]

357 days, 241 recipes

Thursday was sweet and sour pork. I'm usually not a big fan of sweet and sour, because I like my food decided. Plus, it most restaurants it contains pineapple or orange or something and I don't like fruit in hearty dishes. I don't know why, I just don't like it.
But since this recipe was part of the cook book and I had everything in the fridge, I decided to go for it.

My friend Laureen came over to help me cook (or help me eat?).


Sweet and Sour Pork for 4 (550 kcal/serving):

350g pork (best is from the ham part)
1/2 onion (if you like onions, take the whole)
1 bell pepper
100g carrots
100g cooked bamboo shoots
4Tbsp Salad Oil
Fryingoil
 
Seasoning for the meat:
A pinch salt
2Tbsp soy sauce
1 1/2 sake (rice wine)
pepper

Dough:
1 Egg
3 EL starch

For the sauce:
3Tbsp soy sauce
4Tbsp rice vinegar (seems a lot, but you'll need it!)
90ml water
120g sugar
1 1/2 Tbsp starch


1. Cut the meat into 1,5cm bitesize pieces.
2. For the meat seasoning, combine soysauce with salt, add sake and mix well. Add pepper and put in the meat. Stir until everything is covered with seasoning.
3. Cut carrots, bamboo shoots, bell pepper and onions into bitesize pieces.
4. In a small pot, bring little water to a boil and cook carrots and bamboo shoots for about 5 minutes. Then pour them into a colander and briefly chill under cold water.
5. For the dough, mix egg with starch and beat well! There shouldn't be any chunks. Add the meat and stir until everything is covered with dough.


6. For the sauce mix soy sauce, vinegar, water and sugar well. Add starch and mix well.
7. Now we're going to fry the meat. Therefore you need a big pot and lots of oil. Heat the oil in the pot to 180°C. Drop a little dough - when it comes right up, the oil is hot enough. Add the pieces of meat little by little without them sticking together. Fry until golden brown, then lay on a plate with kitchen paper.
8. In a big pan, heat the salad oil. Fry onions and bell pepper until the colours slightly changes. Add carrots and bamboo shoots and cooking a little. Then take out the vegetables and put aside.


9. Pour the sauce mix into the pan and cook over high heat. When the sauce is becoming thicker add the meat and vegetables. Cook until everything is glazed. Taste and adjust seasoning.


10. 请享用!

Dienstag, 5. Juli 2011

Pizza Margherita

As planned on Sunday (Who needs some intelligent forward looking planning when you can think everything through in less than 24 hours?... not me!) I went for groceries yesterday to buy everything for Pizza Margherita - invented in 1889 for Queen Margherita to resemble the colours of the Italian flag.

The recipe told  me to get pizzadough, basil, mozzarella and tomatoes. I don't think you usually put fresh tomatoes on a pizza, but I wouldn't argue with the recipe.

What I got was also very delicious!


Recipe for 4 [400 kcal/person]:
400g pizza dough (I was lazy and bought mine)
100g tomato sauce (not in the recipe, but came with the dough so I was using it)
fresh basil (as much as you like)
400g tomatoes
160g mozzarella
Salt, Pepper (it's not in the recipe but you'll need it)

1. Depending on your dough and oven type (mine's electric), preheat the oven. 220°C usually is a good temperature.
2. Wash the tomatoes, cut them in half, remove the stem and cut into half moons.
3. Pat the mozzarella with a kitchen towel, then cut into 5mm cubes.
4. Spread the dough on a baking tray. Mine's rectangular, but of course you can take a round one.
5. Spread the tomatoe sauce evenly.


6. Lay on the tomatoes, mozarella and basil and cover the pizza evenly.


7. Now put the tray in your oven an bake until the dough is done and cripsy and the cheese is melted. In my oven at 220°C it took 17 minutes. When you buy dough, it usually says on the package how long you need to bake it.
8. When done, sprinkle salt and pepper to your taste. Cut into pieces and buon appetito!


Well, what can I say? That's not it. In the end, I had some left over tomatoes and mozzarella cheese. Luckily I'm smart enough, what else to do with it. Check the next post for more!

Sonntag, 3. Juli 2011

Spanisches Omelett / Spanish Omelet [Tortilla de Patates]

244 recipes
363 days to go

Yesterday I've cooked the first recipe from "Cooking Guide: Can't decide what to eat?" Because I had a lot of eggs and bell peppers in the frigde I was looking for something, which could use both. I went for omelet and since I was looking for a recipe, I checked my DS. I hadn't used the Cooking guide in over 1 year! I was a little sad and so my idea of cooking every recipe and thus making it up to the little chef was born!

Luckily, they have a recipe for omelet, which also has potatoes (filling) but no bell peppers ... but since I didn't care at all, I just added the peppers.

And some mushrooms.

Well, here's what I 've got.


Looks quite tasty, huh? Well it was! If you want to try out, here's my recipe.

Tortilla de Patates (Verdura) for 5 persons:

12 eggs (yes)
400g potatoes
1 onion
2 small bellpeppers
150g mushrooms
olive oil
salt and pepper
A big pan with lit and a big bowl! Everything has to fit in the bowl and the pan! The lit for the pan should fit perfectly! It's very important!

1. Peel the potatoes and cut them into 5mm pieces.
2.Peel and cut the vegetables into 5mm pieces. Everything have about the same size.
3.Heat olive oil in the pan at moderate heat. Add the onions and cook until they get tender.
Add the potatoes, place the lit and simmer over low heat until tender. (might take 20-25 minutes)


4. After 10 minutes, add the cut bell peppers and mushrooms. Also add some salt and pepper to your taste.


5.In the meanwhile, crack all eggs into the bowl and whisk. Add salt and pepper to your taste.
6.Now add the (now) tender wegetables from the pan to the bowl with the eggs. It's not necessary to let them cool before since you're going to bake it in a second. Mix well.
7. Now heat some more olive oil in your pan at moderate heat. Pour in the whole mixture.


8. Bake the mixture half through. That means, you have to stir it while baking! This might take  few minutes. In the end it should look like very soggy scrambled eggs. Sorry, I don't have a picture here.
9.Put on the lit and keep baking the omelet over low heat while moving the pan a little until the egg gets firm to 80%. That means, it has to be completely firm at the bottom, but can be a little tender at the top.
10.Now, here's the tricky part. Press the lit on your pan. Carefully turn the pan around, so the omelet lays on the lit! Be very careful not to burn yourself or drop the pan. If you have a very big pan, ask someone for help. I don't have pics here, because I had both hands busy with flipping my pan.
11. Now let the omelet slide from the lit into the pan again. Bake for about 3-5 minutes at low heat until it's done.
12. You can now place a plate on your omelet and turn the pan, so you can present the Tortilla de Patates. Since I have a rectangular pan, I had to cut it in pieces in the pan.


13. Done!

This dish is very delicious and interesting and I hope, you'll try it. :)

I've realized I've cooked a lot of the recipes in the "book" but differently. I'm going to make them again with Chibi-Chef.

For this week, I'll also have:
Pizza Margherita (tomorrow) [selber Name]
Sweet and Sour Pork (Thursday) [Schweinefleisch süß-sauer]
Almond Tofu (Thursday) [Annindofu] ~~~made this before after another recipe
Cherry Clafoutis (Saturday) [Kirschkuchen] ~~~made this before after another recipe
And something as main course for Saturday but I haven't decided yet.