Posts mit dem Label chinese cuisine werden angezeigt. Alle Posts anzeigen

Mittwoch, 5. Oktober 2011

Sichuan Style Chicken with Cashew Nuts Recipe [Hühnchen Kung Pao Rezept] (Kung Pao Chicken)

Okay, I've decided I just can't post all recipes I've cooked, because it's taking too much time.
So from now on, I'll only post the most interesting recipes first, the easier ones, where you mainly have to cut and grate, will be pushed back until later.

Kung Pao Chicken for 4 (400kcal / serving):

400g chicken breast (recipe says thighs, but breast is better, trust me)
For chicken seasoning:
1/2tsp salt
2tbsp sake (rice wine)
1 1/2 tbsp starch
50g cashew nuts
100ml salad oil
60g green bell pepper
60g red bell pepper
50g spring onions
1tsp ginger
optional 2 red chilis (this dish is actually hot, but I was cooking for my family and they can't stand it spicy)
For seasoning:
3tbsp soysauce
2tsp sake
2tsp sugar
2tsp rice vinegar
5tbsp chicken broth
2tbsp starch

1. In a small bowl, soak the cashew nuts in oil for about 10 minutes.
2. Peel onions and cut into cubes. Clean the bell peppers, then cut into 1cm pieces. Cut the chilis into small rings. Peel the ginger and cut into small stripes. Cut the spring onions into 2cm pieces.
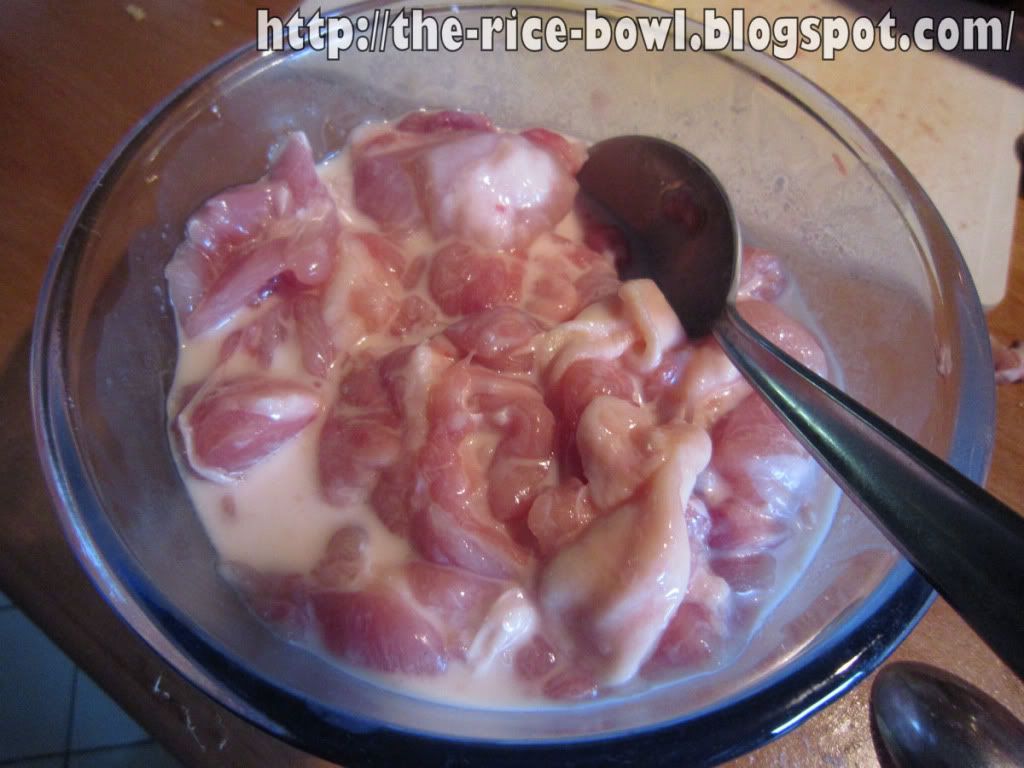
3. Cut the meat into 1cm pieces. Put in a bowl, then add  salt, sake and starch.

4. Now lets mix the spices for the seasoning. In a bowl, combine soysauce, sake, sugar and vinegar and mix. Add broth and starch and mix well.
5. In a large pan, heat a few tbsp of salad oil to medium heat. Fry for a few minutes until the colour begins to change.
6. Add spring onions, chilis and ginger and keep frying.
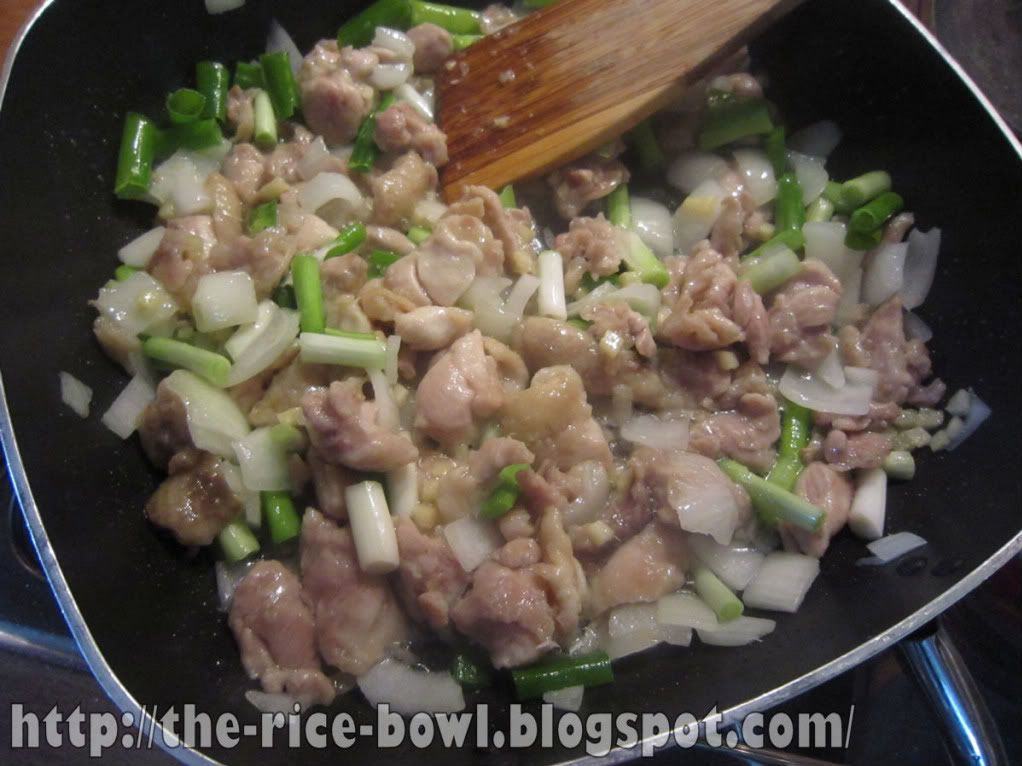

 Add the bell pepper and later cashew nuts.
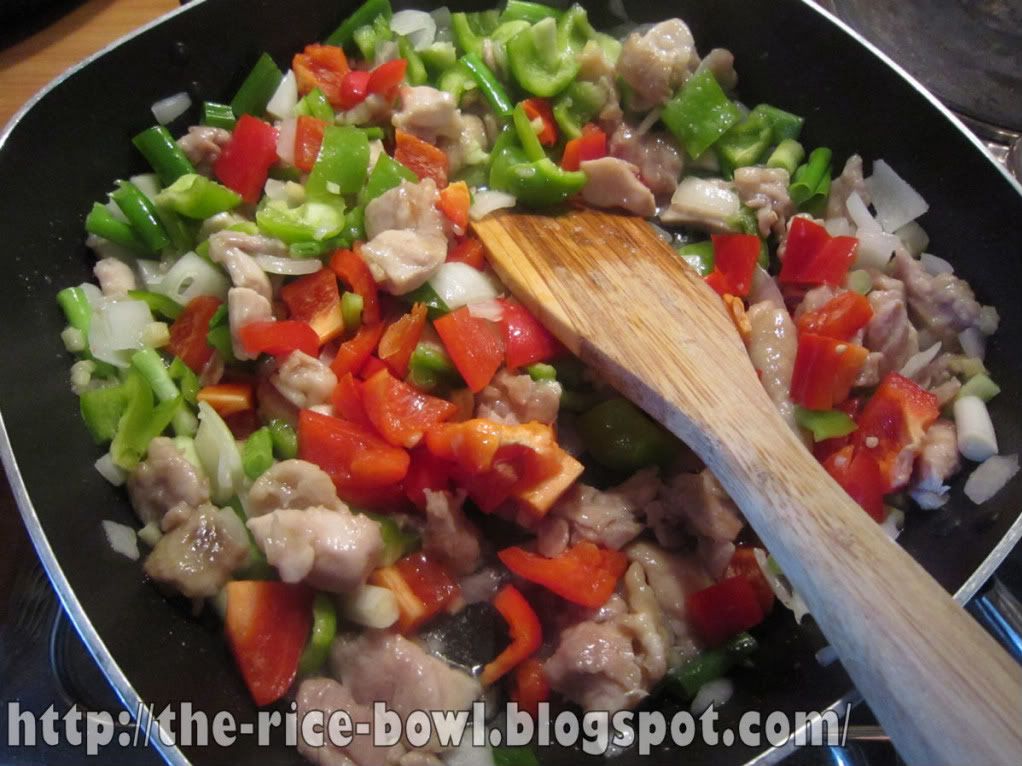

Fry until the meat is cooked through and the vegetables are getting tender.
7. Add the seasoning und stir until the sauce begins to thicken.
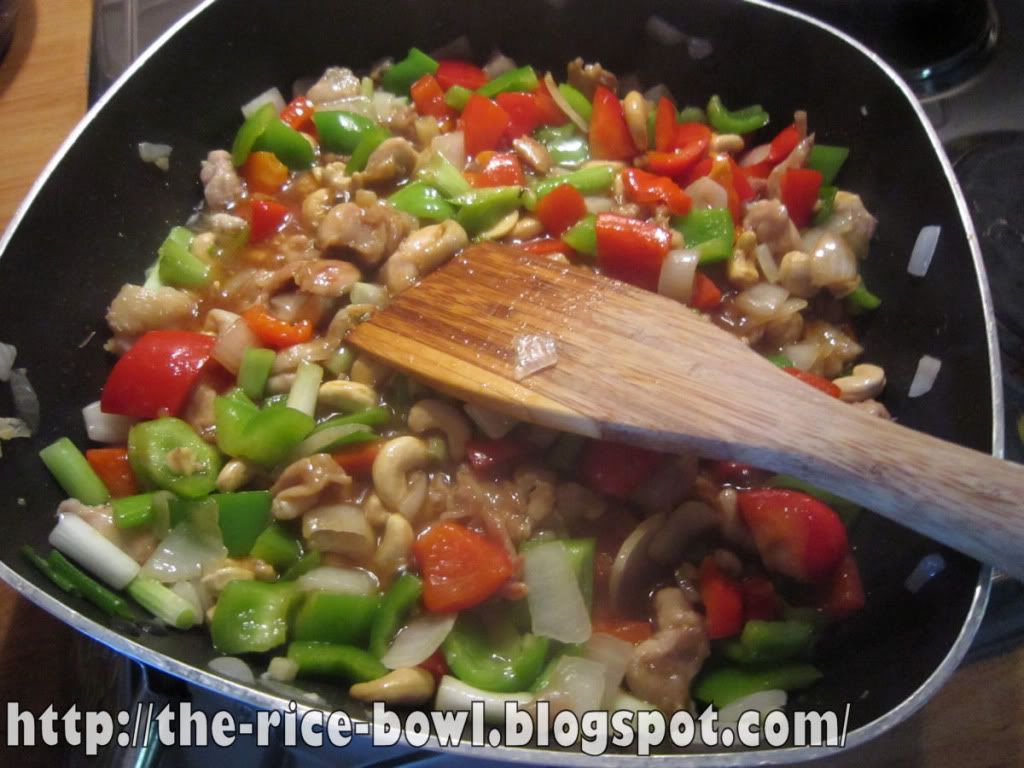

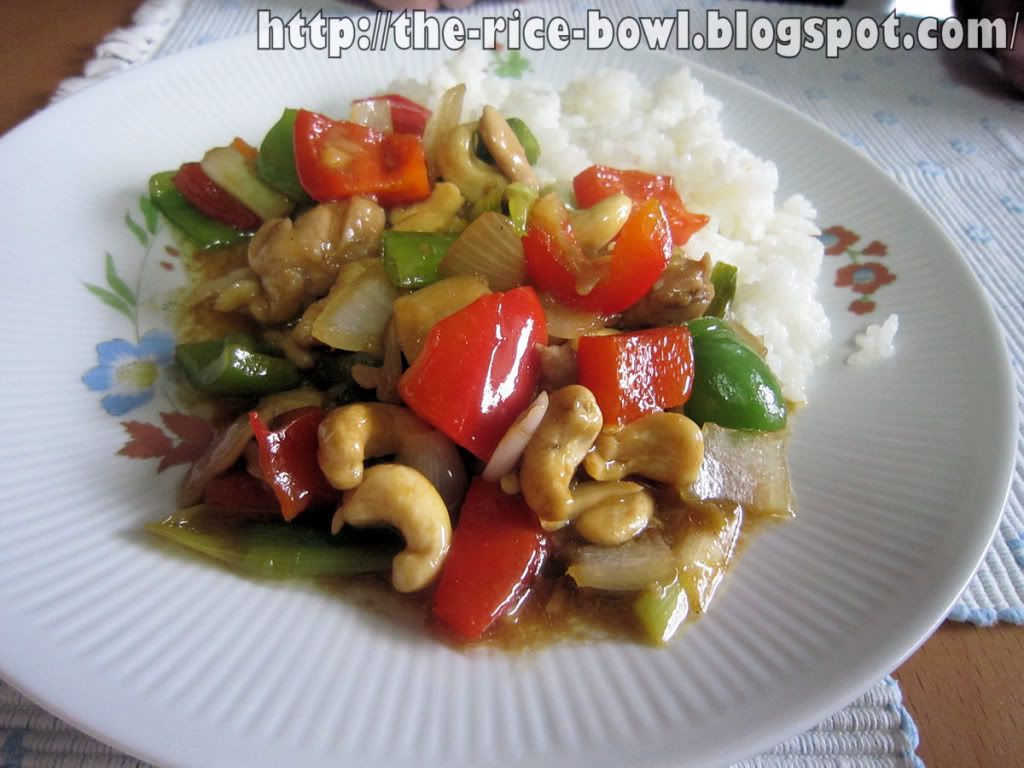
8. Serve with rice and done!

 请慢用

Sonntag, 18. September 2011

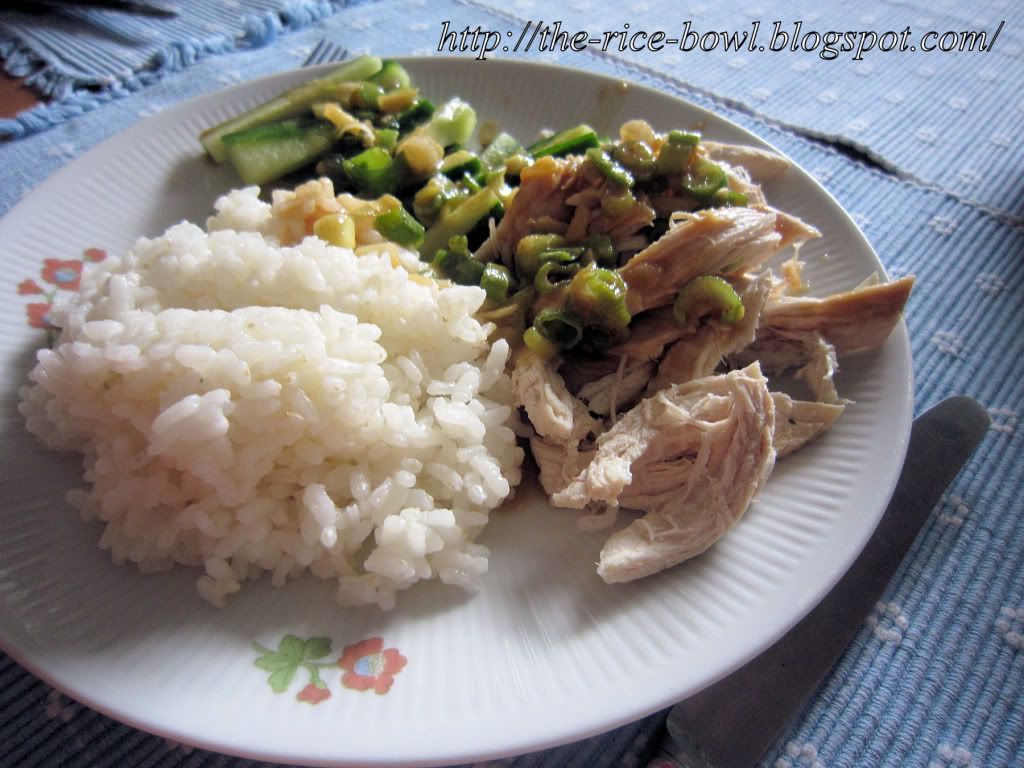
Bang Bang Chicken Recipe [Banbanji Rezept] (Banbanji Recipe)

This recipe seemed really odd to me and I wasn't sure if I would like it. The first bites are really weird ... but the more you eat, the better it gets! What a great dish.
You should note, that this is a cold dish!

Banbanji for 4 (360kcal/serving):


300g chicken breast
100g cucumber
1,2l chicken stock
60g spring onions
20g ginger
          For the sauce:
40g spring onions
10g ginger
4tbsp sesame paste (I took the Arabian Tahina, if you take Chinese or Japanse paste, you might need less sugar)
2tbsp rice vinegar
2tbsp soy sauce
3tbsp sugar
1tbsp sesame oil
2tsp chinese chile oil (called Ra-Yu or La-Yu)


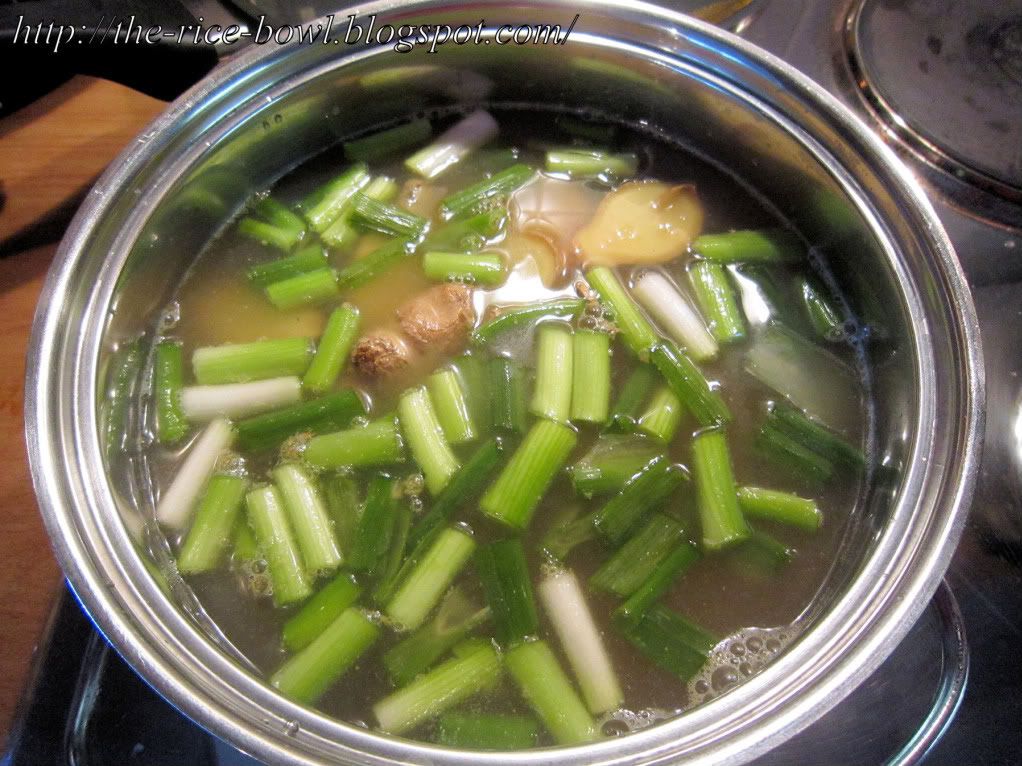
1. For the broth, cut the spring onions into 2cm pieces. Cut the ginger into slices.


2. In a pot, bring chicken stock with spring onions and ginger to boil. Add the meat and let cook over low heat for ca. 20 minutes.
3. Take the pot from the plate and let everything cool on room temperature.
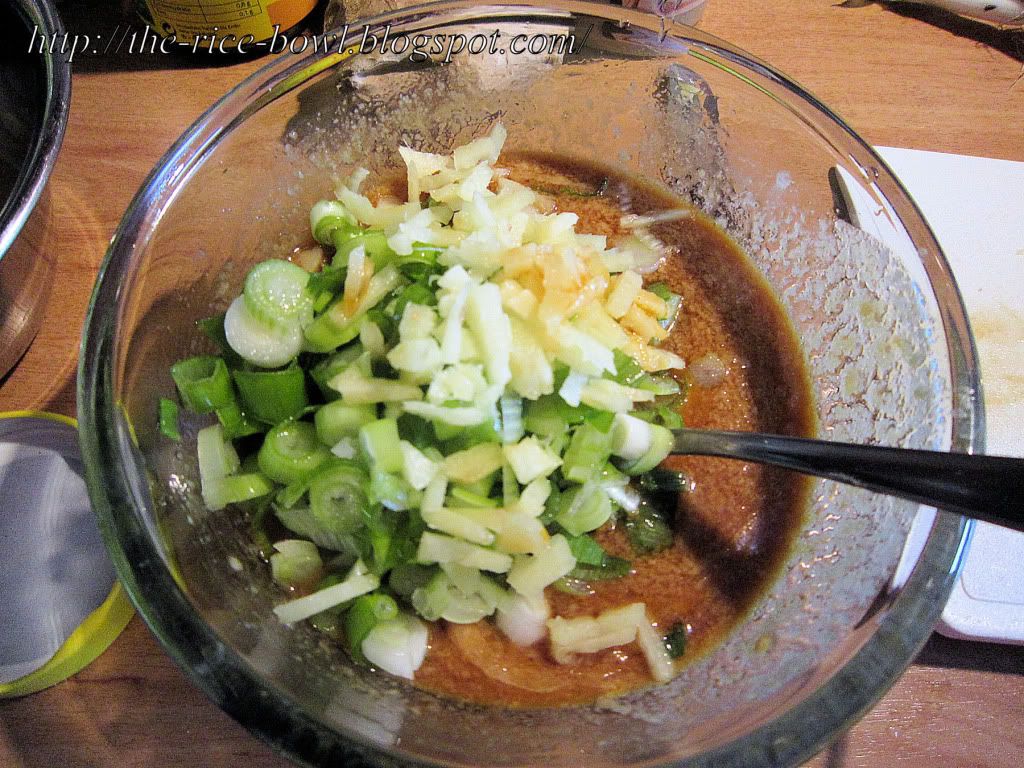
4. Cut cucumber into slices. For the sauce, chop the sprin onions, peel and chop the ginger.
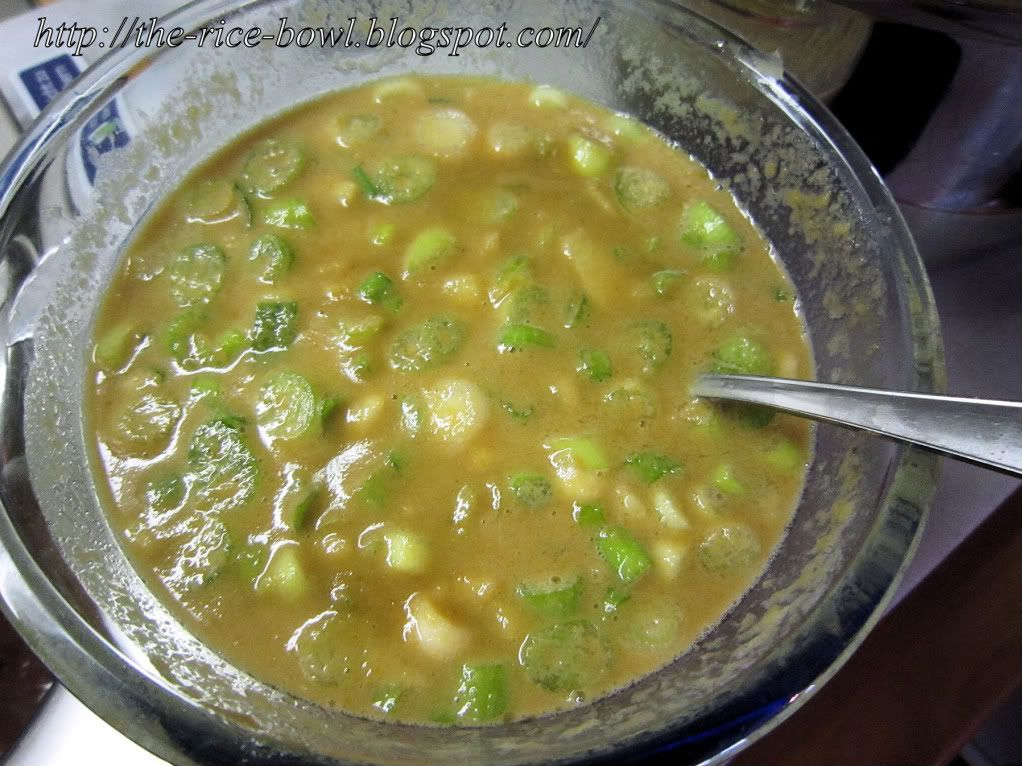
5.Take 5tbsp of broth from the pot and but it in a bowl. Add sesame paste and vinegar. Add soy sauce and sugar. Add sesame oil and chili oil. Mix well. Now add the chopped spring onions and ginger.


Mix everything well.


6. Now take the meat out of the broth and pat dry with a kitchen towel. Cut into very thin pieces or rip with your fingers.
7. Arrange on a plate with the cucumbers. Add the sauce and done! You should serve rice with it.

请慢用!!

Sonntag, 11. September 2011

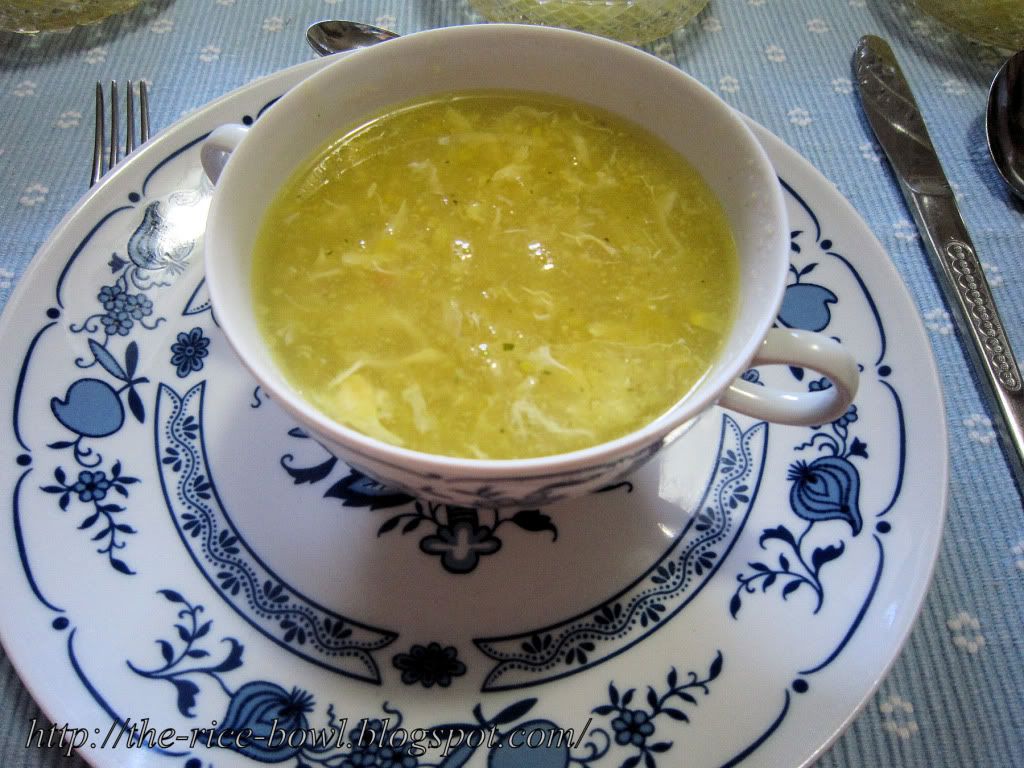
Sweetcorn Soup Recipe [Chinesische Maissuppe Rezept]

Sweetcorn Soup Recipe for 5 (80kcal per serving)


250g sweetcorn (can)
800ml chicken broth (no salt!)
1/2 tsp salt
sugar and pepper to your taste
1 big egg
1 1/2 tbsp starch
2 1/2 tbsp water

1. In a small bowl, dissolve starch in water. Puree the corn with a handheld blender.
2. In a big pot, bring broth to a boil. Add corn puree and salt.
3. Now thicken the soup with the dissolved starch.
4. Now slowly pour in the beaten egg and wait until it stocked.
5. Taste the soup. If salty, you can add another egg white. It'll help.
6. Already done!

请慢用!!

Mittwoch, 31. August 2011

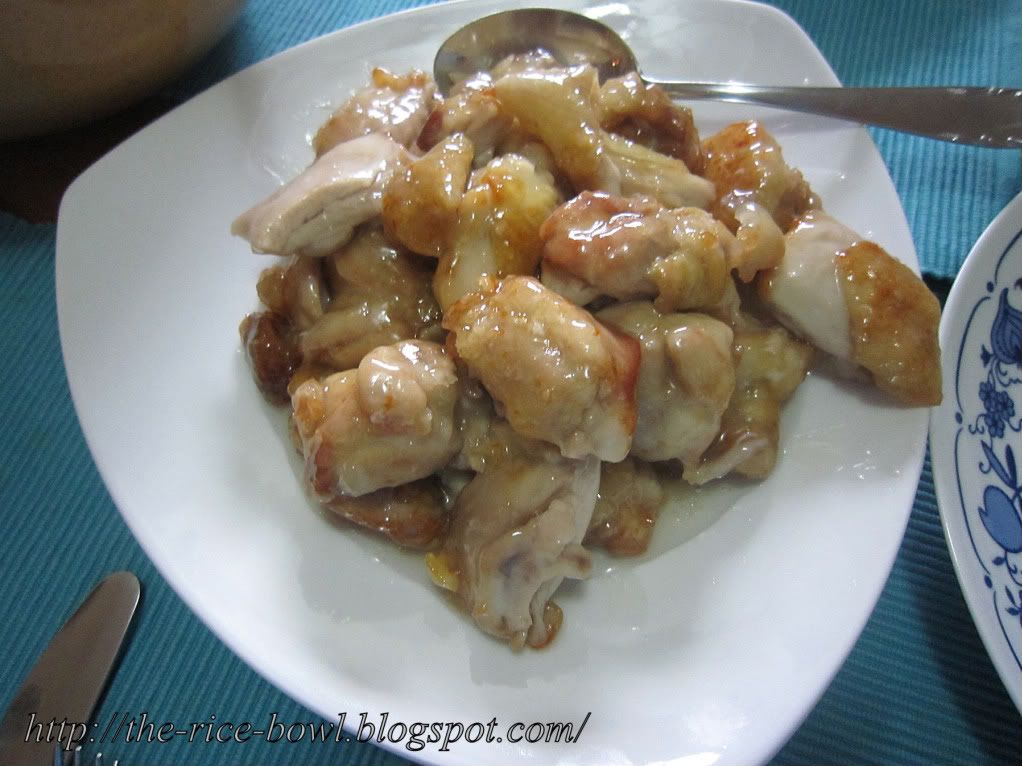
Lemon Chicken Recipe [Frittiertes Huhn mit Zitrone Rezept]

This is a recipe I know from China - my dad took us to a restaurant near his work (no, we're not Chinese, he just worked there) in Beijing and he love this restaurant and of course wanted us to love it to.
Not hard to say, I didn't like it very much. Everything was SO spicy. They're speciality were spicy ribs and my parents could eat them like chips. I was only able to eat half of it and was already crying like a baby. I have no idea if it was good, because during that evening I never felt my tongue again.
So next time we went there (of course we had to go a second time) my parents went for the ribs again and I wanted to try something else and I found Lemon Chicken.
I can't say I liked it very much either...
but years have passed, my taste changed and I got curious again. Thank God, because it was delicious!


Lemon Chicken for 4 (350kcal/portion)


400g chicken thighs with skin but withou bones (if not without bones, buy regular chicken thigh with skin and remove the bones ... it's a little complicated, but I did it too!)
Salt
2 tbsp Sake (rice wine)
100g starch
Frying oil
     For the sauce:
150g sugar (yes)
100g lemon juice
60g rice vinegar
100g water
2tbsp starch
big pan, large enough to deep fry

1. Slightly cut in the meat from both sides. Be careful not to cut it through.
2. Lay on a plate next to eachother. Sprinkle with salt and sake and rub in. Put aside for 10 minutes.
3. While waiting, we can mix the sauce. In a bowl, mix sugar and vinegar. Add lemon juice and stir. Finally, add starch and mix well.
4. On another plate, sprinkle starch. Roll the meat in it until everythings covered.
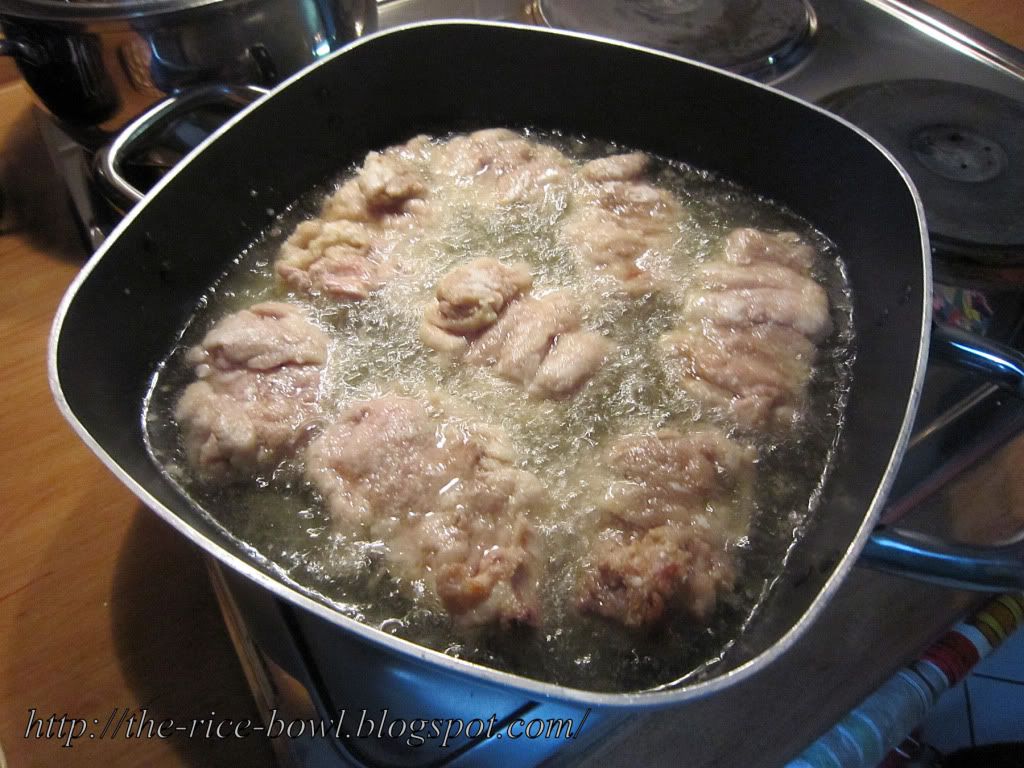
5. Now we can deep fry the meat. Lay a paper towel on a plate. Heat frying oil (enough for deep frying!) in a pot or big pan an bring to 180°C)
6. Piece by piece (too much at one time will make the temperature drop too fast) put meat in the pan and deep fry.


7. When the meat is coming up, you can fry it another minute. Then take out and lay it on the paper towel plate.
8. Take another pan or remove the oil from your used pan and pour in the lemon sauce. Bring to boil on medium heat.
9. While the sauce is simmering to thicken, cut the meat into bite size pieces.
10. When the sauce has thickend, add the meat and stir until everything is covered. That's it!

请慢用!!

Sonntag, 17. Juli 2011

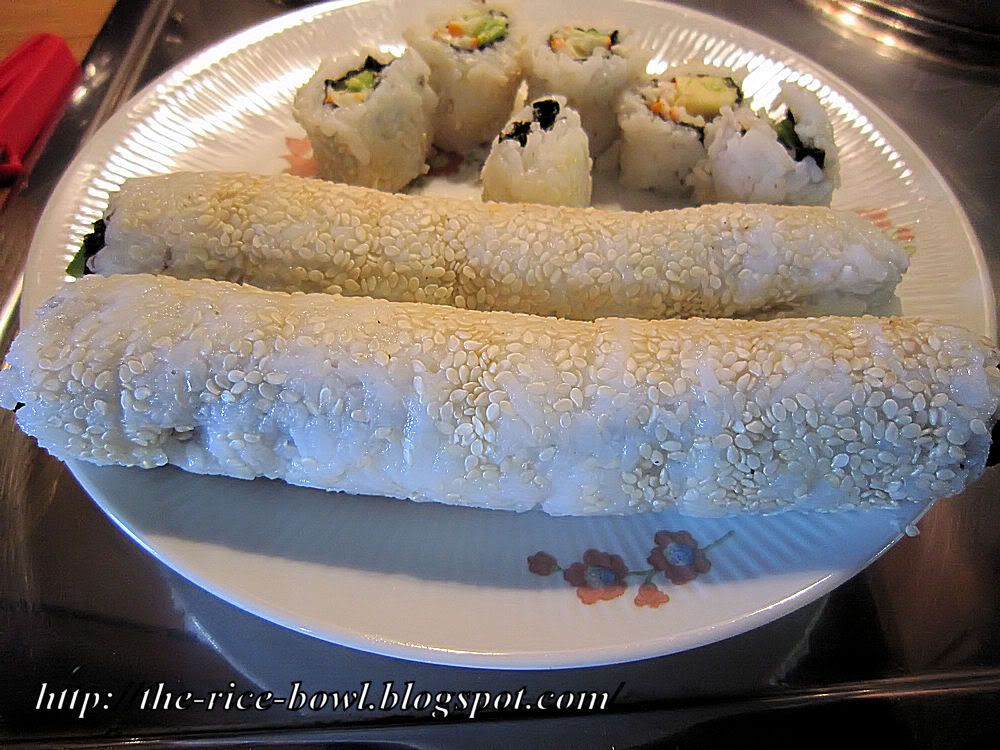
California Rolls Uramaki Recipe Tutorial

I love sushi and I love to cook. But I hate cooking sushi! Blabla, I know it's not cooking but you know what I mean. It's not the time or that you have to stand all the time. I'm just not very good at it, period. The rice, the rolling the taste. It's not working very well. Lately I've improved, but still...
So, I was a little intimidated when the Chibichef asked for California Rolls (funnily they're under Japan, but were invented in the USA)

What can I say? I think I nailed it! It went really well and I think I'll try this again.


California Roll for 4 (550kcal/portion):

400g hot cooked sushi rice (before cooking, wash the rice like 6,7 times ; cook it with 2tbsp sake and a piece of kombu)
   For sushi vinegar:
3tbsp rice vinegar
3tbsp sugar
2tsp salt
   Filling:
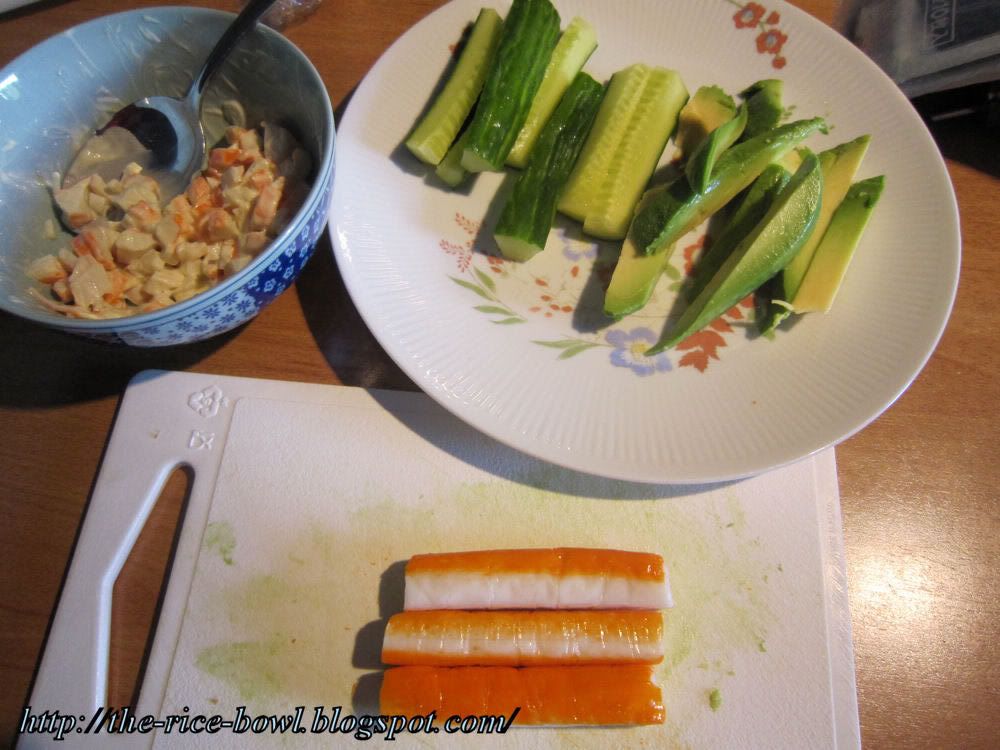
200g crab meat (I'm allergic, so I used surimi - it's 12 picks here)
2tbsp mayonnaise
salt
1/2 cucumber
1 avocado
Nori sheets (I'm not quite sure how many, so get a pack)
white sesame
wasabi paste
makisu
foil

1. Mix the ingredients for sushi vinegar. Pour them over the hot sushi rice and stir, but be careful not to squeeze the grains. Cool down.
2. Wash the cucumber. Cut into 1/8 pieces. Remove the soft part.
3. Peel the avocado. Make a lengthwise cut around the avocado and then move it slightly, so you can remove the stone easily. Cut the avocado into 1cm sticks.
4. In a bowl, take half of the crab meat (or surimi) and tear. Add mayonnaise and salt to your taste and mix well. You can keep the other half as it is.
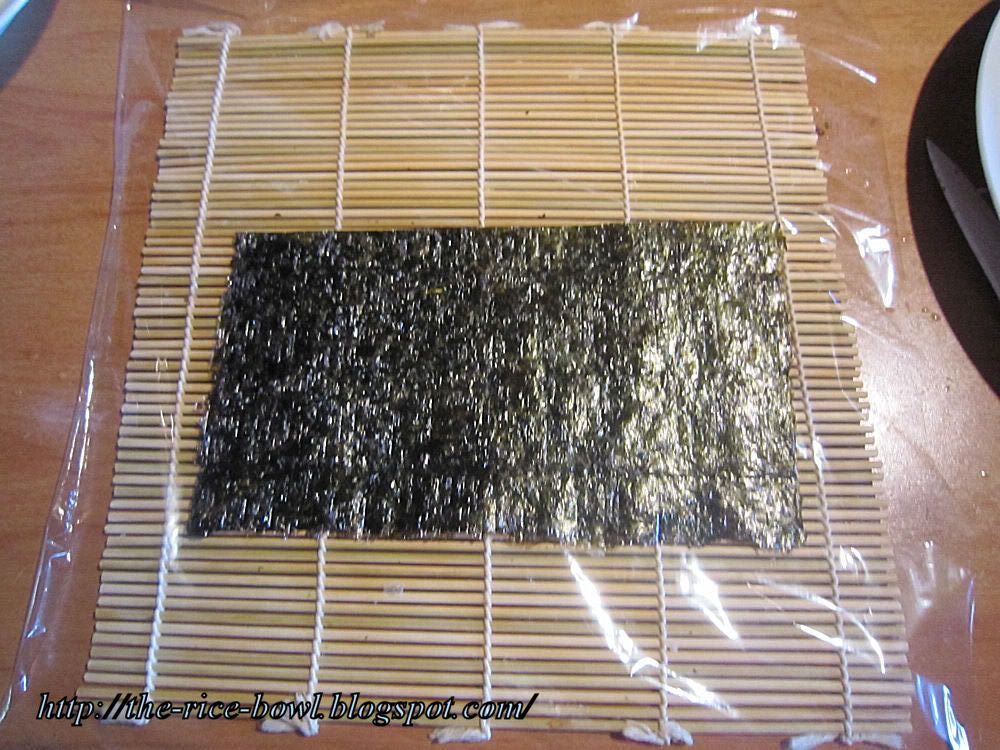
5. Cut the nori into half.


6. Let's roll! The cooking guide has a really weird technique here, that I won't show you. They roll up the filling first, then put rice in a foil and wrap it around the nori ... it's weird. I'll show you my way! :)
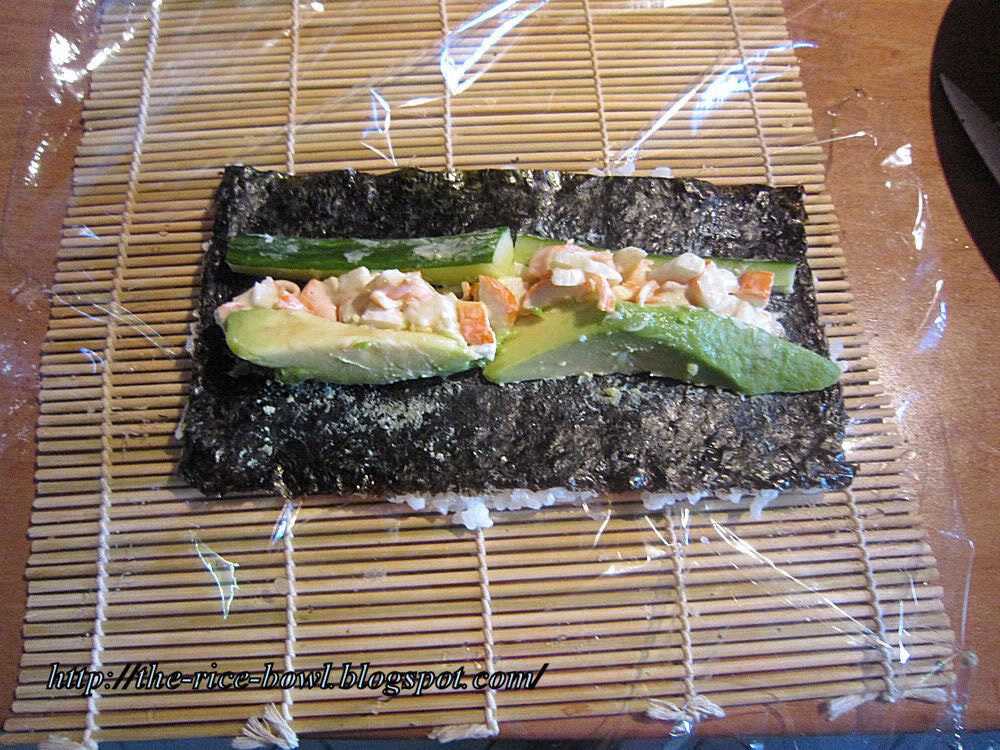
7. On your makisu, spread a large piece of foil. But the sheet of nori on top.


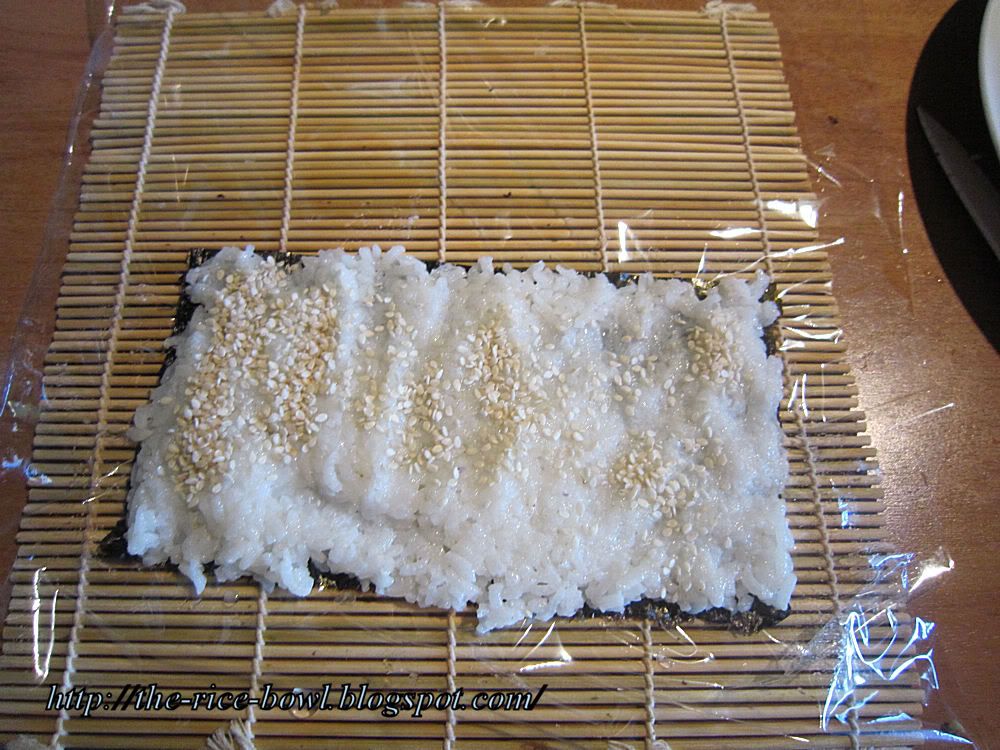
8. With wet hands spread a thin layer of rice and for California maki, don't forget the corners. :) Sprinkle sesame seed.


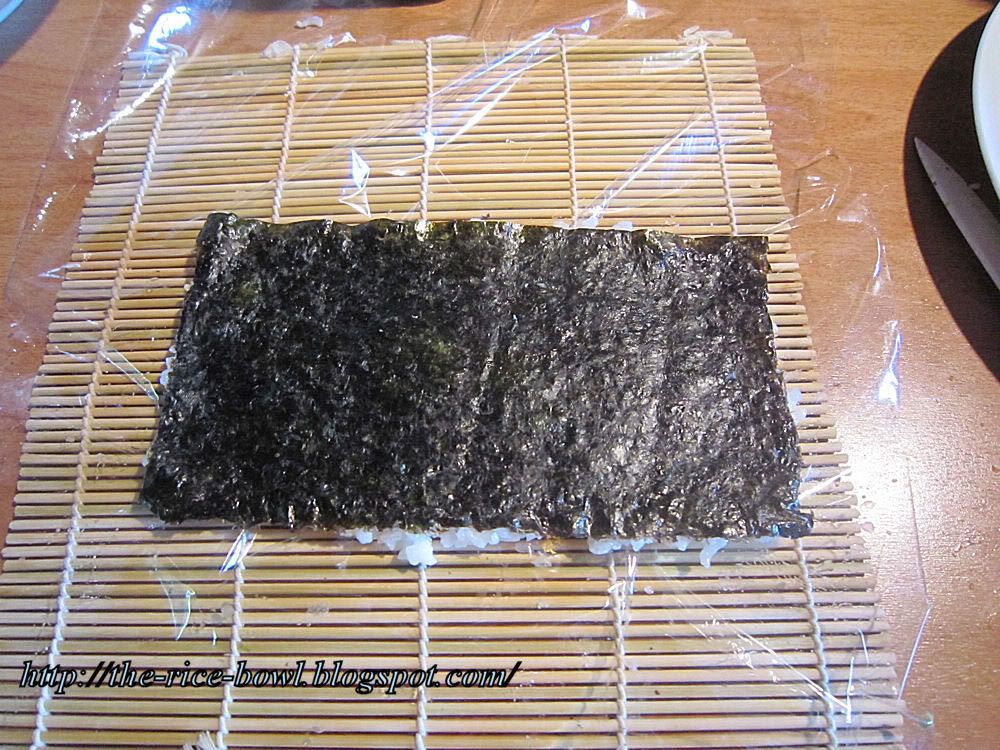
9. Now it's getting a little tricky. Flip your nori sheet, but the foil and makisu have to lay still.


10. Now spread a little wasabi in the middle. Thanks to the mayonnaise it's not neccessary here but I like it. Lay on the filling you like.


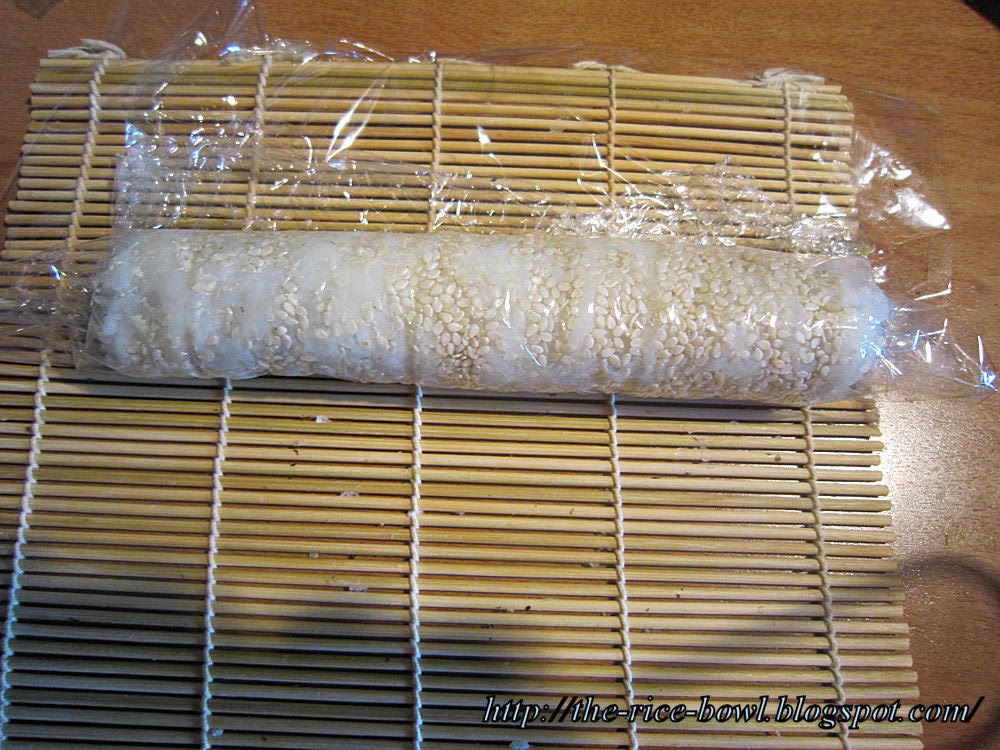
11. Now, bring the ends of the makisu together. With your hand, press the fillings inside and make a roll. Make it really firm, always pressing from all sides. The makisu will help you with this.


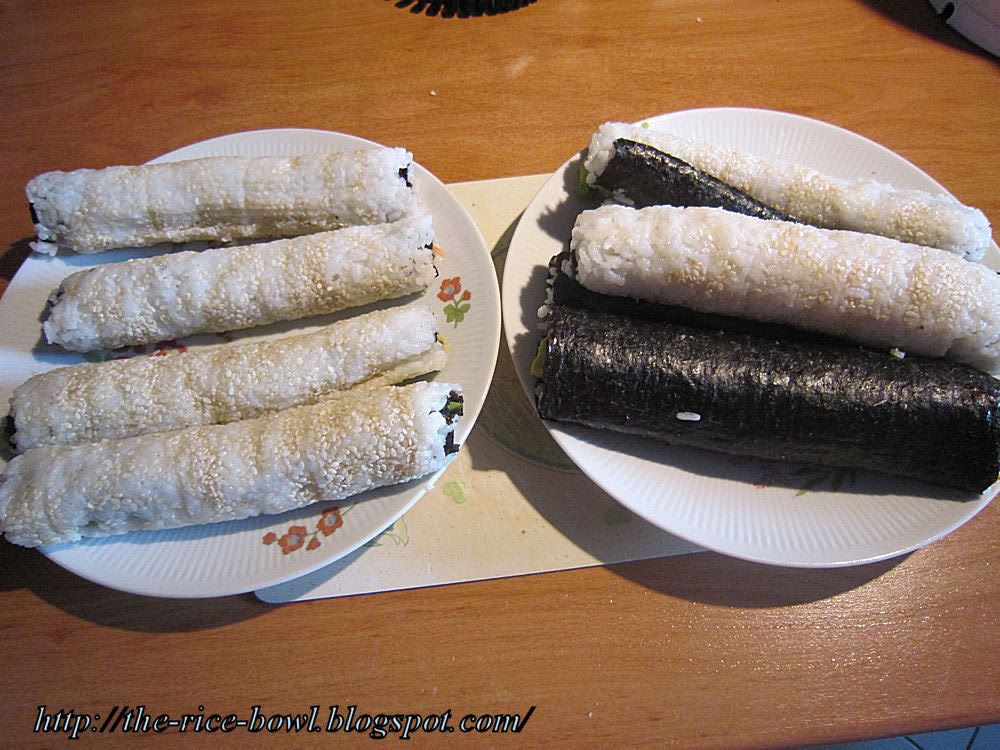
12. Repeat as long, as you have rice and filling. You can also mix it up. :)


13. With a wet knife, cut one roll into half. Than cut every half into 3 pieces.


14. Done! いただきます!

You can also use small caviar (masago) instead of sesame and shrimps or tuna instead of crab. Decorate with mayonnaise or a wasabi leaf.

This recipe might not be the most usefull, since you can learn how to make sushi ... EVERYWHERE. I hope, you still like it. :)

Samstag, 9. Juli 2011

Sweet and Sour Pork [Schweinefleisch Süß-Sauer]

357 days, 241 recipes

Thursday was sweet and sour pork. I'm usually not a big fan of sweet and sour, because I like my food decided. Plus, it most restaurants it contains pineapple or orange or something and I don't like fruit in hearty dishes. I don't know why, I just don't like it.
But since this recipe was part of the cook book and I had everything in the fridge, I decided to go for it.

My friend Laureen came over to help me cook (or help me eat?).


Sweet and Sour Pork for 4 (550 kcal/serving):

350g pork (best is from the ham part)
1/2 onion (if you like onions, take the whole)
1 bell pepper
100g carrots
100g cooked bamboo shoots
4Tbsp Salad Oil
Fryingoil
 
Seasoning for the meat:
A pinch salt
2Tbsp soy sauce
1 1/2 sake (rice wine)
pepper

Dough:
1 Egg
3 EL starch

For the sauce:
3Tbsp soy sauce
4Tbsp rice vinegar (seems a lot, but you'll need it!)
90ml water
120g sugar
1 1/2 Tbsp starch


1. Cut the meat into 1,5cm bitesize pieces.
2. For the meat seasoning, combine soysauce with salt, add sake and mix well. Add pepper and put in the meat. Stir until everything is covered with seasoning.
3. Cut carrots, bamboo shoots, bell pepper and onions into bitesize pieces.
4. In a small pot, bring little water to a boil and cook carrots and bamboo shoots for about 5 minutes. Then pour them into a colander and briefly chill under cold water.
5. For the dough, mix egg with starch and beat well! There shouldn't be any chunks. Add the meat and stir until everything is covered with dough.


6. For the sauce mix soy sauce, vinegar, water and sugar well. Add starch and mix well.
7. Now we're going to fry the meat. Therefore you need a big pot and lots of oil. Heat the oil in the pot to 180°C. Drop a little dough - when it comes right up, the oil is hot enough. Add the pieces of meat little by little without them sticking together. Fry until golden brown, then lay on a plate with kitchen paper.
8. In a big pan, heat the salad oil. Fry onions and bell pepper until the colours slightly changes. Add carrots and bamboo shoots and cooking a little. Then take out the vegetables and put aside.


9. Pour the sauce mix into the pan and cook over high heat. When the sauce is becoming thicker add the meat and vegetables. Cook until everything is glazed. Taste and adjust seasoning.


10. 请享用!